It is summer, and while we in Canada do not yet get the same kind of holidays Europeans do (30+ days of vacation a year plus public holidays is the norm – I used to get 38 days plus, when I worked in Europe), many of us will nonetheless head out to faraway places for a week, or perhaps two.
Reason enough to stop for a moment and think about photography – how do we come back with great images, not just snapshots? Photos the neighbours want to see, not photos that send them off to sleep.
The good news is that anyone can do it, and a bit of preparation goes a long way. I know this first hand: travel was my life for several decades. During these decades, I worked in 35 countries on five continents. And as a professional photographer, I have picked up quite a few useful tricks and techniques. These will help you too .. so here are my Top Ten Travel Tip for ‘Togs.
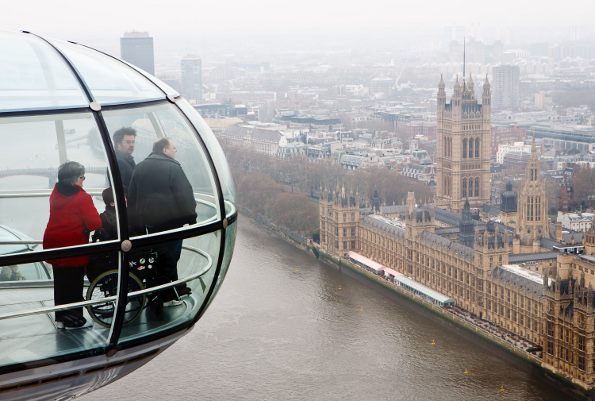
TIP 1: Make pictures, don’t take pictures. You need to think about your images. Images are not “the first thing you see and then you snap”. Always think “what is this saying? Can I make this photo better somehow?” You need to tell a story. By saying “If I were shooting for my local newspaper, what would the story be?”, you direct yourself to much more interesting images.
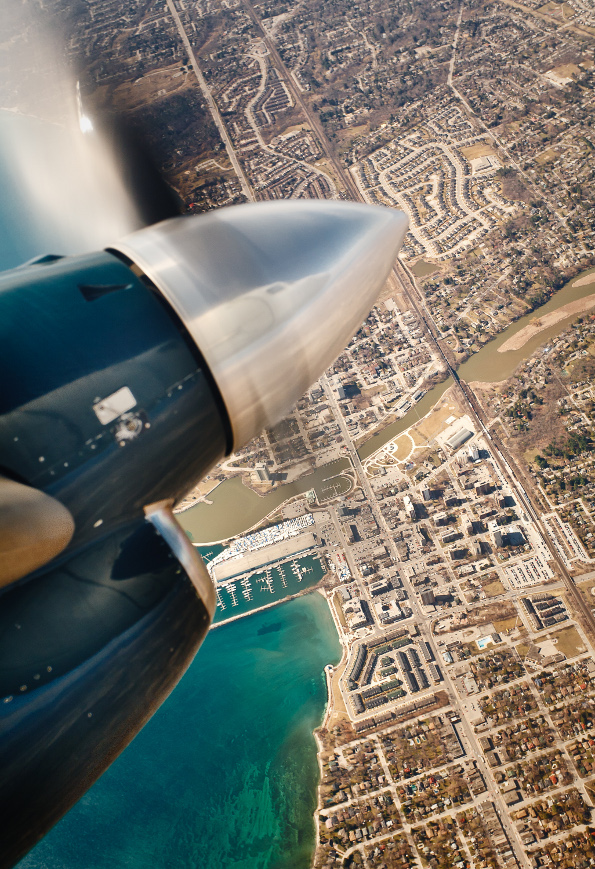
TIP 2: Start with the basics – know your camera. Avoid automatic modes, and spend some time before you leave, learning in particular:
- How to use Progam mode, at the very least (Aperture and Shutter Speed modes are even better);
- How to focus (learn to use one focus point only, rather than having the camera choose)
- How to expose well (if you are using program mode, aperture priority, or shutter priority, you can use Exposure Compensation – the +/1 setting)
- Correctly setting White Balance
- How to use your flash – preferably an external flash.
If you do not know those, take a course right now – many pros such as myself do private coaching, and Henry’s School of Imaging does great beginner’s courses (I should know: I teach there and I wrote their Travel Photography workshop). A short course will immediately unleash your creative potential.
TIP 3: Pack well. Bring only what you need. This should include a spare battery, spare memeory cards, lint-free cloths, a small brush, and plastic bags. And, believe it or not, dental floss – great to tie things together when needed. If it is heavy, hesitate. Light, small, cheap: bring. Bring an old spare camera if you can. And don’t forget your battery charger. Avoid bringing all your lenses – bring one or two and get the best use out of those.
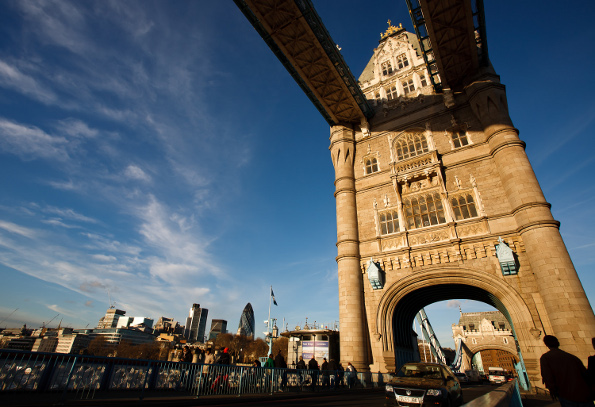
TIP 4: Think about safety. The safety of your camera is paramount, as is yours and that of your data. Do not wave expensive cameras around. Hide logos. Put on no-brand straps and lens caps. Make daily backups to DVDs or to a small external hard disk. Divide your images across many memory cards.
TIP 5: Use Fill Flash. When it is sunny, you need flash. Yes, you heard me right: the sunnier it gets, the more you will need flash. Back light and harsh sunlight are both enemies of good images. Cloudy days are fine, but on sunny days, pack your big flash and be prepared to use it.
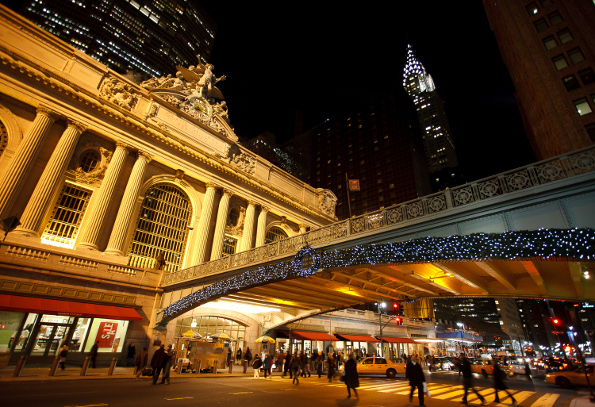
TIP 6: Go wide. Many beginners think “the farther the trip, the longer my lens needs to be”. Far from it. For many types of travel, a wide angle lens is the most under-appreciated lens. It is small, easy to focus, easy to shoot at slow shutter speeds, and allows great depth, as in the following hand-held image I made of Grand Central Terminal in New York City:
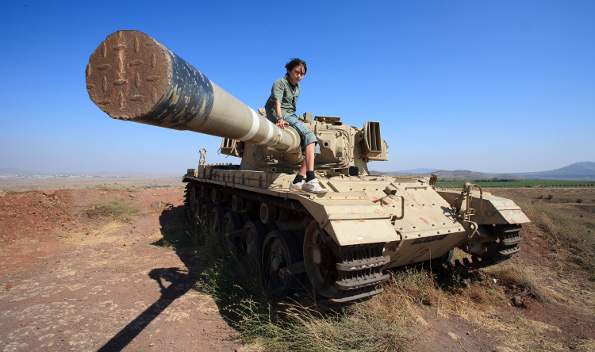
TIP 7: Use The Close-Far technique. By using a very wide angle lens and getting close to a subject (closer! Closer still! – yes, that’s it), you show three-dimensional depth. We call that the “close-far technique”. It is the wide angle lens coupled with my proximity to the barrel below that makes this image of the Golan Heights tank so three dimensional:
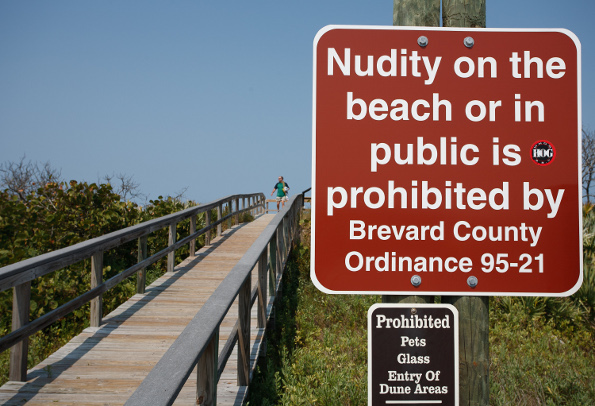
TIP 8: Shoot Culture. Your shots should include “why it is different”. Always ask “what details make this place different from my home”. That includes you shooting a “B-roll”, as movie types would call it. Your food. People at work. Textures. Clothing that is different. Even signs, like the one below at Florida’s largest nude beach. All these show differences in culture: the things that make travel into travel. Otherwise it would just be a trip to your own downtown.
TIP 9: Simplify! Simplify, simplify, simplify. Remove everything from your pictures that does not belong there. You can do that by zooming in, by tilting the camera, by blurring out backgrounds, or by simply moving to a different spot. Always ask “how can I make this picture simpler”. Simplicity is the secret to a great photo.
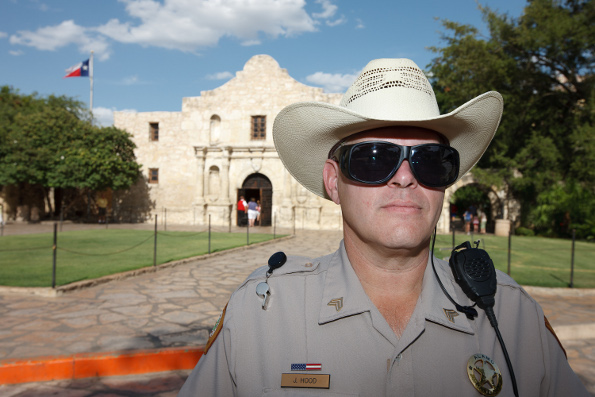
TIP 10: Don’t forget people. Finally, a subject many of us find embarassing: people. A trip to Texas should include some local people, such as the Texas Ranger below. If you find it embarassing to ask people for pictures, keep the camera away until you have talked to them. Get over your hesitation and ask. Asking nicely very often gets you a “yes”. Always try to get permission to shoot pictures of local people – or else, worst case use stealth.
By following these Top Ten Tips, you can make your images better than ever. Every day, check what you shot and see how it measures up against these tips.
The author, Michael Willems, BSc, LPPO, is an Ontario-based professional and newspaper photographer who shoots and teaches across North America. He writes Canada’s most frequent Photography Teaching Blog, www.speedlighter.ca. As an event photographer, Michael has specialized in a subject many photographers dread: onthe- go flash photography using small speedlights. But travel is his favourite pastime, and travel photography ranks very high on his list of favourite types of photography. You can read more about Michael on www.michaelwillems.ca.
| PHOTONews on Facebook | PHOTONews on Twitter |


