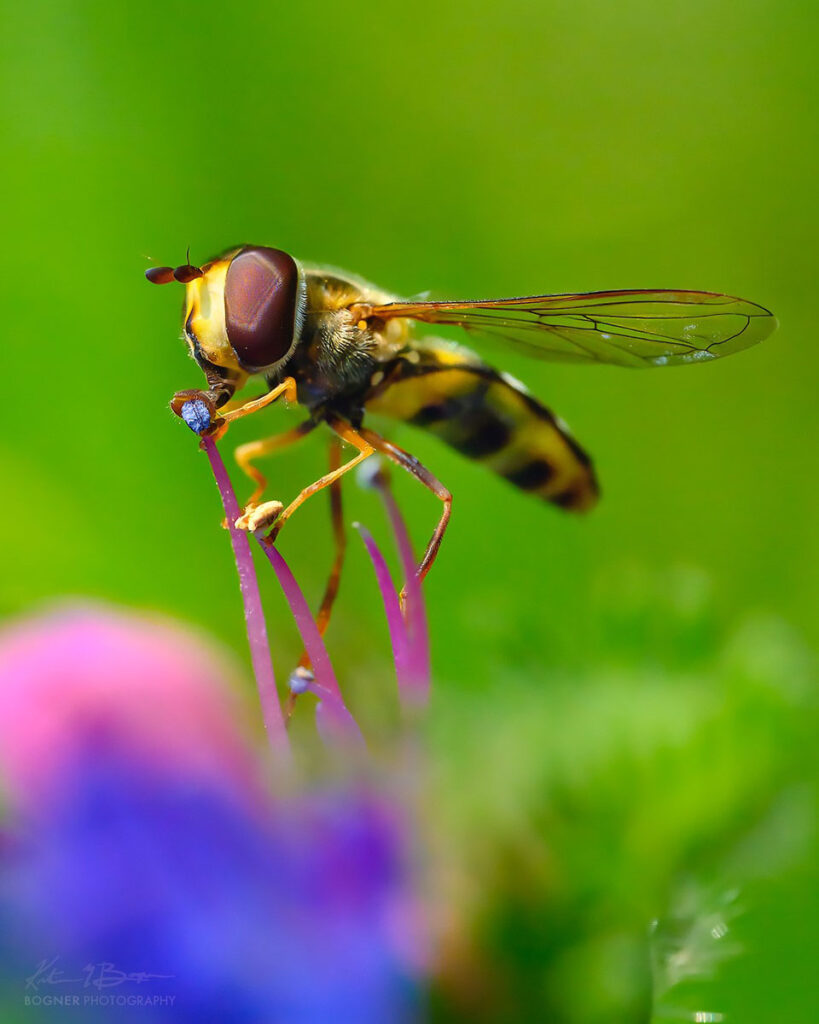
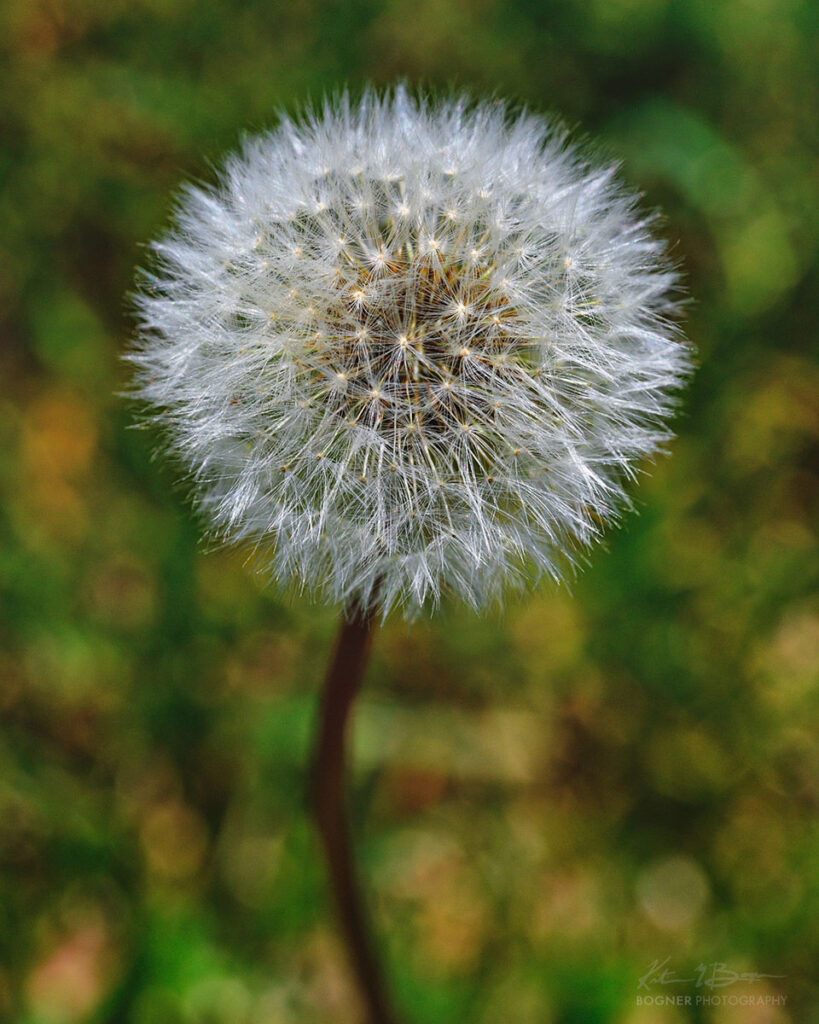
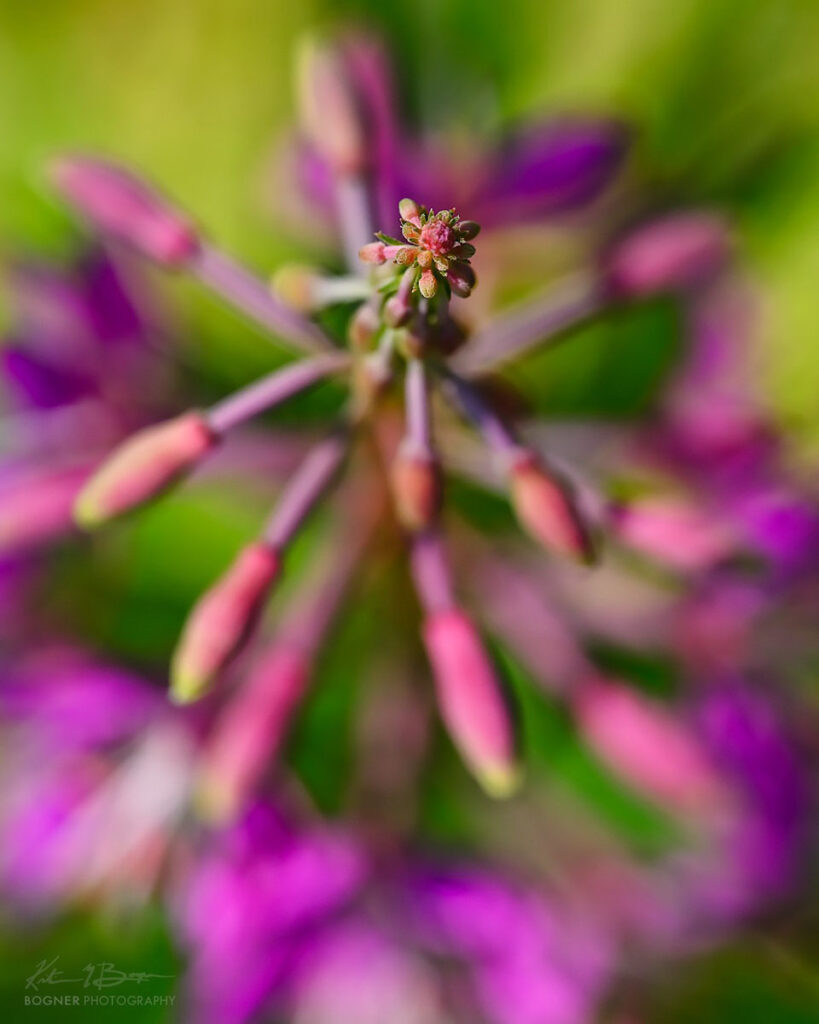
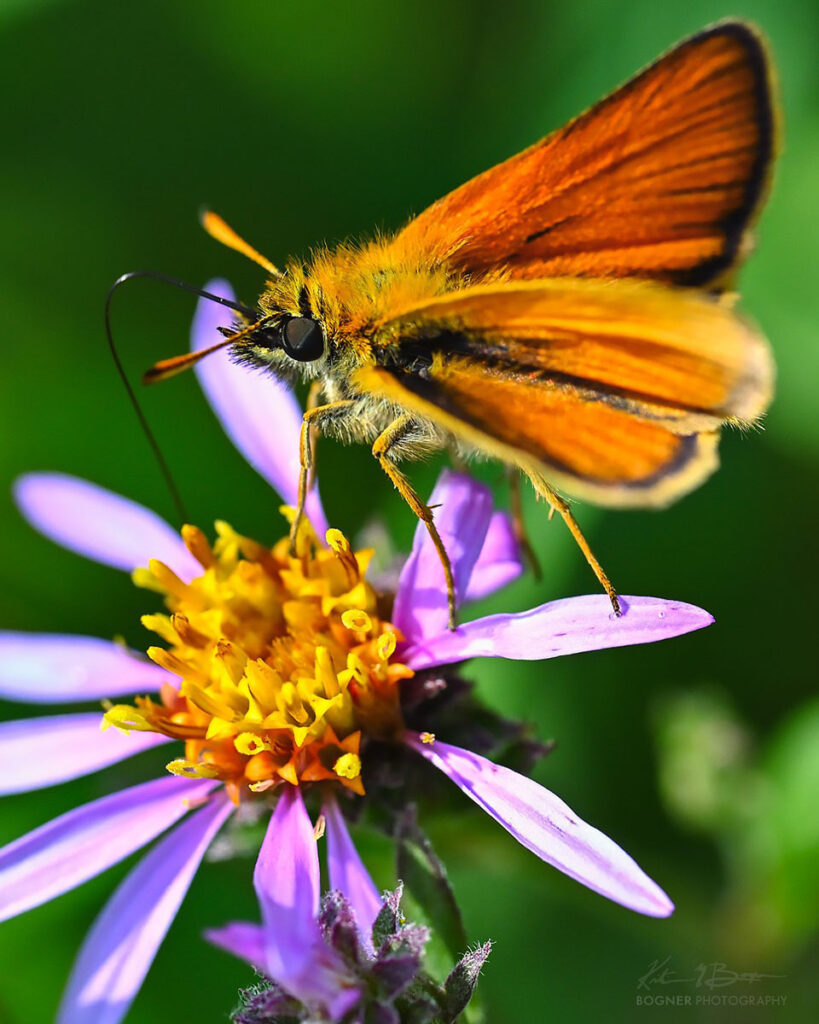
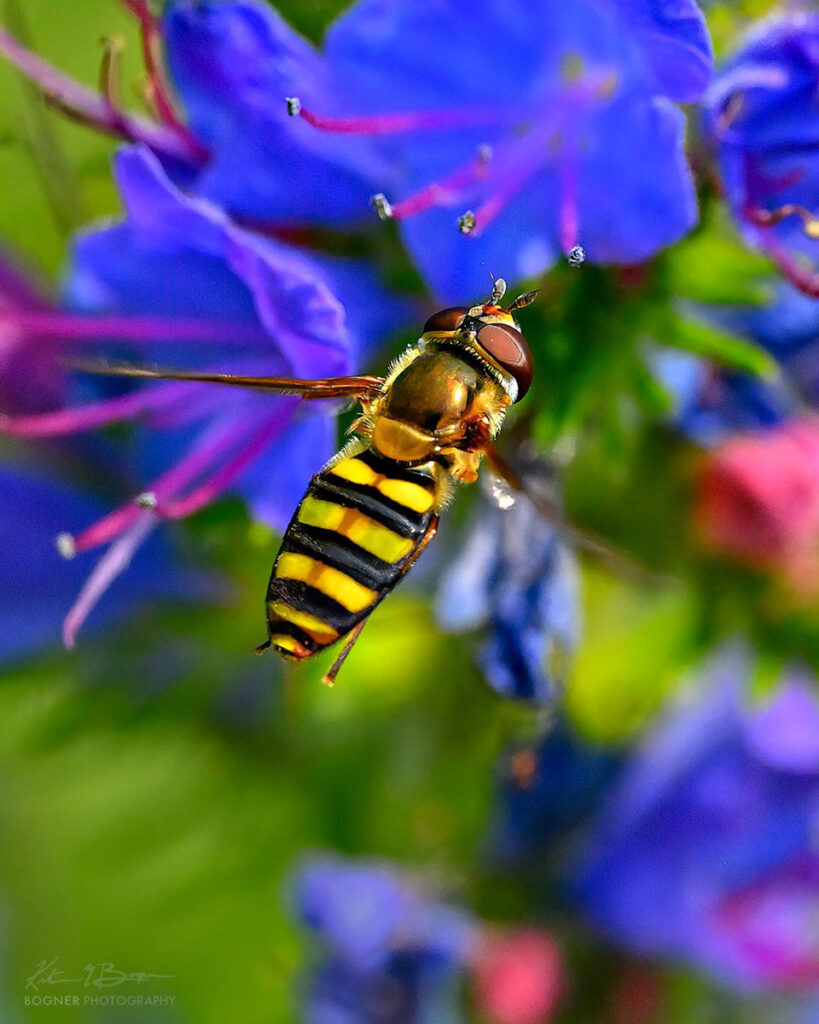
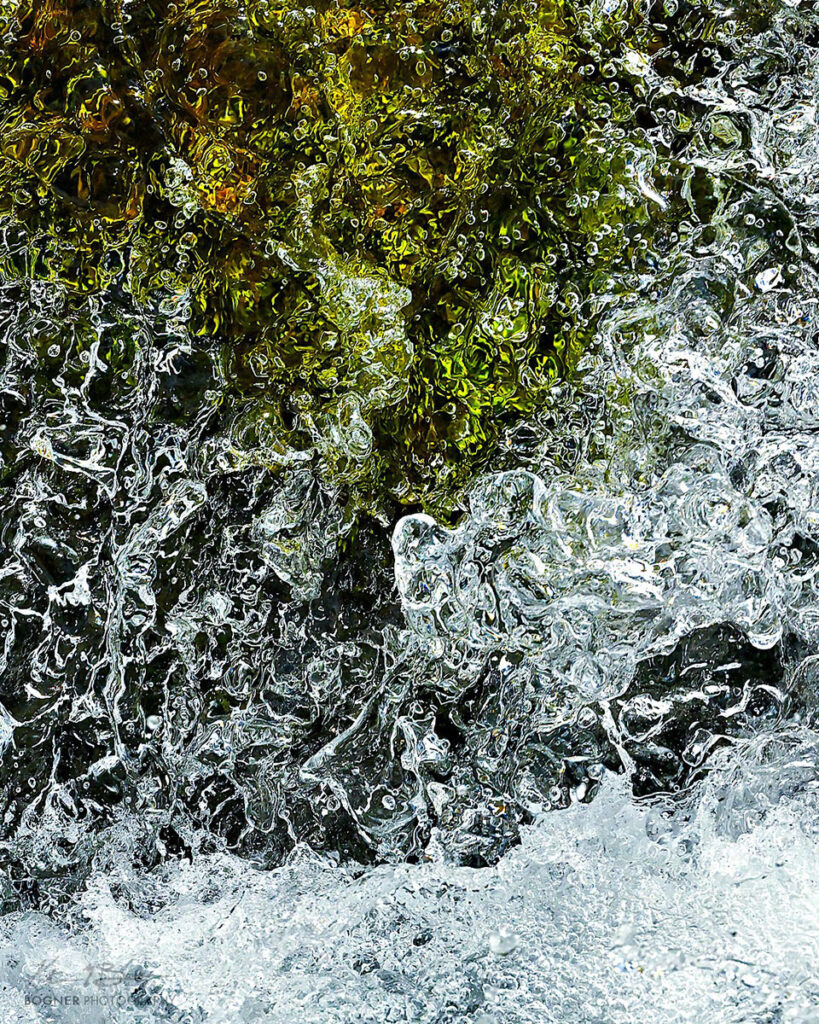
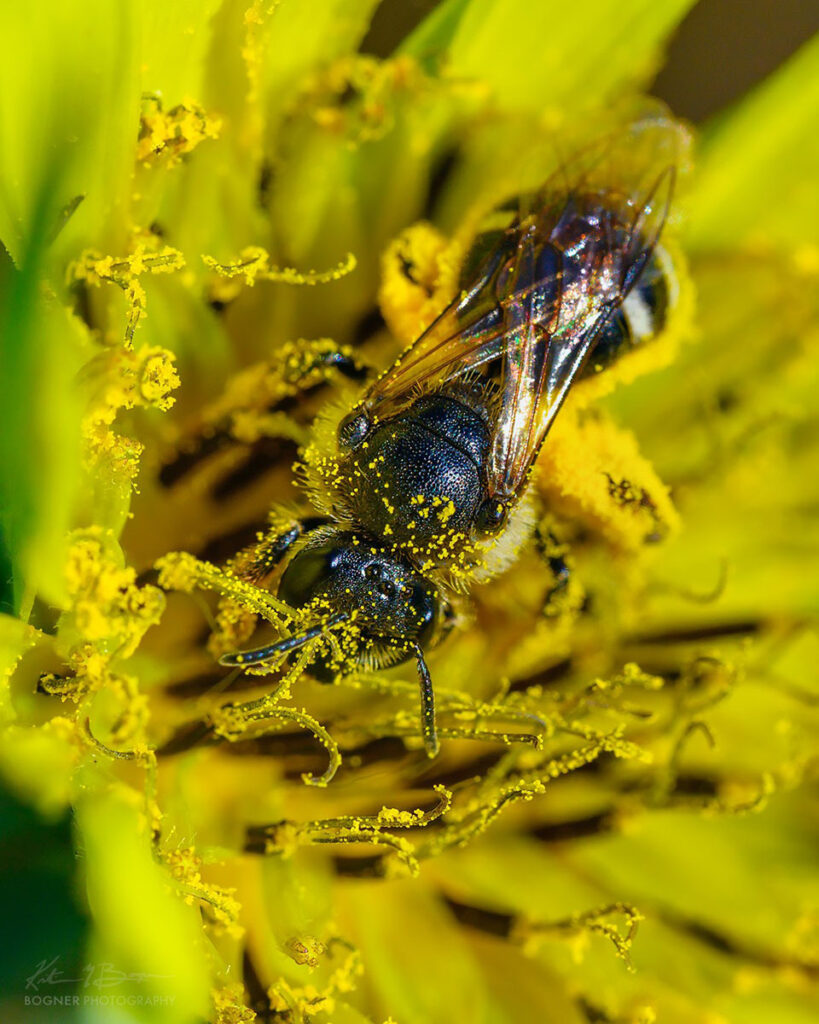
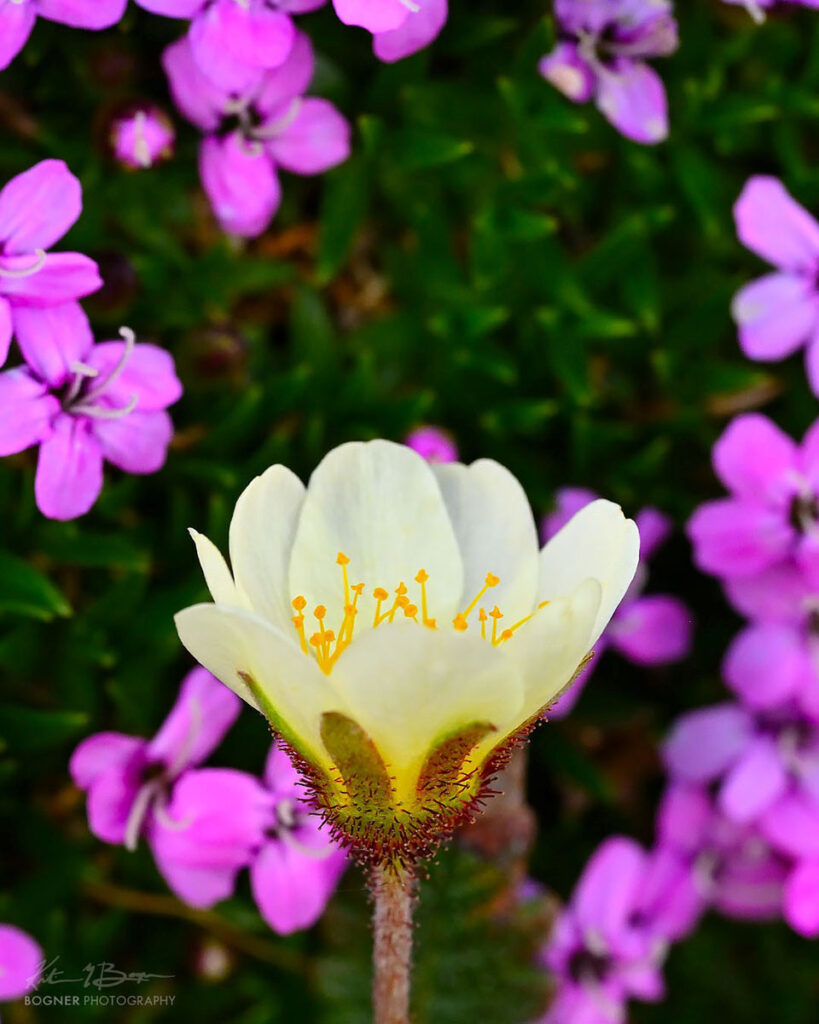
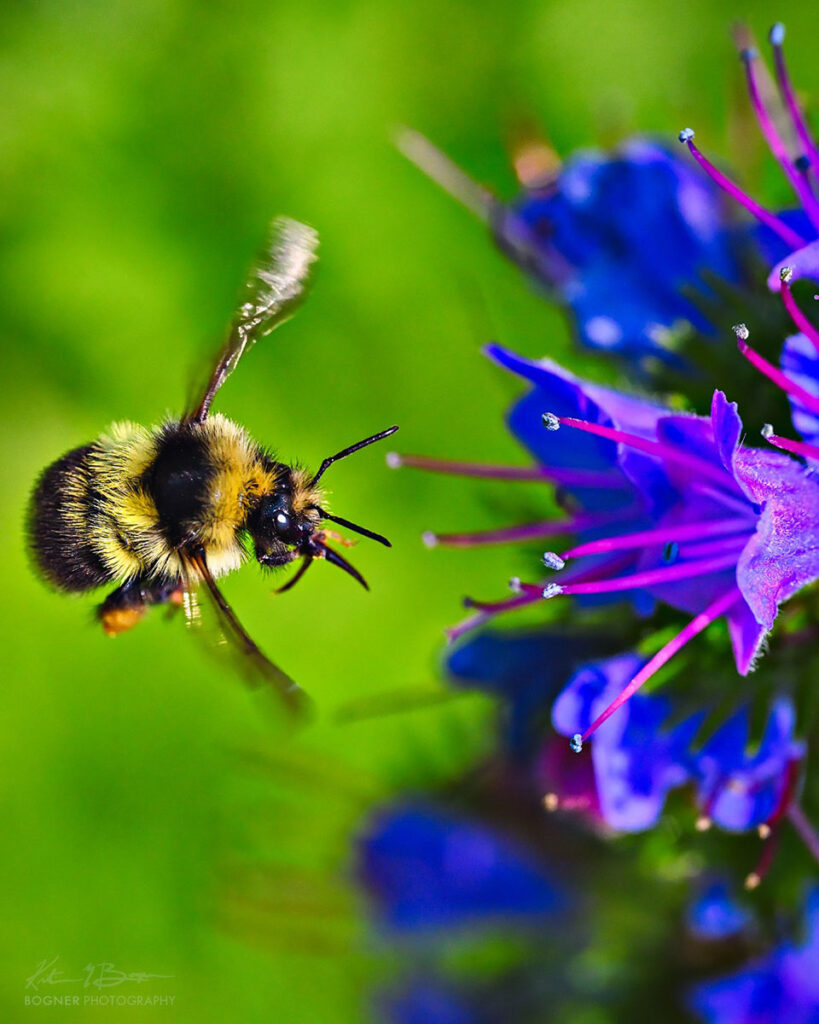
Looking at nature through a macro lens is like being transported to a different world. Seeing the details you don’t normally pay attention to and witnessing the beautiful complexity of nature. I just got my new Nikon Nikkor Z MC 105mm and here are a few of the many new images I got over the past 2 weeks with it. Macro photography always brings out the kid in me and I had so much fun creating these.
Here are 5 Macro Photography Tips
1) Freezing Movement
When shooting Macro photography everything can be so close up that movement is magnified. So a wind gust or yourself moving can really show up and blur the sharp details of your image. Having a camera with in-camera VR stabilization helps, but you can also try shooting at a higher ISO to ensure that you are shooting at a fast enough shutter speed, while maintaining enough depth of field. I would recommend at least 1/500 sec if possible.
2) Depth of Field
Make sure that you have enough depth of field in your images, especially if you are shooting a bee or insect. If your lens is capable of 1:1 ratio or anything close to that focus on a wing or eyes will feel like a sliver. I would recommend atleast f11 or even f16 to capture more details throughout and still have a relatively nice soft background. You can even stop down more if you aren’t concerned with softening the background.
3) Make the Colour Pop
I love capturing the vividness of nature. Try increasing your saturation and clarity right in-camera in your picture control settings.
4) Good Lighting
I often find it easier to photograph macro photography of natural elements in softer lighting, like a cloudy day or earlier or later in the day. But if the sun is blazing above, a simple silver or white reflector can help balance the sunlight and reflect some beautiful directional light into your subject. You can also use some diffusion material to soften the sunlight. I have a very compact reflector and always keep it in my bag. I used the silver side to capture a few of these images. Having a flash can also work to help freeze the action and provide some nice balance or fill to the natural light.
5) Hand-Held Creativity
Macro Photography doesn’t always have to be an elaborate setup. With higher ISO capability of cameras you can get enough depth of field, shoot fast enough and set your ISO high enough to be able to shoot hand held. This is a lot of fun, because you can walk around, immerse yourself in the nature around you and quickly move from a flower to a bee, or whatever catches your eye. This spontaneous creativity often creates amazing images. All of these images were shot hand-held.
I hope you found these tips helpful. To see more of Kristian Bogner’s work go to kristianbogner.com or @kristianbogner on Instagram. Happy Macro Shooting!
About the Author
Kristian Bogner is a 3rd generation master photographer, Nikon Ambassador and director. Sign up for a zoom mentoring session with Kristian Bogner or see more images, tips and Nikon Z series work along with shooting information on each photo at www.kristianbogner.com or Instagram: @kristianbogner







Dear Kristian, you suggested the speed (1/500) and aperture (11-16). Would you please suggest the ISO reasonable range? I don’t want to go too high to avoid adding too much noise.
Thank you.