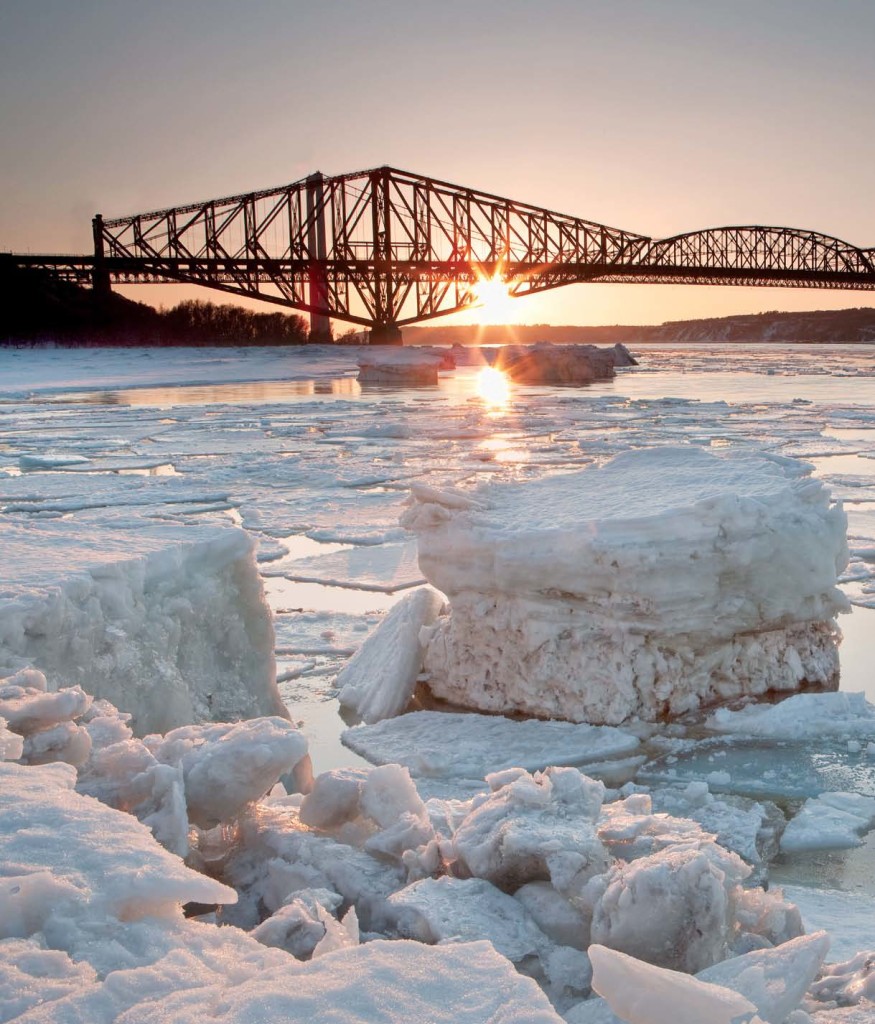
Winter is one of my favourite times of the year to take pictures. We are blessed here in Canada with a giant white reflector – a blanket of snow that fills the scene with bright, even light that opens shadows and reveals colour and detail in a way that can only be described as pure magic.
 |
 |
 |
Yes, you have to be well prepared for a winter photo adventure, but the rewards are wonderful. Winter photography is full of possibilities, from the beauty of early morning light, to daytime photography under a crisp, cold blue sky, sunsets that are beyond description, and night light that transforms any scene into a fantasy world – winter in Canada is like a trip to a theme park filled with photo opportunities! One of the striking qualities of winter light is the intensity of illumination in the average scene. This gives you the opportunity to shoot at small apertures to achieve greater depth of field, revealing details in the scene from close subjects to distant vistas. The cold, crisp air is dry, and this helps you capture light and detail that is just not seen at any other time of year – use it to your advantage. To enjoy winter photography, you have to be well prepared. This preparation starts with a wise choice of clothing. Warm and comfortable are the two key goals. If you are cold and wet, your winter photography adventures will be short and unproductive.
 |
 |
 |
A Few Tips on Exposure and White Balance:
 Outdoor photographers can learn a great from winter sports enthusiasts – a crosscountry skier will tell you that several layers of clothing will keep you warmer than one bulky garment – unless you venture into the far north, where nothing beats a good parka. you could say that coping with winter cold is all in your mind, because you will lose much of your body heat through your head – so wear a winter hat – not just a baseball cap! your extremities will be prone to cold – make sure to wear winter gloves or mittens, and don’t ignore your feet – get the best thermal insulated boots you can find. Most of the photographers I have met that didn’t like winter photography were simply not properly dressed. Stay warm and I promise you will have lots of fun!
Your camera will also suffer from exposure to the cold. Try keeping your camera batteries as warm as possible as most problems occur due to cold batteries. Charge your batteries before each winter outing, and keep at least one spare set inside your coat. It can take five hours for cold batteries in your pocket to warm up to shooting temperature, but only a few minutes for them to plunge below their minimum operating temperature if they are in a camera exposed to minus 20°C.
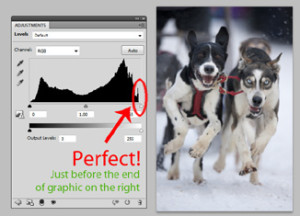
Because exposure is so important, look at your histogram, and make sure you expose for the highlights. When you look at the histogram in your camera, make sure the exposure readout fills the graph – the brightest elements of the scene should be next to the right side without clipping the highlights. Look at your camera manual to learn how to use exposure compensation so you can make your image look good – especially on a cloudy day. If you just shoot on automatic settings, I guarantee that most of your pictures will feature grey snow.
Editor Norm, a long-time ski and snowmobile photographer, uses a Kodak Grey Card to meter the winter scene and check white balance. The 18% grey reflectance of the card provides a standard that you can always rely on for accurate rendition of colour and lighting. Just hold the card at arm’s length in front of the lens so that the light strikes it at the same angle and intensity as it strikes your subject, take a meter reading, adjust the exposure compensation on the camera (or use manual exposure settings), and fire away.
Shooting in RAW or using bracketing mode is also a great solution. you can easily fix the color balance afterward in post-processing. Exposure compensation is a simple thing; make sure to read the camera manual to understand it. On a Canon camera for example, just turn the big knob in the back while in Aperture or Speed mode. If you shot in manual mode, just overexpose so the histogram is extended to the right.
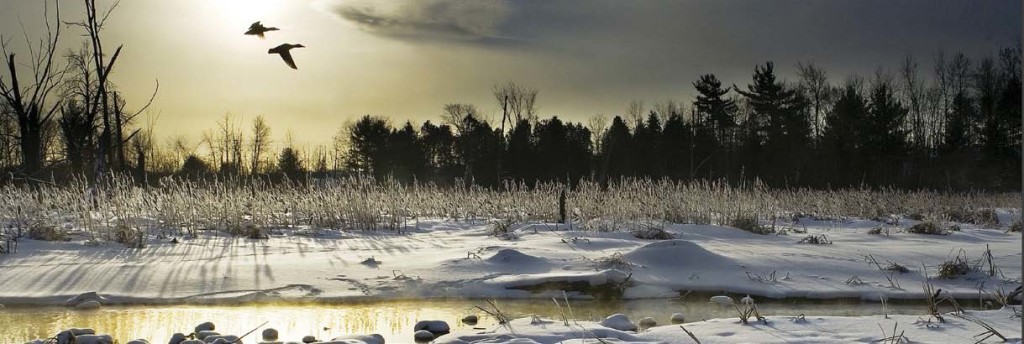
– Not sure of your exposure? Use the bracketing mode on your camera to take a good exposure and adjust the brightness and contrast in post-processing.
 Because the sky is often very bright in winter, you may find that a graduated filter is more useful at this time of year than it is when shooting summer landscapes.
– When photographing wildlife in snow, the best way to reduce contrast is to use a fill flash. A fill flash is perfect for outdoor portraits also – I bring my flash everywhere – all the time, and in winter I make sure that I keep the flash batteries warm.
I personally love to use a Better Beamer with my 580 flash for wildlife photography. For great results, shoot in aperture priority mode and make sure that your flash setting allows synchronization at any speed.
A tripod and a remote shutter release are invaluable for landscape shots, the extra effort will help you create sharp photos – and keep your hands warm!
In the winter, the most spectacular night photography can be accomplished in ambient moonlight. The landscape lights up like a fantasy world when your subject is lit by the moon and the light reflected by the snow.
Color balance settings on your DSLR will usually work well in winter, don’t try to make all your pictures white, keep the magic of golden hours, and keep the cold blue cast of a freezing day… it’s a important part of your image. If you want to be serious about your work, shoot in RAW, then it is easy to adjust the color balance in postproduction. So get up early, put on warm clothes, and go capture the beautiful images of winter that are so uniquely Canadian. When you return after a photo adventure with gigabytes of images that look like Hallmark cards, you will be able to proudly say that this is what the Canadian winter is all about!
 |
 |
Michel Roy, from Quebec City, is the owner of Digital Direct Photos & Videos, specializing in a full range of photography and video from corporate assignments to weddings. For a visual adventure, visit the website at www.digitaldirect.ca


