With the popularity of digital photography, and the ability to combine images in post-processing, new techniques have emerged that add special visual qualities to traditional images.

One of the most interesting new techniques is referred to as HDR – let’s take a look at the magic behind this new approach to photography.
The term HDR stands for High Dynamic Range – beyond the camera’s ability to record the range of light and contrast on a single frame… it gives the photographer the power to combine many exposures into a single image.
It is ideally suited for high contrast images – and much more!
In all HDR photography, you need to keep the aperture constant among your different exposure shots while you capture the base images. This will assure that you have the same depth of field throughout your set of pictures.
Start with bracketing your shutter speeds with the camera in Aperture Priority mode. Switch to manual focus so the camera doesn’t shift the focal point during the sequence. Most of the time, three bracketed shots taken at a two-f/stop range will be enough.
After you have taken your three different exposures of the subject, you are ready to start the post processing phase of creating an HDR image.
I use Photomatix from www.hdrsoft.com to combine the different exposures, but many choices are available now.
During one of my trips to Tremblant, Québec, I took these three images handheld in Aperture Priority mode from the balcony of my room. They show the sky just before a storm.
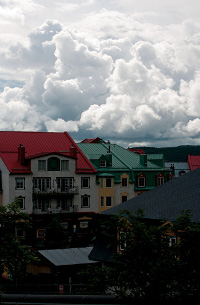
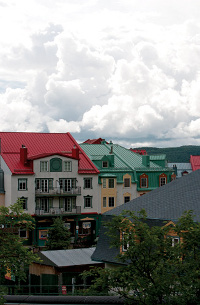

Getting Started
1. In Photomatix, click the Load Bracketed Photos button. The next step is to choose your images or drag them into the Generate HDR Images window.
If you have taken many exposures, you may find that the computer could be slow to calculate the image, so use the Batch Bracketed Photos button instead, for heavy workflow.

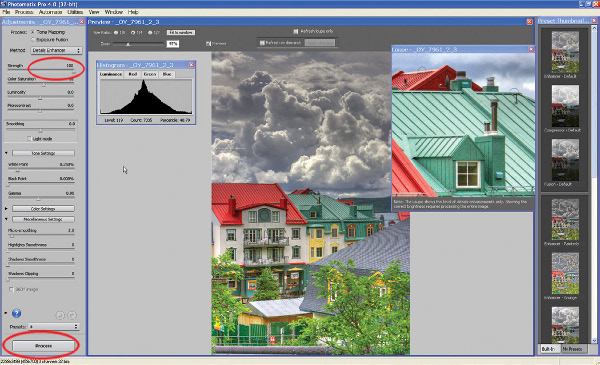
2. The next step is to Tonemap the image – now you can see the magic happen. At this stage, the image is 32 bits and the tonal range is too high for the monitor to properly display it. The next step will fix this.
Simply click on the Tone Mapping / Fusion button to convert the image so that you can see it properly.
The most important slider control is the first one – it will determine the strength of the HDR. You might want to leave it at “max”.
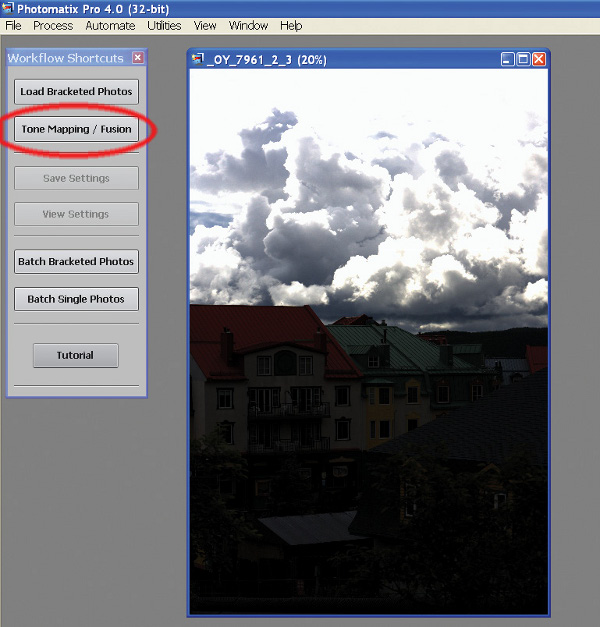
3. The next step is to actually process the tone map setting you selected. Just click the bottom button to process the image as a HDR.
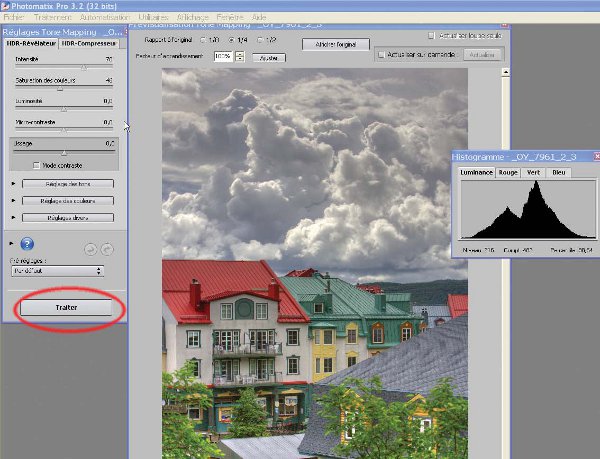
Finally, you can admire your HDR image!
You need to save your image now so you can finish it in Photoshop. To save your image, just close the actual image and you will get a message that will ask you to save it. It is strongly recommended to save the image as a 16-bit TIFF file. The file can then be opened in Photoshop to make it even more spectacular! Finish with Topaz plug-in or Photoshop to add local contrast. You can even mix different layers of effects afterward using some layer masks.
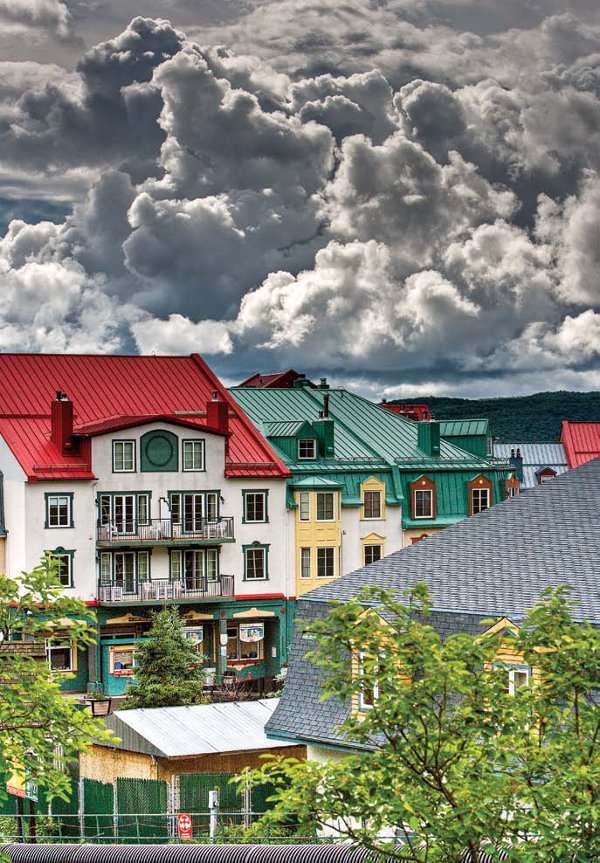
It is impossible to give all the explanations about HDR photography here but I hope this basic introduction gives you the desire to try this amazing technique. Have fun!
Keys to HDR success
- Steady the camera as much as possible. If you can, always use a tripod. With a tripod, use a remote release or the self-timer on your camera to avoid movement or vibration.
- Shoot in the Aperture Priority mode or Manual Exposure mode.
- Keep the same low ISO to reduce noise in the final result, just change the shutter speed to capture different exposures.
- Beware of movement, foliage in the wind, etc., static subjects work best.
- Use auto focus to zero-in on your subject, then switch to manual focus for bracketing.
- Use the RAW image setting in camera to get better results.
- Take the number of exposures you think you might need, but don’t feel compelled to use them all – too many exposures in an HDR image can result in chromaticaberration and unwanted noise.
Michel Roy is a professional photographer and videographer from Quebec City, who specializes in a wide range of corporate and portrait assignments. Take a look at his website – it is eye candy for the creative photographer!
www.digitaldirect.ca and www.flickr.com/michelroy
| PHOTONews on Facebook | PHOTONews on Twitter |


