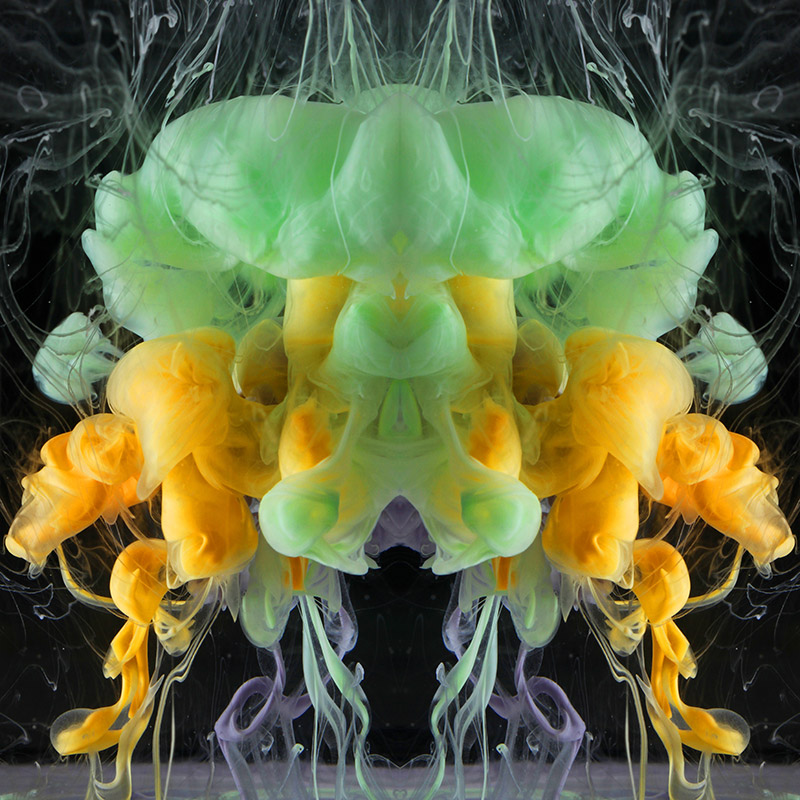
Water Drop Art – Blending Science, engineering, art and photography.
About the Author:
Gordon is a full time telecom engineer, father of 5, and amateur photographer currently residing in DDO Quebec. To see more of his work you can visit his flickr page at https://www.flickr.com/photos/99261386@N04/
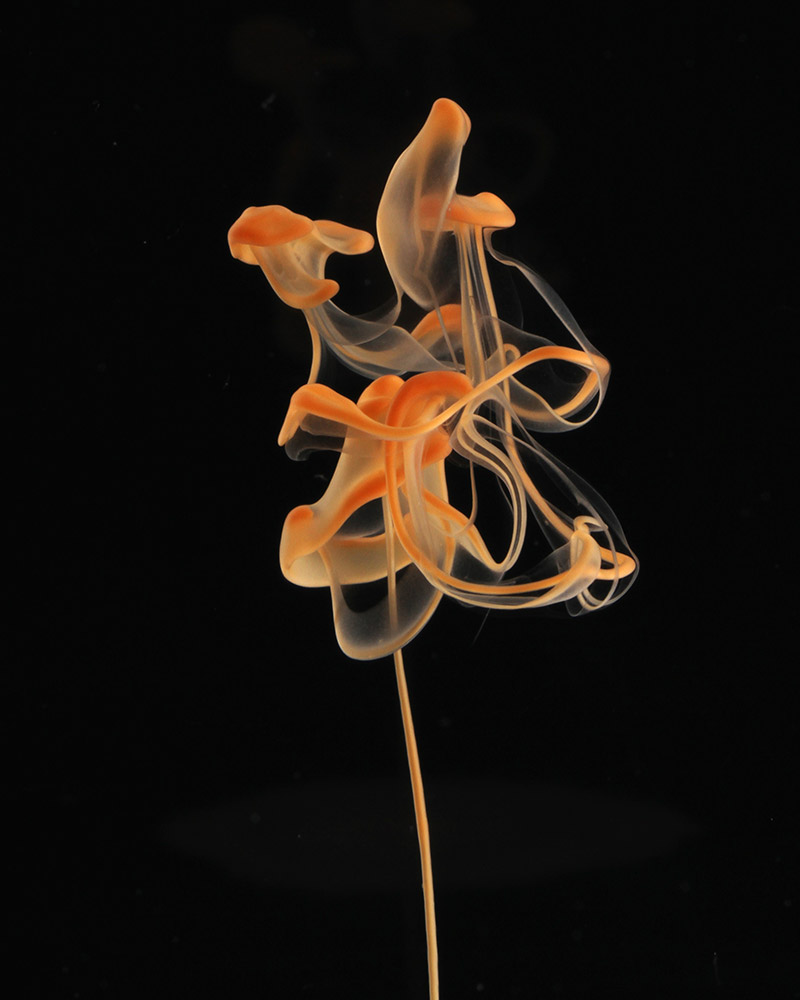
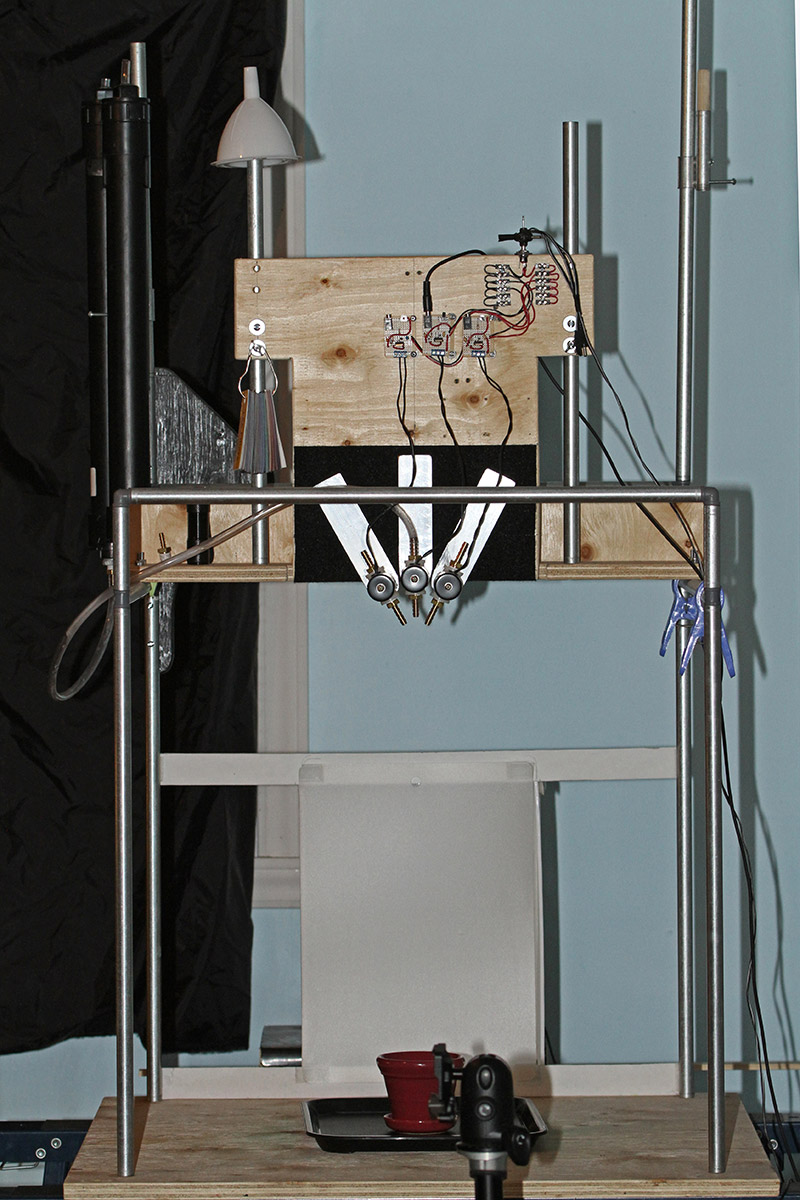
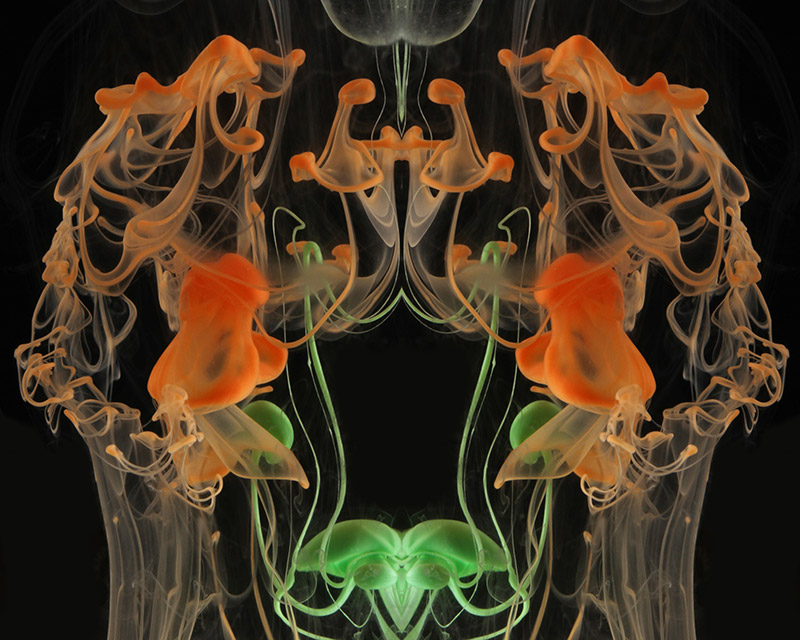
After winning the Spring 2014 “Close-up” challenge, the editors of PhotoNEWS Flash were interested in how the images are created. I will explore what a good quality macro lens like the Tamron 90mm F2.8 VC USD lens can add a to this type of photography, share photos of my water drop studio, and describe the process of creating these images.
Why the 90mm Macro for this type of work? A dedicated Macro is ideal for water drop photography and the 90mm provides the working distance needed. If you are too close the spray from the water drops will end up on the lens. I am very happy with the performance, and sharp image quality of this lens.
Why would I choose the VC model? For water drop work it would not be necessary to have image vibration compensation as the camera is mounted on a tripod and triggered remotely. I enjoy nature photography as well and look forward to field work with this Macro, where the vibration compensation is beneficial.
The features that set this lens apart for me were:
- The internal focus means there is no exposed barrel to pull dust into the lens, plus the front element does not move when focusing. This is an advantage when you are very close to subjects.
- Autofocus is quick and quiet even when set to full on the range switch.
- The autofocus range switch makes autofocus even quicker, an advantage when hand holding on close subjects. Select .5-infinity, or .3-.5M and the focus only searches the selected range
- Weather seal and construction quality are very good and with a canon mount on my Canon 7D the lens mounts nice and snug to the camera body.
I would recommend this lens to my friends.
How do I create my water drop images? To fully cover this topic would require a book, so I will provide the highlights. These images are shot in a dark room. The camera is mounted on a tripod. The water drop collisions are lit from behind with 4-YN560II flashes shot through a home-made softbox. Set to 1/128, it is the 1/40,000 of a second flash duration that freezes the motion not the shutter. The 4 flashes are triggered from a single feed through a homemade opto-coupler.
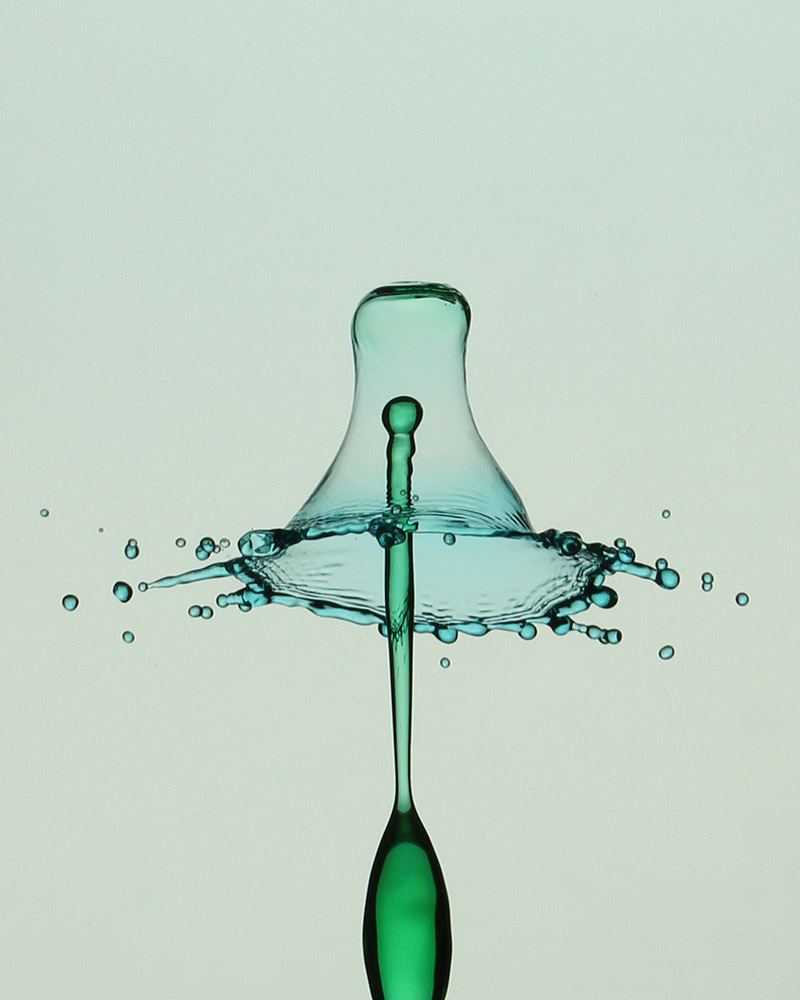
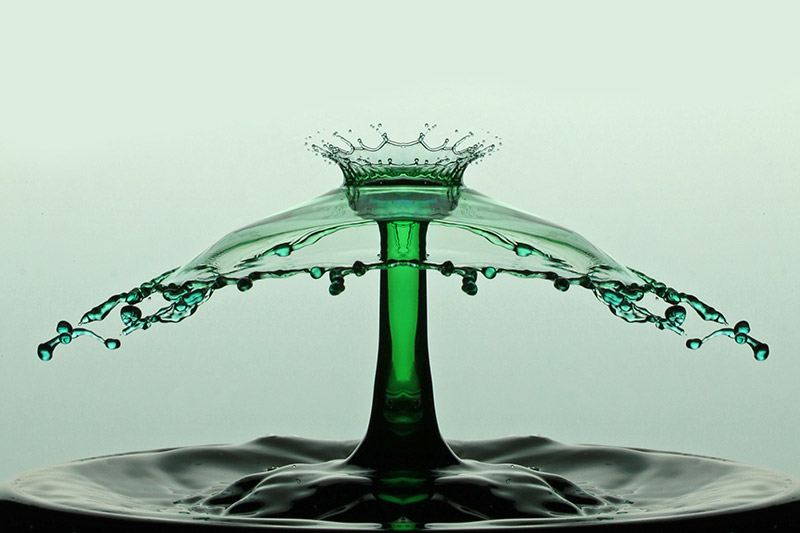
How do I make the water collisions: The key is to have a system where as many factors as possible are controllable. I use a cameraxe shield 5, a DIY kit microcontroller that allows me to control the timing of the solenoid valves and the flash. The solenoid valves control the size of the water drops. When a water drop collides with a dish of water it first forms a crown and then a rebound column. I time a second drop to collide with this column at different stages in its travel. So the shutter is opened, the drops are released, the flash fires to capture the exact moment you are looking for, then the shutter closes.
I use Guar Gum or Xanthan Gum as thickeners in my drop water to slow the collisions down. I color the water with food coloring, and add rinse aid to the drop tray I reduce the surface tension of the water. This allows for taller rebound columns.
My studio is a 30”x30” plywood base, with a ½” electrical EMT frame connected with Pex elbows and T-joints. Mine was designed to disassemble and reassemble quickly, but you could build a wood frame.
The art of this type of photography is in manipulating the variables to create the image you are looking for. The image in the spring close-up challenge was shot by dropping the water through a soap bubble. Glycerin in the bubble mix allows the bubble to survive a water drop penetrating it.


