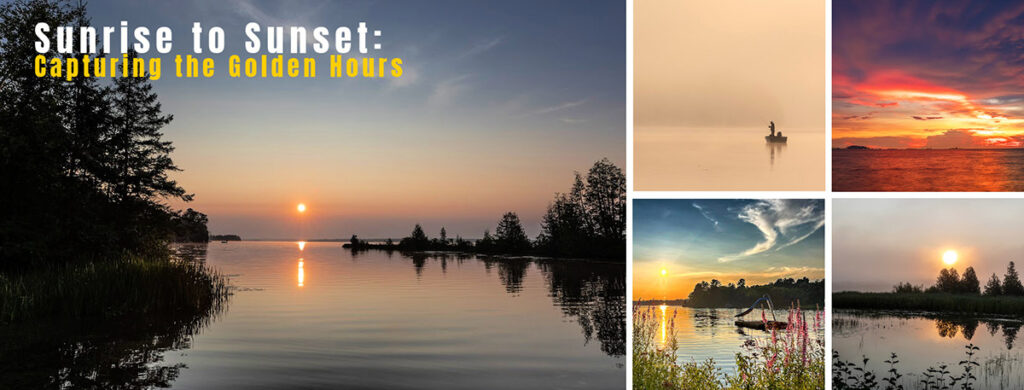
Sunrise and sunset offer some of the most beautiful lighting for photography, and there are countless ways to capture their magic. Here are some creative ideas to help you make the most of these golden hours.
Composition Ideas
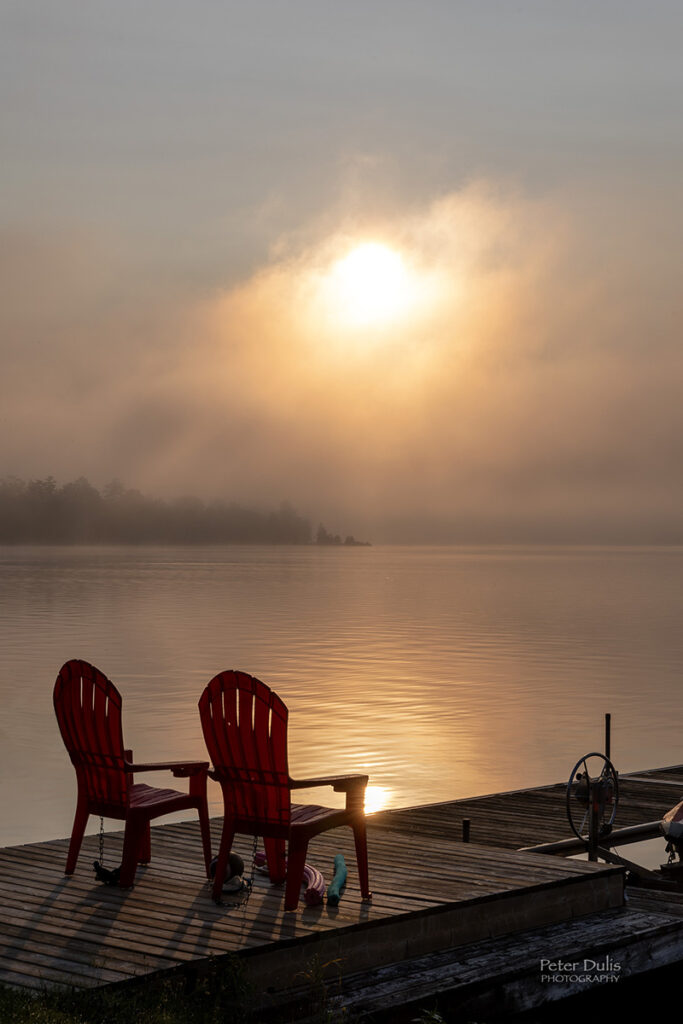
24-70mm lens, 1/320 sec.; f/11; ISO 100; AV mode
Silhouettes: I love to capture the contrast between the sunrise sky and dark foreground subjects. Trees, people, and landmarks make great silhouettes as a point of interest to grab the viewers attention.
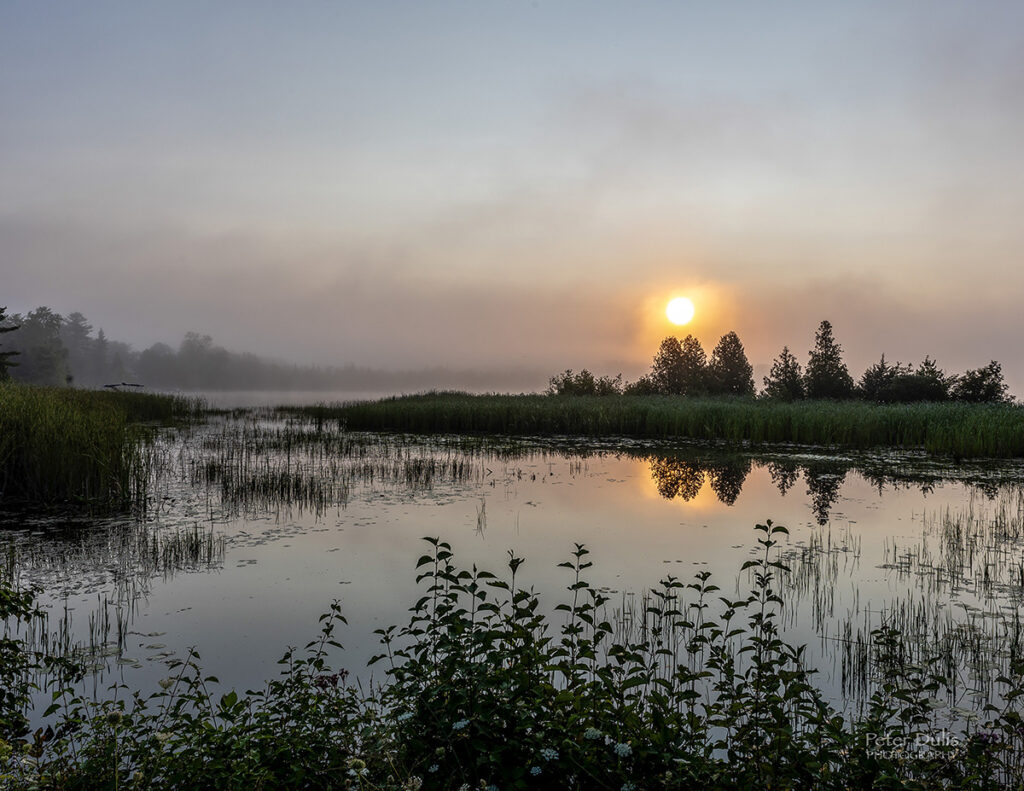
24-70mm lens, 1/80 sec.; f/11; ISO 100; AV mode
Reflections: Look for bodies of water like lakes, ponds, or even puddles. The reflection of the sunrise or sunset can add depth and symmetry to your photos and add a sense of creativity.
11-24mm lens; 1/200 sec; f/4; ISO 100; AV mode
Leading Lines: You will find leading lines everywhere. Use natural or man-made elements like roads, trails, or fences to lead the viewer’s eye towards the horizon where the sun is setting or rising.
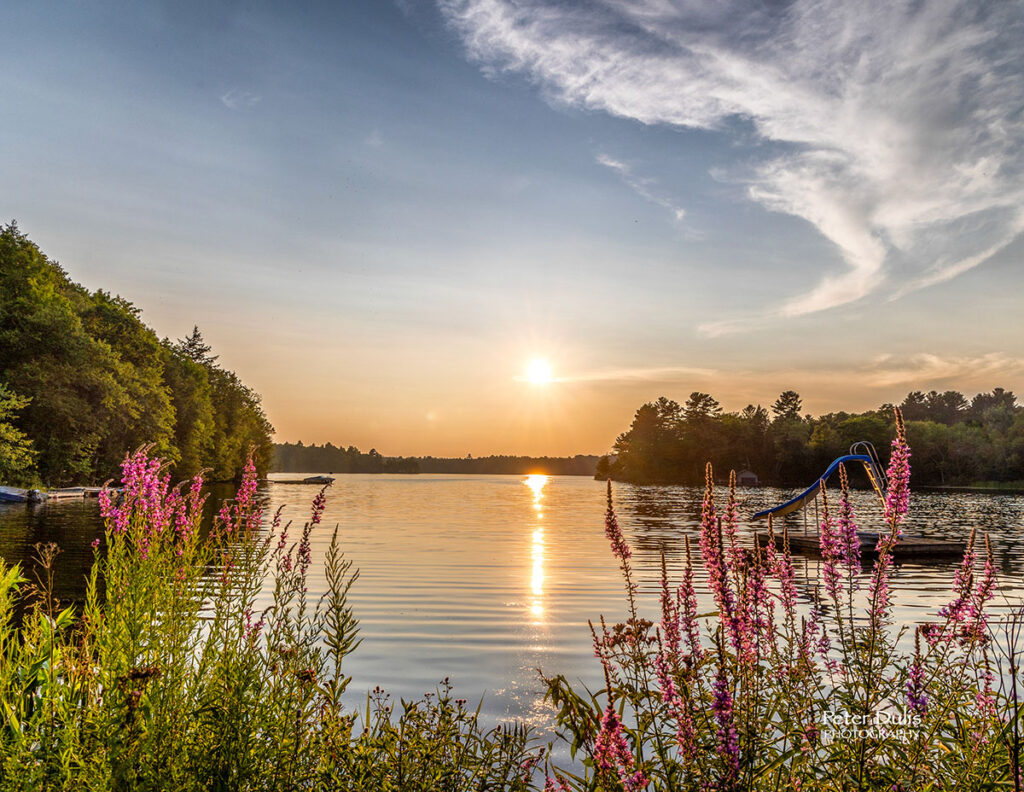
24-105mm; 1/250 sec; f/11; ISO 100; AV mode
Foreground Interest: Include interesting elements in the foreground, such as flowers, rocks, or architectural details, to add depth and context to your shot. They also help you tell a story of a time and place.
iPhone; 3.99 mm focal length; 1/1000 sec; f/1.8; ISO 25
Panoramas: Capture a wide-angle view to showcase the full breadth of the sky’s colours and the landscape. This works well for both sunrise and sunset.
A Few Other Technical Tips to Keep in Mind
Golden Hour Timing: Make sure to arrive early to set up and stay a bit later to capture the full range of colours as the sun moves. Some of the most beautiful photos are captured during the blue hour period, which occur just before sunrise and just after sunset.
Check the Weather: Clouds can add texture and drama to your shots. Clear skies are great, but a few clouds can make for a much more interesting sky.
Manual Settings: Use manual mode to control exposure, especially since the light can change quickly. Experiment with different apertures and shutter speeds, keeping the ISO as low as possible to avoid graininess.
Tripod: Use a tripod to ensure stability, especially for long exposures or low light conditions.
The Finishing Touch
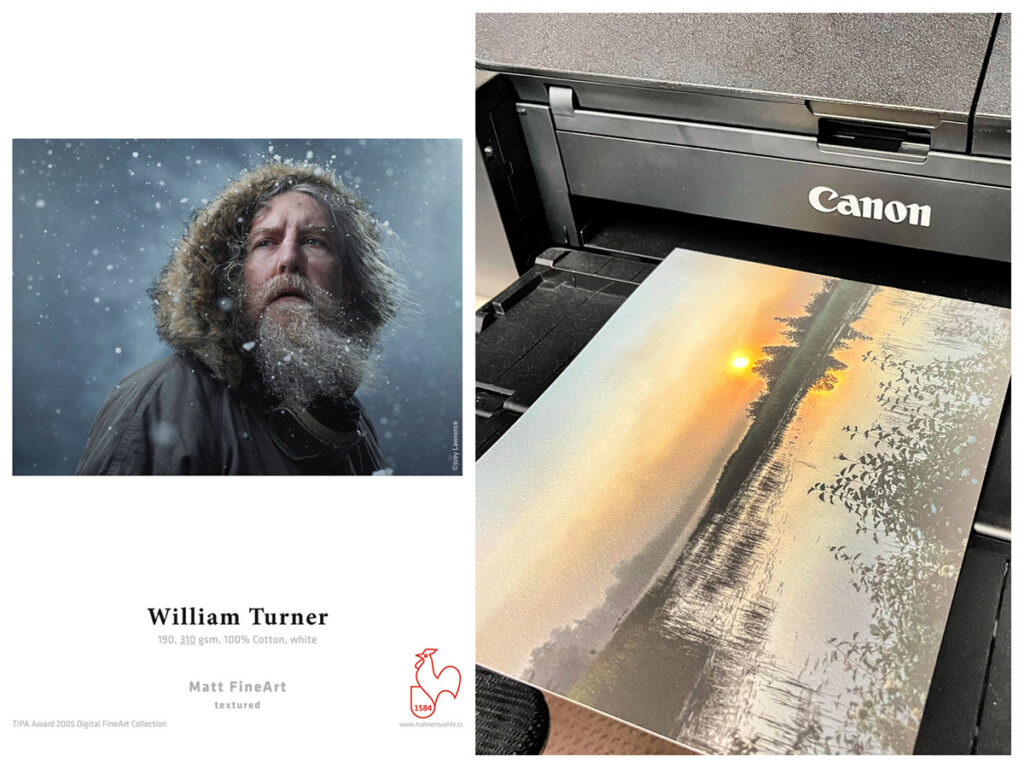
For this Sunrise & Sunset photo collection, I decided to use the Hahnemühle William Turner paper, a genuine mould-made paper. If you want the look and feel of a real art paper – this is the one! This stunning paper turned out to be the most surprising find from this exercise. I had avoided it before, thinking the texture and matte surface might compromise detail or tonal range, but I was completely wrong. I absolutely love it!
Happy Shooting & Printing!
Discussed Items
ABOUT THE AUTHOR
Peter Dulis is a Canadian photographer and visual storyteller living in Toronto, Ontario. His work has been published in a number of magazines such as Graphic Arts Magazine, Visual Wilderness, Luminous Landscape, Photo News and has been recognized for photography excellence. Peter offers photo workshops in southern Ontario and can be reached at info@photographyAdventures.ca
Peter shares many of his tips and techniques in his monthly newsletter – PhotographyAdventures.ca and PeterDulisPhotography.com


