Focus stacking? Never heard of it? It’s certainly a tool every photographer should have in their arsenal when looking to bring everything into focus.
In a perfect world, we’d all have view cameras with bellows, tilt and shift abilities, and maximum depth of field. However, lugging those dusty old 4×5 cameras into the backcountry doesn’t sound like my idea of a good weekend. A tilt-shift lens could also solve some of our problems, but it’s a heavily specialized lens that few can afford.
Enter the world of focus stacking!
On the left, a single image from the Nikon D800 and Tamron 90mm f2.8 Macro. On the right, 7 images at varying focus points, combined for an extended depth of field. 1/250 at f/11.
[beforeafter]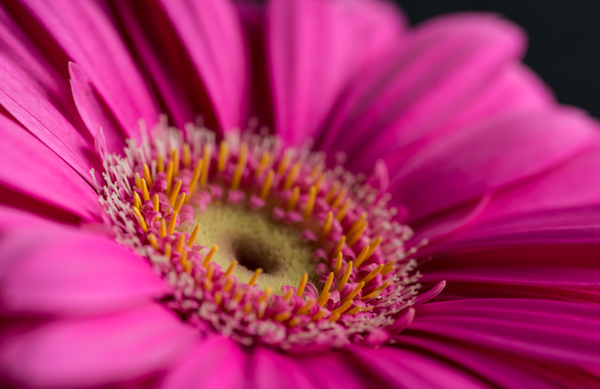
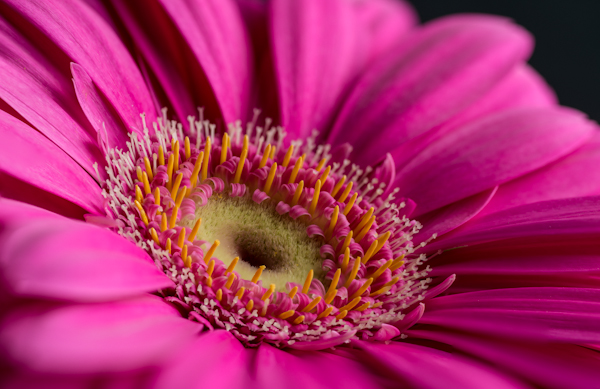
[/beforeafter]
With focus stacking, you’re taking multiple images of the same scene, but you’ll vary the focus of your lens throughout the range. Because we’ll be combining the images later, it is important to shoot on manual exposure and on a tripod, so the images have an identical exposure and line up perfectly when we bring them into the computer.
Start by focusing at infinity, or the farthest point in the photo that you’d like to have in focus. Now switch over to manual focus, take your first shot. Now move the focus ring ever so gently, and focus a bit closer to yourself. Repeat this process until you’ve reached your closest focus point you wish to achieve in your photo. Depending on the lens and how much depth you want, you could be looking at as few as 2, but as many as 10 photos. These are your “slices”.
We’ll be using Adobe Photoshop for this tutorial, but there are plenty of software suites capable of producing the same thing.
- For Windows users: Combine ZP – A freeware program capable of producing stacked images.
- For Windows/Mac users: Helicon Focus – Price ranges from $30 to $250. Demo mode available.
- For Windows/Mac users: Adobe Photoshop – Every version since CS3 should be capable. – 30 Day Trial available.
First we’re going to open our images into the same document, on separate layers. Click the top layer, and then shift+click on the bottom layer. You have selected all the layers.
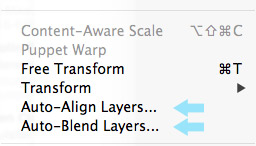 Next, go to Edit > Auto-Align Layers. I usually leave it on Auto, but sometimes Reposition will work better. We just want to minimize and slight shifts between images for a better end result.
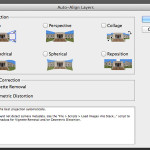
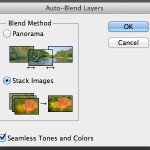 Once the process completes, go to Edit > Auto-Blend Layers. Set the Blend Method to “Stack Images” and click OK.
Sit back with a cold beverage and watch the magic happen.
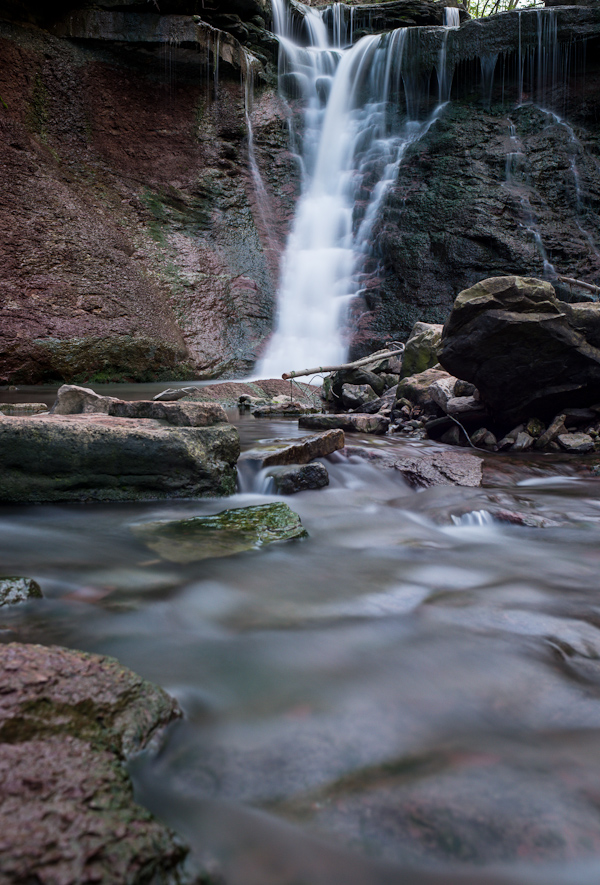
Now this technique doesn’t only apply to macro. Here we have an example for landscape photography. With a tilt-shift lens, we could have easily used the tilt function to move the plane of focus forward, getting the rock in the foreground and falls in the background to both be in focus. But, we simply didn’t have one in the bag on this excursion. What to do?
In this scenario, we only shot 2 photos, one for the background of the waterfall, and one for the foreground of the rock. We shot this using a 28-70mm lens around 40mm on full frame, so f/16 covered us from the background, right up to just before the rock. Our second photo covered the entire rock. By combining these two photos below, using the above method, we were able to achieve the depth of field we wanted throughout the frame.
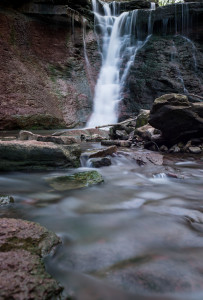
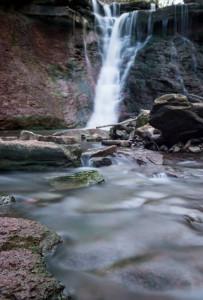
Drag the slider from left to right on the image below. The photo on the left only shows the background in focus, the photo to the right shows our final combined image.
[beforeafter]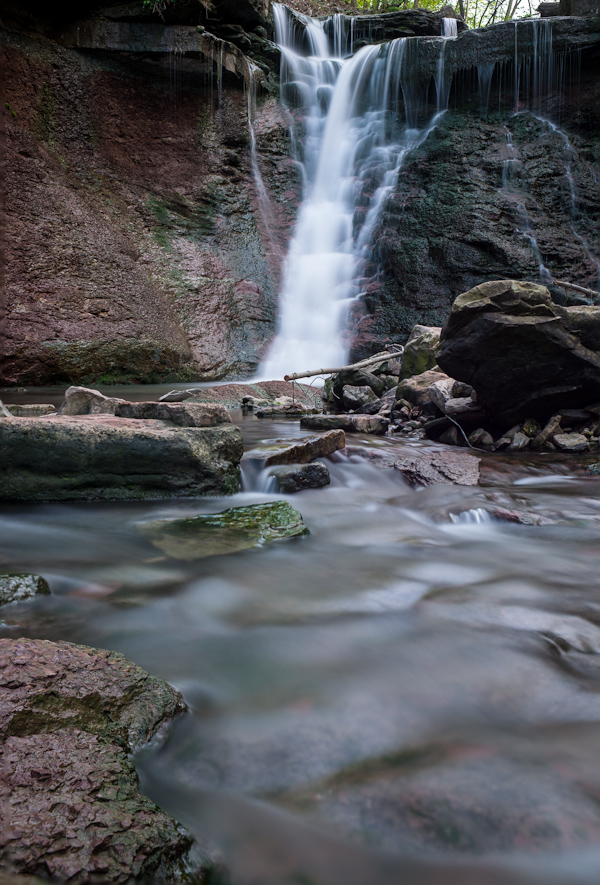
 [/beforeafter]


