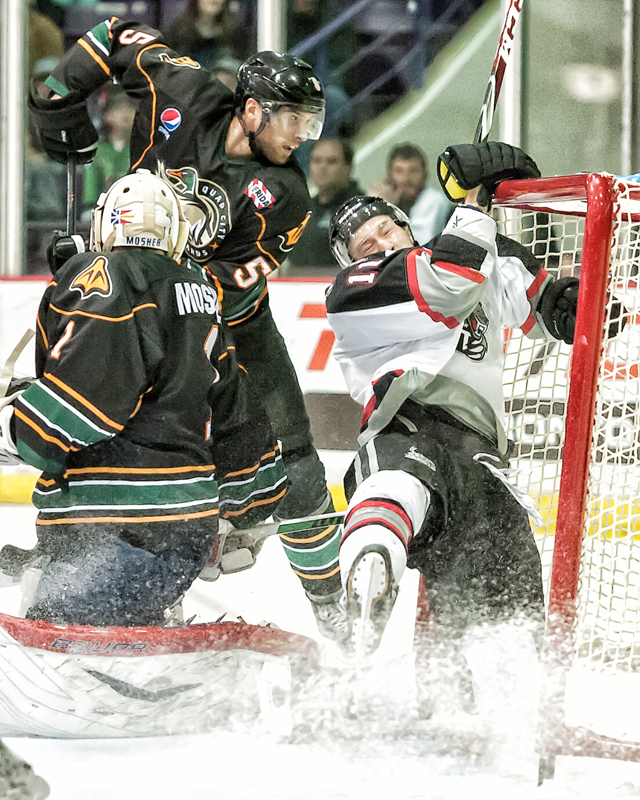
Nikon D3 – Nikon 70-200mm f2.8 | ISO 6400 – 1/800 @ f2.8
I have been shooting sports for over 25 years professionally. I first started shooting sports my last year of high school when my buddies and I would go skiing in the Laurentian mountains just north of Montreal. I wasn’t shooting along the side of the ski slopes but rather alongside my daredevil friends with my twin lens reflex camera. Not the smartest idea as my bruised ribs will attest to.
Later on while I was employed at Goodyear Canada (clerical work) a coworker and I would go to the Goodyear sponsored races (again up north of Montreal in the Laurentians) and get some shots. Because we were wearing baseball caps and jackets with Goodyear all over them, everyone thought we were the official photography team. Got some interesting shots but nothing I would consider worthy of anything today.
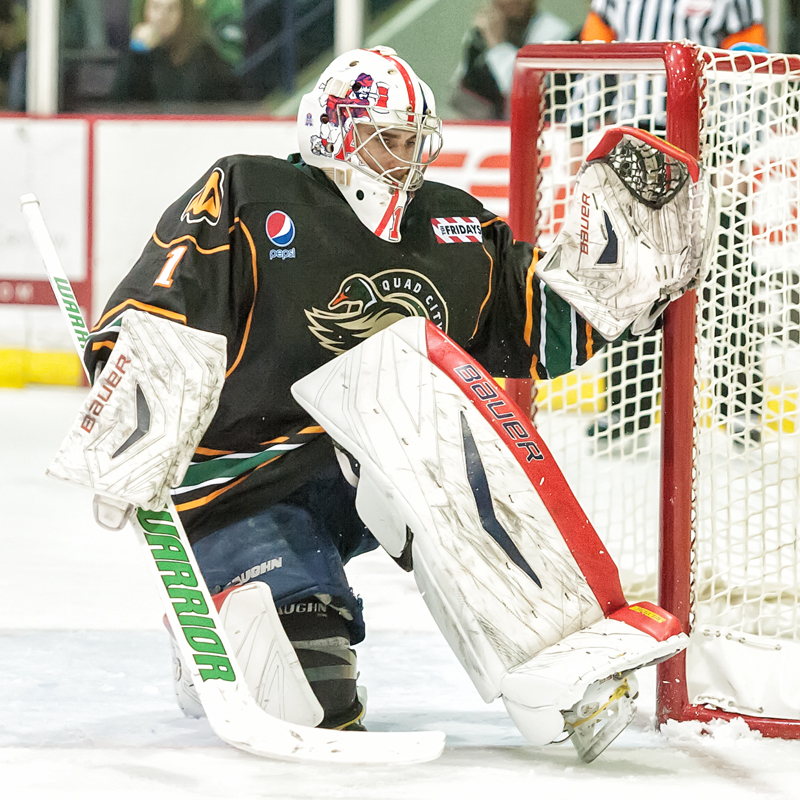
Nikon D3 – Nikon 70-200mm f2.8 | ISO 6400 – 1/800 @ f2.8
Years later after moving to the Toronto area, I started shooting for Metroland and started covering many sporting events. I love the action. I love the danger of shooting on the sidelines of football games or from the suicide box at hockey arenas. Baseball is dangerous too. You never know a foul ball or wild throw is coming towards the press area. Not all sporting events are dangerous to shoot but a little bit of an adrenaline rush never hurt anyone, right?
In this article I want to talk about what equipment I use (own and rent), how I have it set up and what vantage points I believe to be the best, for me at least.
Let me start off by saying that it doesn’t really matter if you shoot with a crop sensor or a full frame sensor DSLR camera. Shooting with a crop sensor DSLR camera has it’s limitations when shooting in low light such as local hockey arenas with respect to high ISO settings and the noise that gets generated. Also, I am not going to get into the battle between Canon and Nikon because they are both great camera manufacturers. Just purchase the right camera body for the kind of photography you want to do.
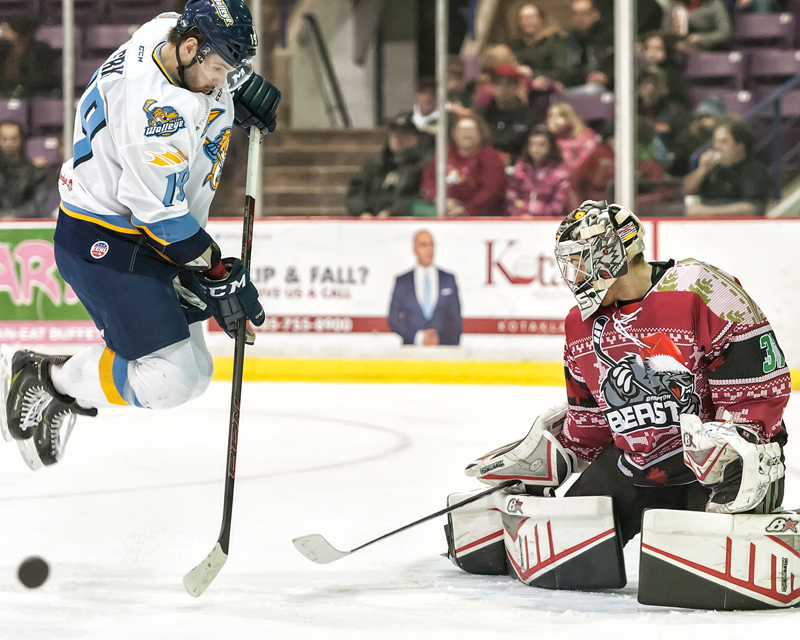
Nikon D3 – Nikon 70-200mm f2.8 | ISO 5000 – 1/800 @ f2.8
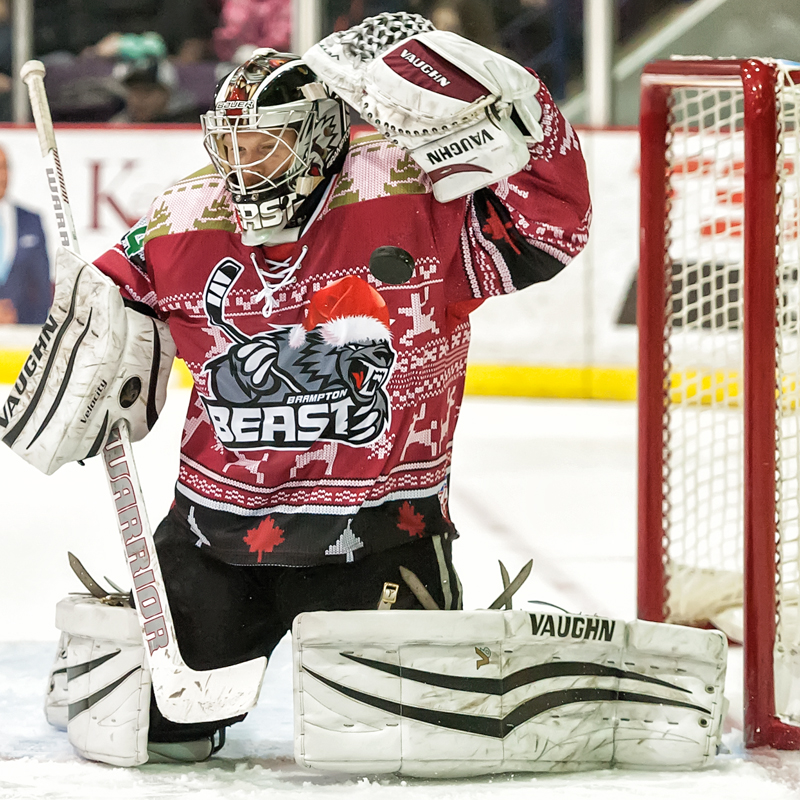
I shoot with a Nikon D3 and when shooting indoor hockey (AHL, OHL or ECHL) for example, I use my trusty Nikon 70-200 VR II f2.8 lens. Depending on the facility, my ISO rangers from 2,500 to 6,400. I shoot in the RAW file format. My lens opening is usually f2.8 or just slightly higher but rarely as high as f4. My shutter speed is 1/800 of a second. If I am shooting the younger kids say up to 12 years old I may drop the shutter speed to 1/500 or slightly less but never lower than 1/250 of a second. I also use continuous high speed for my burst rate and I sue the single focus point option. As far as white balance is concerned, I set this up using the Kelvin degrees option. With a little bit of experimenting and you should be good to go.
When shooting outdoor sporting events like football, soccer or field hockey I use the same settings except for the high ISO settings. Obviously we can go down to 400 or 800 ISO. Shooting outdoors also allows me to use my 2x converter on my 70-200mm f2.8 effectively making it a 140-400mm f5.6 lens. On occasion I will rent a 300mm f2.8. Remember, the equipment you use is determined by what the images will be used for. If I know that my images are destined for the web and only the web, then I’ll throw my 70-200mm f2.8 lens with my 2x converter onto my Nikon D2Hs cropped sensor camera and get another 50% increase in angle of view along with my Nikon D3 camera.
Nikon D3 – Nikon 70-200mm f2.8 | ISO 5000 – 1/800 @ f2.8
I shoot in auto focus mode set to continuous. If your camera has what Nikon calls an AF-ON button, you’ll want to set that up. What this does is it takes the focus ability away from the camera’s trigger button so the trigger button’s only function is to release the shutter. If you notice, when the AF-ON button is not invoked, there is a slight delay or lag between when you press the shutter button and the picture is actually taken. When the shutter button is left to it’s default factory setting, it is multi-tasking and that slows the process down slightly. Separating the two operations speeds things up. It may take a bit to get used to but once you are used to it, you’ll end up with more in focus images.
As far as setting up the “release” option, on my camera there are three choices; Release, Focus and Release & Focus. Using Release just means that whenever you press the shutter button, images are captures regardless of whether your subject is in focus or not. Using Focus means that the shutter will not trip until the focus indicator tells the camera that what it is focused on is in focus. And, Release & Focus means that the camera will do it’s best to track the subject and keep it in focus while the shutter is firing away. I use Release & Focus most of the time. With the more expensive camera bodies, this option is more accurate. You get what you pay for, right?
I know a lot of you are asking “what about the noise factor? How do you deal with that?” My answer is; “In post production”. There is a lot of great noise reducing options in the RAW processors on the market today and there is a lot of great third party plug-ins that can be used in Photoshop to help out. The trick is to find the fine line between Noise Reduction (blurring) and Sharpening to get fantastic results. I’ll leave that for another article.
In the next article I’ll discuss what gear is necessary when shooting extreme sports like the “Tough Mudder” events. Oh what fun these are.
About the Author:
John Warren is an award winning Photoshop Instructor and Professional Photographer living and working in the Greater Toronto Area and is on the faculty at Humber College.


