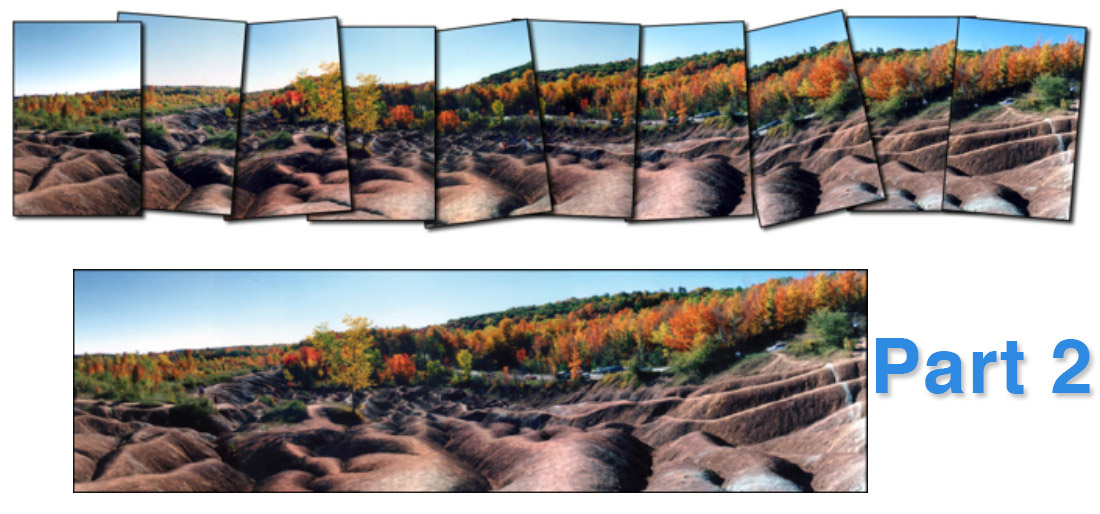
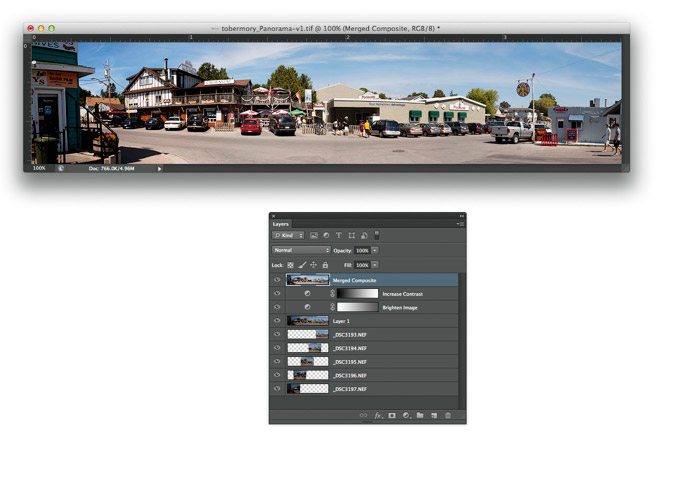
In my last article on shooting panoramas, the exposures were relatively even and when Photoshop did it’s Merge to Panorama thing, the end result was really good as far as even tones were concerned but, we are not always as lucky and when things don’t go as smoothly as we’d like, we need to do some editing in Photoshop. In this second part of shooting panoramas, I will guide you through the editing process to make sure you get a great end result if Photoshop can’t blend each individual image the way we want using it’s Photomerge feature. If you are using Photoshop Elements, you should be able to accomplish the same results as I explain here. The only difference will be how Photoshop Elements visually looks compared to Photoshop.
Using Levels to Adjust the Mid-Tones
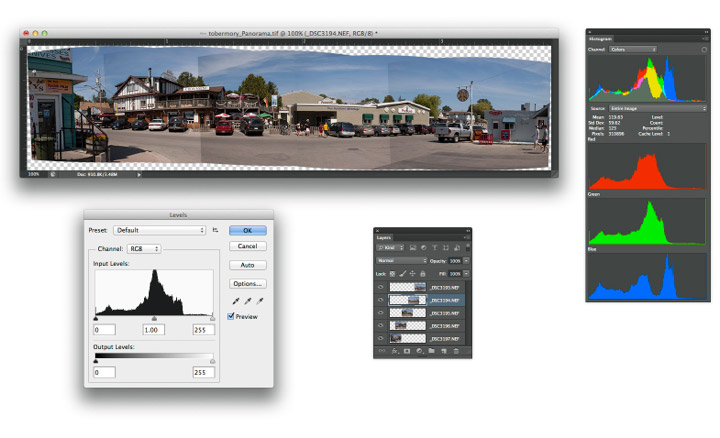
Here I have what will eventually be a panorama. I shot this hand held and the camera was set so that I would get a slightly different exposure for each image so that I could explain this next technique.
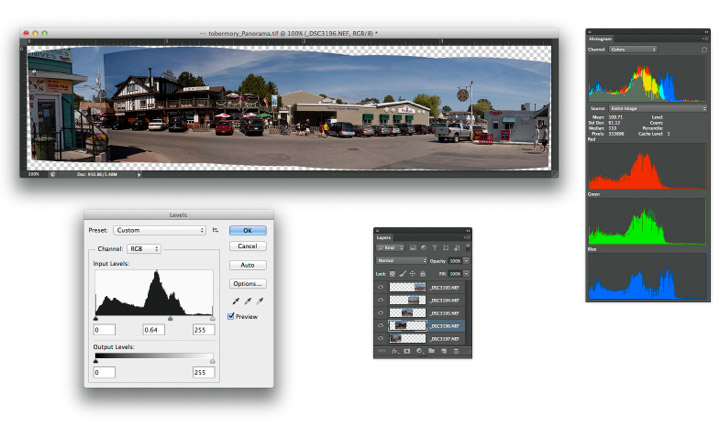
Notice that I have the second from the top most layer selected in the layer’s panel (it has the truck in it) and I have the Levels dialog box open in order to inspect the density range of this layer just to get an idea of where things are placed.
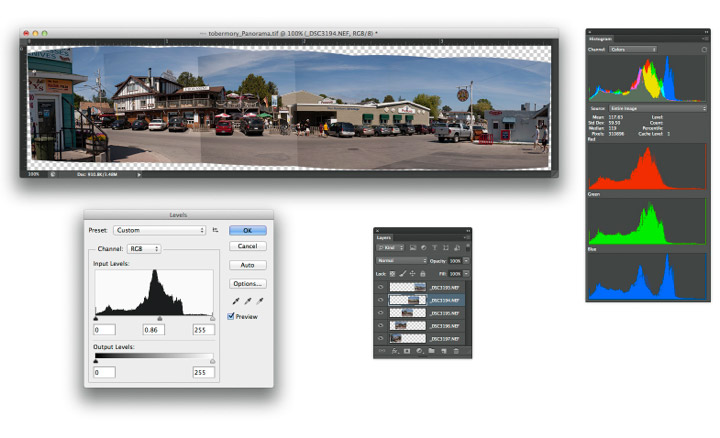
With the second layer from the top selected in the layer’s panel and the Levels dialog box open again, I plan to move the Gamma slider, which is the grey slider in the middle of the histogram, to the right to darken image a bit.
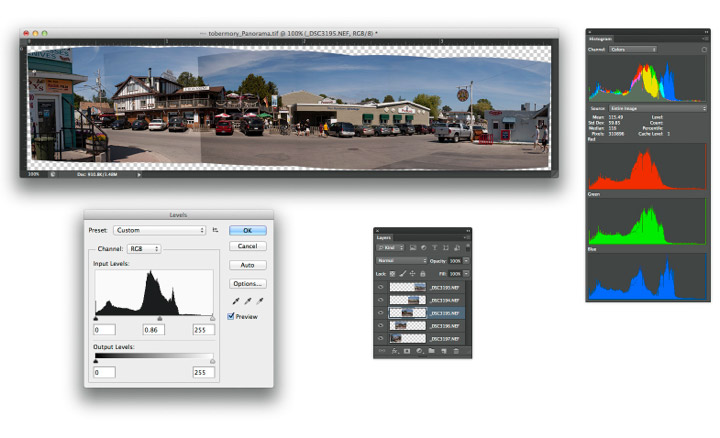
Now that I have the first two layers matched up, I will now move onto the next layer in the stack. When I move the Gamma slider this time, I notice that I have moved it to the exact value as the previous layer, 0.86 from 1.00.
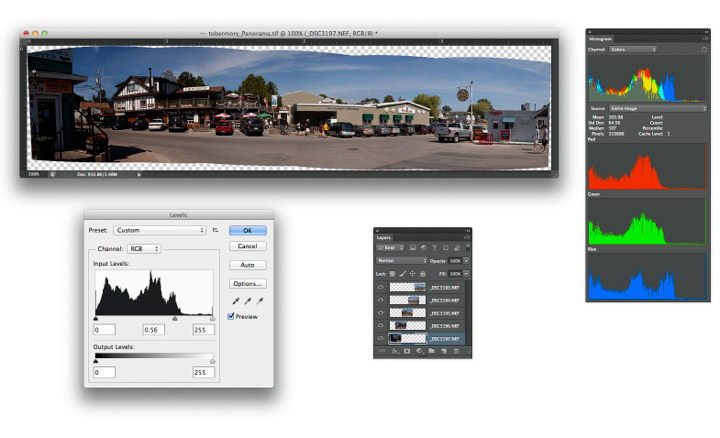
This layer needs a little more of an adjustment. This time I have moved the Gamma slider to the value of 0.64. Notice how the left portion of the panorama image is looking darker than the right side.
This last layer required an even greater adjustment than the one previous to this. It is set to 0.54. I don’t really care right now if the image is getting too dark on one side as long as the sky and pavement blend properly.
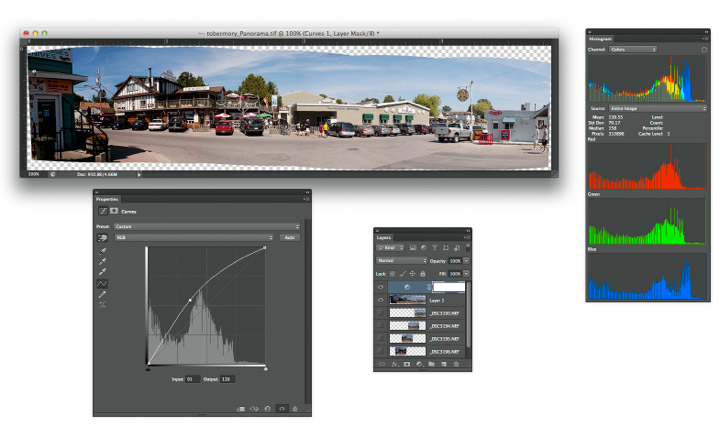
To lighten the left side of the image I will use a Curves Adjustment Layer. In the upper corner of this dialog box there is a tiny icon of a hand with up and down arrows. I clicked that icon and placed my cursor in the sky and dragged up.
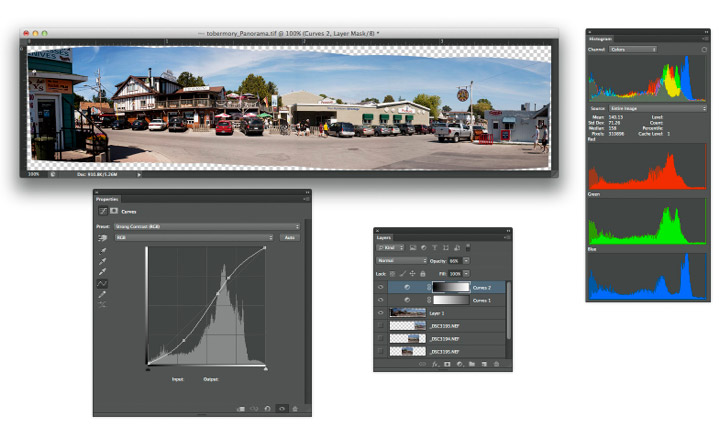
To balance the brightness of the image I applied a black and white gradient to the layer mask itself and then reduced the density. Next I created another curves adjustment layer to increase the contrast and masked it using the gradient tool to apply this effect only to the right side of the image.
Retouching and Repairing Your Images
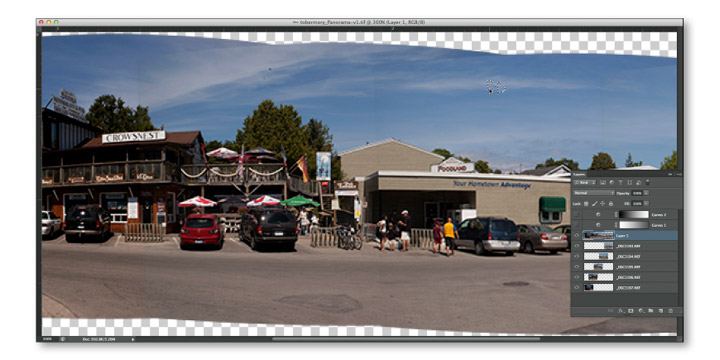
I need to get rid of a few dust spots but more importantly, I need to fix where the sky meets and overlaps in the various layers. Before I go any further, I need to have a flattened copy of all my layers in order to make the repairs. To create this ‘merged composite’ I first turned off the visibility icon for the two adjustment layers and then made sure that the top most visible layer was the selected layer and the held down the Command+Option+Shift (Mac) keys and tapped the “E” key. That would be Control+Alt+Shift on a Windows platform.
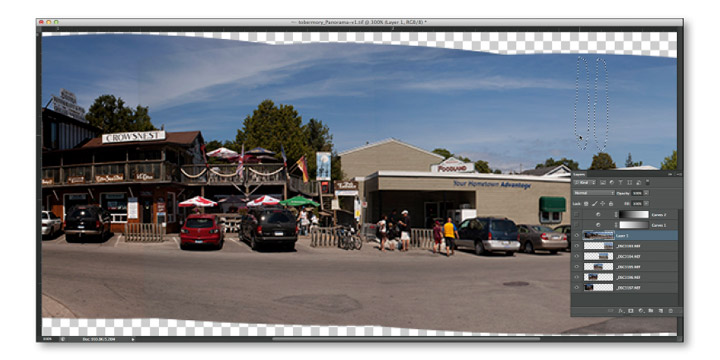
To do this kind of fix, I will be using the Patch Tool. Make a selection of the offending area and drag that selection to a better place and release the mouse. As you can see above and below, this works with both large and small selections. The Patch tool does a kind of blending thing. When it works, it’s a beautiful thing but when it doesn’t …
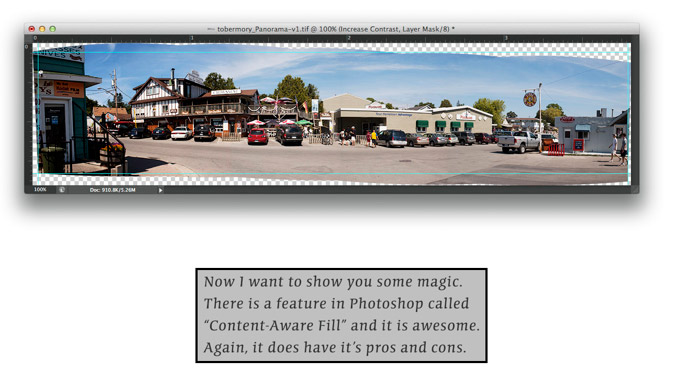
So after going through the complete image repairing the overlap portions with the Patch Tool, I am ready to crop and trim this image down. Using Guides to assist me with the crop, I will now crop this image to something more manageable. But before I do that I must create a flattened copy of all that I have done so far. When doing the repairs in the previous steps I was on the Merged Composite layer beneath the two Adjustment Layers – now I want to make a Merged Composite layer that includes the two Adjustment Layers so I need to select that top most layer before performing that Command+Option+Shift / Control+Alt+Shift plus tap the “E” key move.
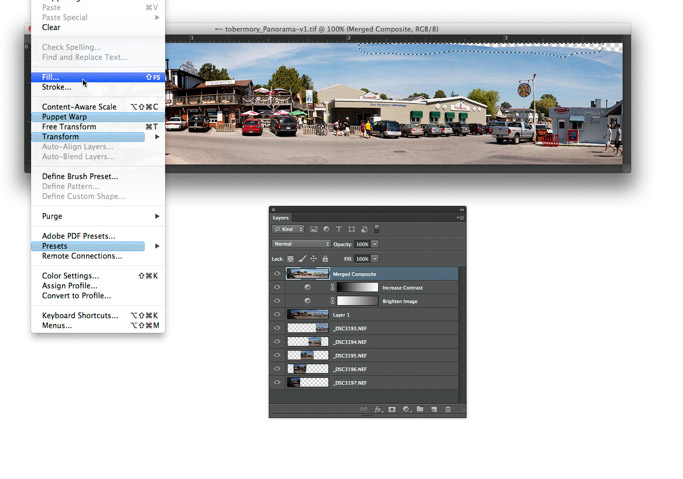
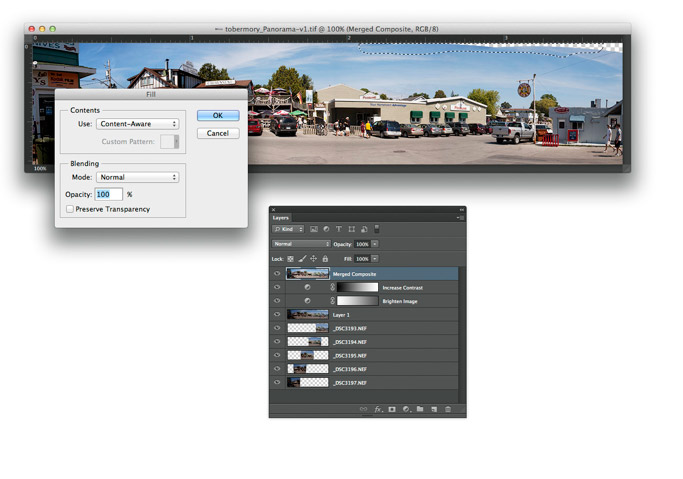
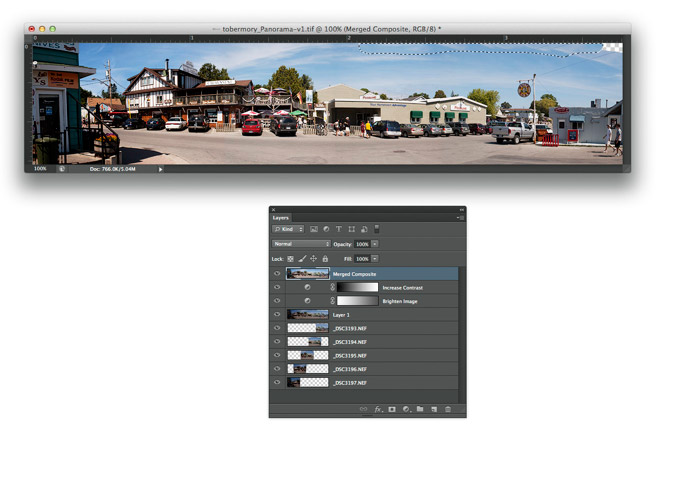
Here I will use the Lasso Tool to make a selection in the sky and the transparent areas. Next I go under the Edit menu and choose Fill. From here I choose Content-Aware from the Contents – Use drop down menu.
Selecting the Content-Aware option from the Use drop down menu.
What a wonderful job Photoshop does filling in the transparent area with some sky pixels. Any poor blending can be fixed easily using the patch tool, which uses basically the same technology.
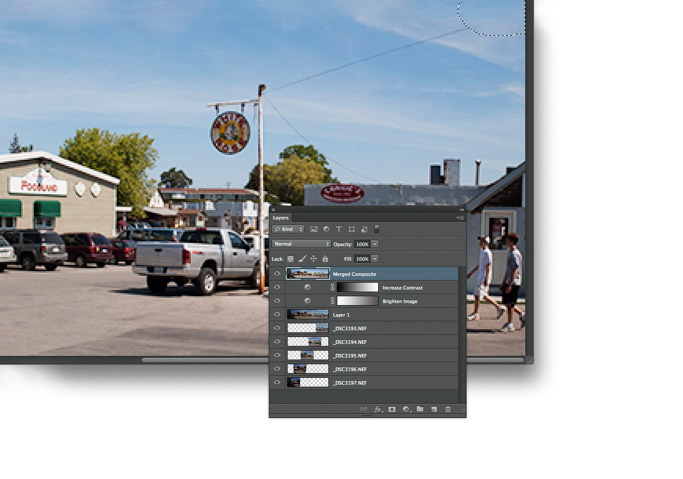
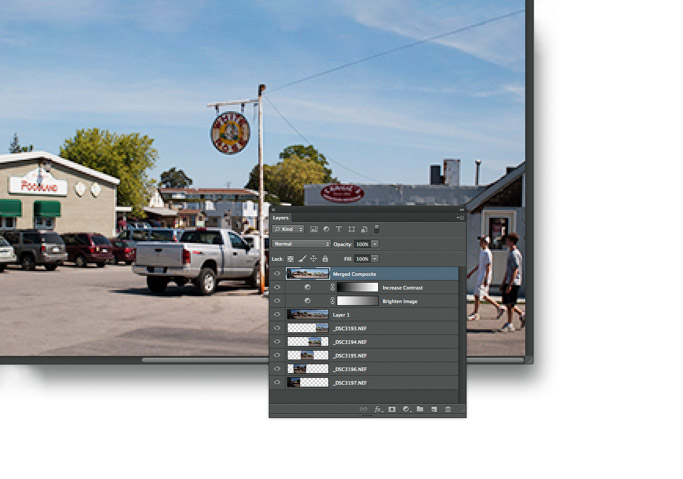
Using this method a second time in the upper right corner I do need to make a decision whether to keep the wire and add more into the corner or get rid of it completely.
I decided to keep the wire and using any or all of the techniques discussed so far you will be able to extend the wire in a manner similar to what I have done here.
Here it is; the finished panoramic image in all of it’s glory ready to be presented to the world.
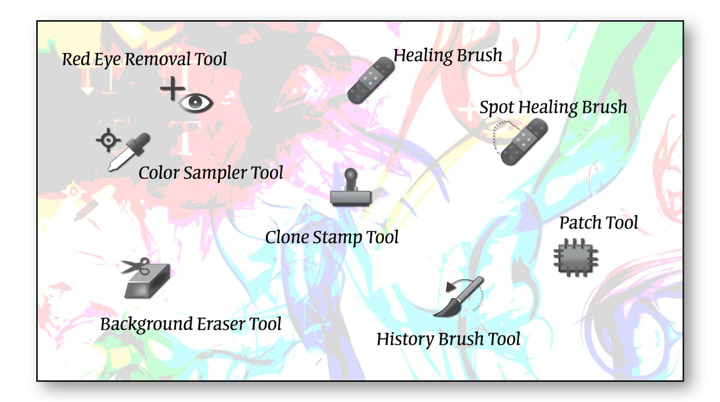
Here are some of the main retouching tools used by professionals all over the world. That’s not to say that there aren’t other tools that can be used but for the most part, these are the main ones.
About the Author:
John is an award winning Photoshop Instructor and Professional Photographer living and working in the Greater Toronto Area and is on the faculty at Humber College.


