Determined to understand this technique, I went right to the LIFE books my dad had at home. All 18 volumes, I poured through the pages, trying to find the technique… finally, a photo of car lights trailing through a winding road on a mountain. The photographer’s name was there, and down to the library I went to research the photographer.
What I learned was the following… with a long exposure photograph, a few simple light sources and some creativity on your part, the opportunities for this type of photography are endless.
Tools of the trade
A Camera
You will have to use a camera that allows you to take long exposures, preferably a camera with a “Bulb Mode” setting.
When setting the camera up to take these images I set my aperture to anywhere between f/5.6 to f8.0.
I manually focus on my image and adjust my EV settings as appropriate.
My shutter is controlled by my trigger release and I play with exposure times to varying degrees.
A sturdy Tripod
This is essential for shake-free images.
A trigger release
This will help ensure you have a shake free image. If you do not have a shutter release cable you can use the timer delay on your camera.
Glow Sticks
Use one around the neck of the tripod and if you are out with other people, it is a good idea for everyone to wear one around their necks or wrists. This way you know where everyone is in the dark (Note: if you are painting in the scene when exposing your image, take off the glow stick)
Light source
These can vary. Go to a hardware store or dollar store and pick up LED flashlights, kids toys, glow sticks, or any other light source you want to use. The variety of the light source is both endless and is different depending on the type of light painting you are doing. I will explain that more later.
Exposure Times
This is difficult to judge, so you really have to figure this one out on your own by trying a few different exposure times at the location you choose. Again, depending on the type of light painting you are doing, these will vary. Practice will make perfect and as you look at the images in my article I will attempt to give you as much information as I can about each image.
If you have a lot of light painting to do in a scene, you may find that the illuminated areas come out too dark to make an impact. To get around this you’ll need to divide your scene up into sections and take multiple images. These images can later be combined in Photoshop. To combine images of light painting scenes, simply open up multiple images and then overlay one on top of each other, but select “screen” as the blending mode for each image.
Types of “Light Painting”
A lot of articles that you may read only talk about two types of light painting. I believe there are three.
The “Illumination” technique
This technique works well when there’s very little natural light available, and involves using a light source with a beam to illuminate specific areas of your scene.
Open the shutter of your camera and then go into your scene, stopping to shine your torch on the objects or areas that you want illuminated for a few seconds at a time. Or stand off camera and illuminate with a stronger candle watt light. You might need to take a few exposures to help you judge exactly how long to shine the torch for, but try to give each object in the scene roughly the same illumination time so that they all show up well.
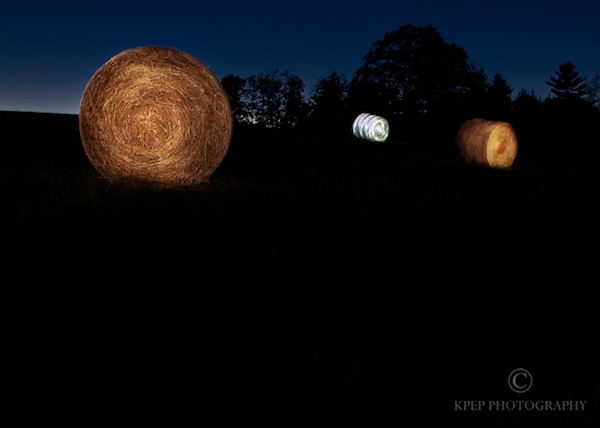
For this image I stood off camera with the camera set to Bulb. I painted hay bales with the two different flashlights, an LED flashlight and a regular flashlight.
Also remember to stay out of the line of sight of the camera when you’ve got the flashlight on or you’ll leave a silhouette in front of the object you’re illuminating. You should also try to wear a dark colour. Wearing a light colour increases your chances of being picked up by the camera.
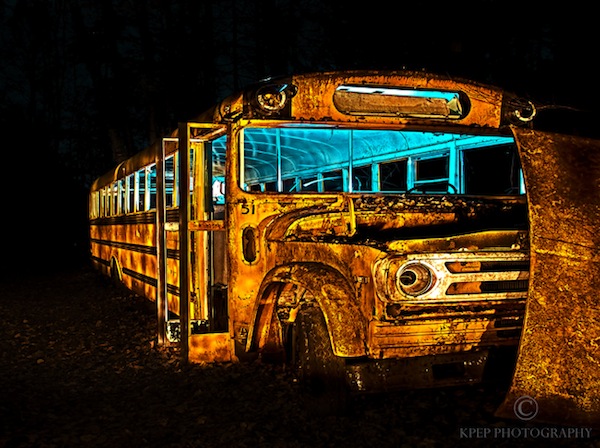
The photo above was taken in the middle of the night or an abandoned bus in the forest. I took it with the help form my uncle. We set our cameras up, timed the exposure for 30 seconds after some trial and error. He painted the inside with an LED light and I painted the outside of the bus with another flashlight as I stood off camera.
The “Light Streaks” technique
For this type of painting with light you’ll need a small bulb such as an LED light or exposed torch bulb.
This time, rather than shining your light at objects, you want to keep it angled so that it is always visible by the camera. Keep it moving through your scene and be careful with the speed you move at because that will affect the light’s brightness in the final image.
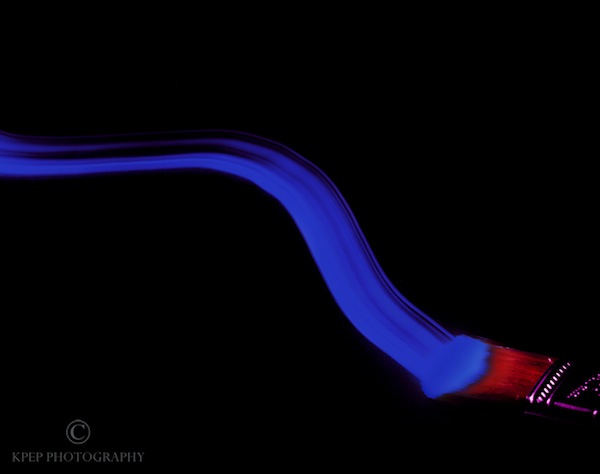
This is where you can spell letters, draw images or just run around randomly and draw lines in the image.
You may have also seen stick people or writing on images… these are done with LED lights or flashlights to draw the stick person or word.
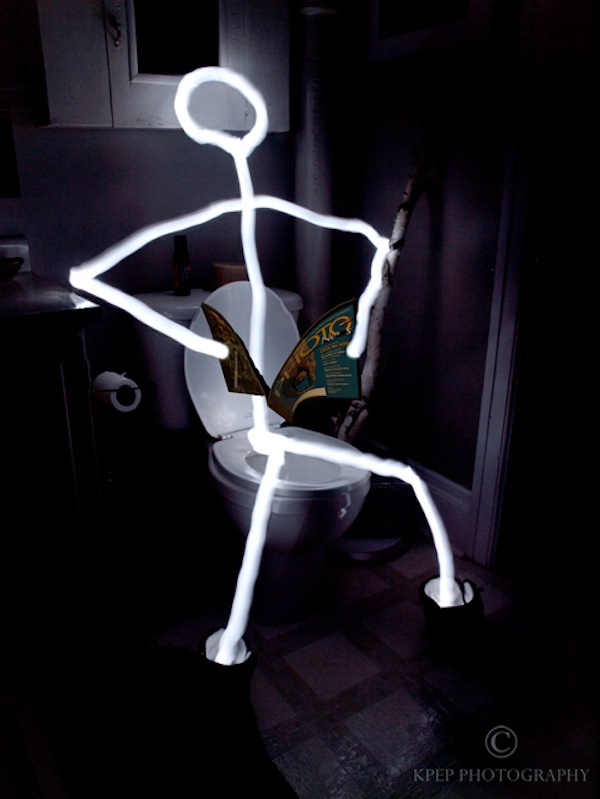
A variation of the “Light Streaks technique”
For this type of photography you would use light sources like break lights of a car, streaking vehicles on a downtown street, even the lights of a carnival ride at night. You can stick with the streaking lights like I have in this photograph.
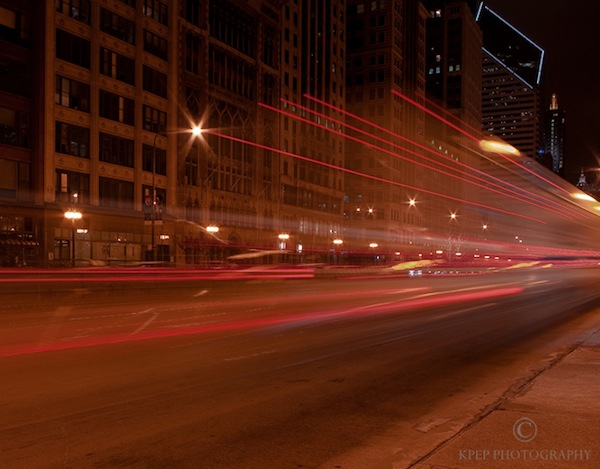
I stood beside the street and waited for the bus to pass by. I manually focused on the street before the bus came and used a shutter release. When the bus got to me I pressed the shutter release for a few seconds. The result was the streaking lights left behind by the bus.
Or, as I did in this photo. I stood at the edge of the water and, while shooting a long exposure of the Lions Gate Bridge, I simply let the freighter pass through the entire image to capture the streaking lights.
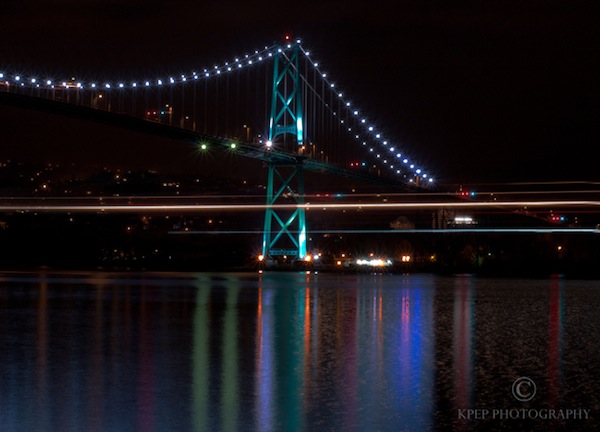
As with all types of different photography, just get out there and try it. You might just like it.
Contact me if you have any questions. You can contact me through my website or on Twitter, @kpepphotography.
Happy Shooting!
| PHOTONews on Facebook | PHOTONews on Twitter |


