Shooting after dark is a challenge for the avid photographer, but if you are well prepared, you can create amazing images after the sun goes down.
I often wonder why so few photographers explore the world after night falls. Perhaps they feel that capturing light is a daytime adventure, or that night photography a mysterious and difficult assignment. In fact, night photography is remarkably simple – but you have to invest a bit of effort to achieve images that will make your friends open their eyes and say, “WOW!”
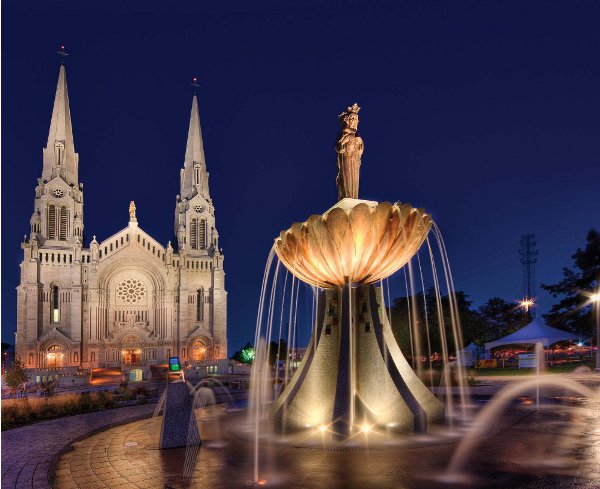
Some photographers are naturally nocturnal. They instinctively know which scenes will produce the most spectacular images, and when the light produces the most magical effect. You may be a master of the dark – you won’t know for sure until you venture out with your camera. Here is how I create Night Magic.
There are only two accessories that you really need for night photography. The most important is a good tripod. I use a Gitzo Explorer, made of carbon fibre with a 3-way Manfrotto head that lets me position my camera at every angle possible and immobilize it in every way. The carbon fibre construction reduces weight and vibration compared to a standard metal tripod, which really helps on a long evening assignment. The second key accessory is a remote shutter release, to eliminate camera movement and vibration.
- For most of my night photographs of landscapes and city scenes, I find that a good wide-angle lens is invaluable.
- I plan my night adventures very carefully, taking note of the way the weather affects the scene, the position of the moon as it moves through the night sky, and when the scene can be photographed most effectively. The better you are prepared, the easier the task will be.
- Find a subject with interesting surroundings – city buildings, bridges, fountains, and trains are all great subjects. As usual, and especially with night photography, you will keep the ISO setting as low as possible to avoid unwanted noise in your pictures.
- Frame the subject carefully – this is where the tripod becomes a tremendous asset, because it is very difficult to hand-hold the camera for the long exposures that produce the best night images. Don’t forget your lens hood! Lens flare is more obvious after dark.
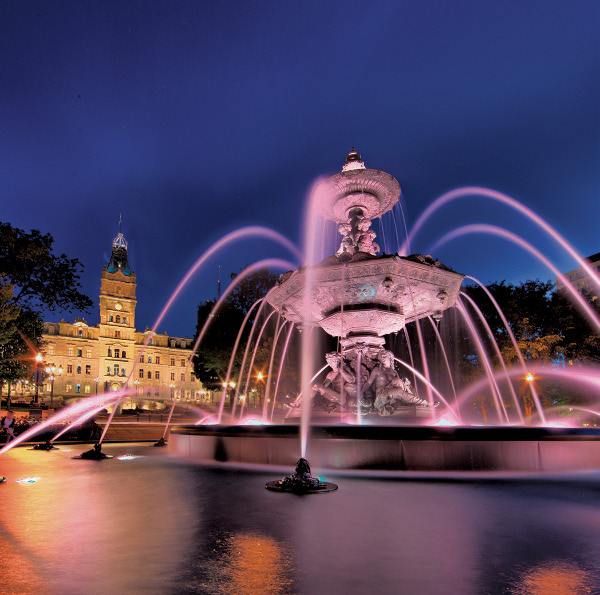
- Take the easy route to night photography by setting your camera to aperture-priority mode so all you have to do is to choose your f/stop, and the shutter speed will be selected automatically. If you have waterfalls or moving subjects in your scene, then you should try bracketing speeds and aperture settings to achieve a variety of effects. With waterfalls or fountains, trails of light, and other moving subjects, the shutter speed is more important then depth of field, so using manual exposure mode is the best way to go to control the exposure perfectly. Remember that night images are magic – and some of the best images may be quite unexpected.
I usually shoot night photos with aperture settings between f/11 and f/22. This assures lots of detail and precision in the photograph.
Take advantage of the depth of field factor when focusing on a landscape scene. Focus 2/3 of the way to the horizon, and let this hyperfocal distance expand the range of sharpness from near to far.
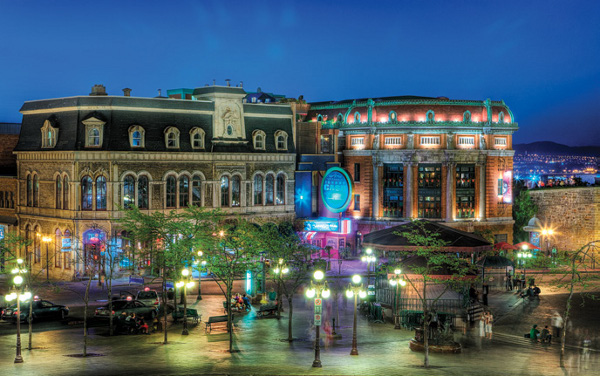
Night photography is the ideal opportunity to master the camera’s bracketing mode, for two reasons – you increase the chance of getting the perfect exposure, and you will have the shots you need to create an HDR image, which is always a fascinating option for post-processing.
There is an almost unlimited range of subjects to shoot at night. Look for people in movement, fireworks, rain, snow, the moon, city lights – just get out there, and let your adventure in night magic begin!
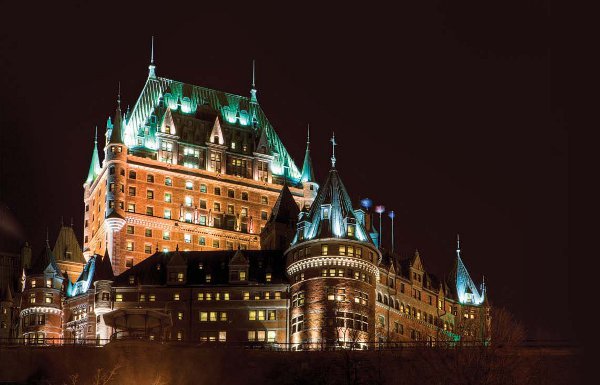
Accessories to shoot night photos like a pro
Get a great tripod, a quality tripod will last a lifetime, so invest in a good one that is easy to carry and solid – it is the best way to achieve sharper images.
A flashlight, yes, having a source of light when you set up your night photo is essential, and it is a great tool to have fun with, for light painting techniques. You can also use a flashlight to add some light to a background.
A cable release, a simple but very effective piece of equipment. It is amazing how this can make life so easy when it is time to take the picture. The main reason I use it, is to keep my hands off the camera when shooting, to eliminate the vibration that your hand transmits to the camera when taking the shot. If you forget your remote, you can use the self-timer on the camera, put it on 10 seconds delay – this allows any vibration to settle down before the shutter trips.
Bug spray! Mosquitoes have literally gotten the best of me a couple of times. Be prepared, the Canadian mosquitoes need to be taken very seriously! Wear a hat and bring insect repellent lotion with you. When the sun goes down, the insects come out to party… and you may be the guest of honour!
Cell phone. Having a phone with you is a good security precaution. If you’re going to team up with another photographer, both of you should take along your phones.
Your brain. To my mind, you can have more fun taking pictures at night than in the daytime, especially during the summer. Use your brain, and your accessories. Try shooting reflections, look for cool lights and other bright subjects – your imagination is the most important element for successful night photography.
Michel Roy, from Quebec City, is a professional photographer and videographer specializing in a wide range of corporate and portrait assignment.
Michel is now the Official Photographer at the Fairmont le Chateau Frontenac. Michel’s studio, digital direct Photos & Videos, is located in the lobby of this famous hotel. Michel specializes in corporate, weddings, portraits or any kind of work, professionally done, at a competitive price.
| PHOTONews on Facebook | PHOTONews on Twitter |


