Hahnel, best known for making fully compatible batteries for cameras, also makes some truly unique speedlight accessories. They built upon the success of the Light Effects Kit and released the innovative Creative Lantern Kit. I was stoked to get copies of each of these kits to test out.
I tried all the different combinations, as well as used both kits together, to create some sample images of Queenie for you to peruse. You can quickly compare the different light effects available.
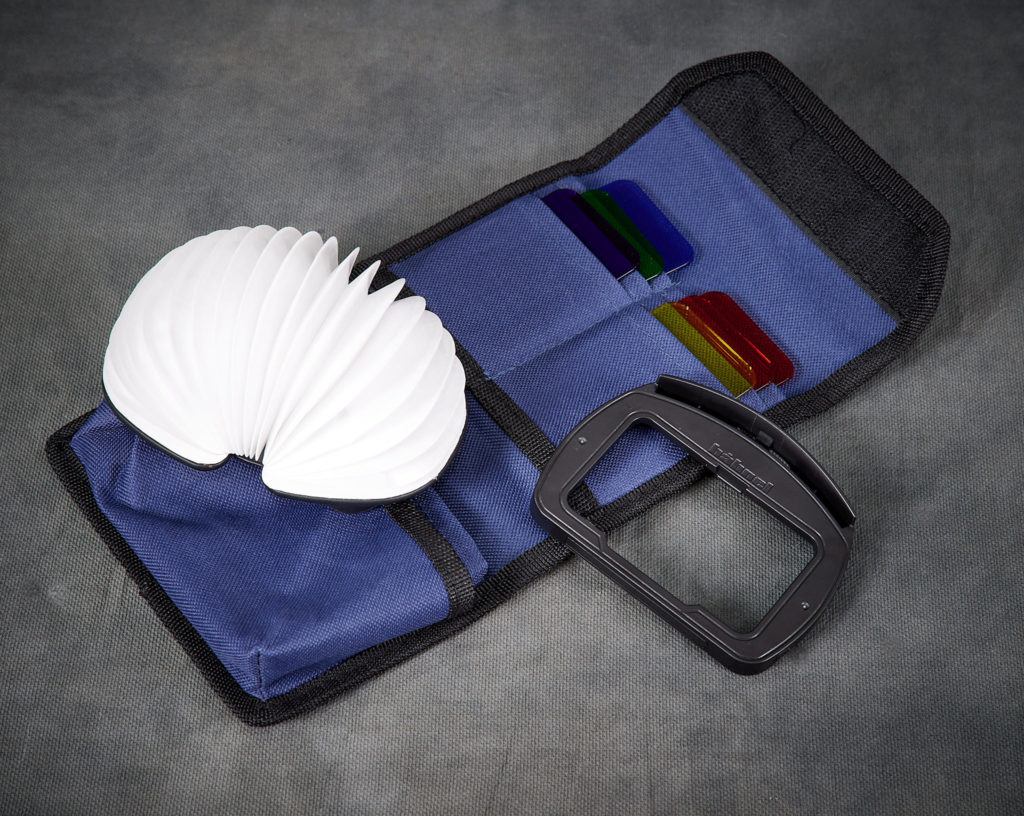
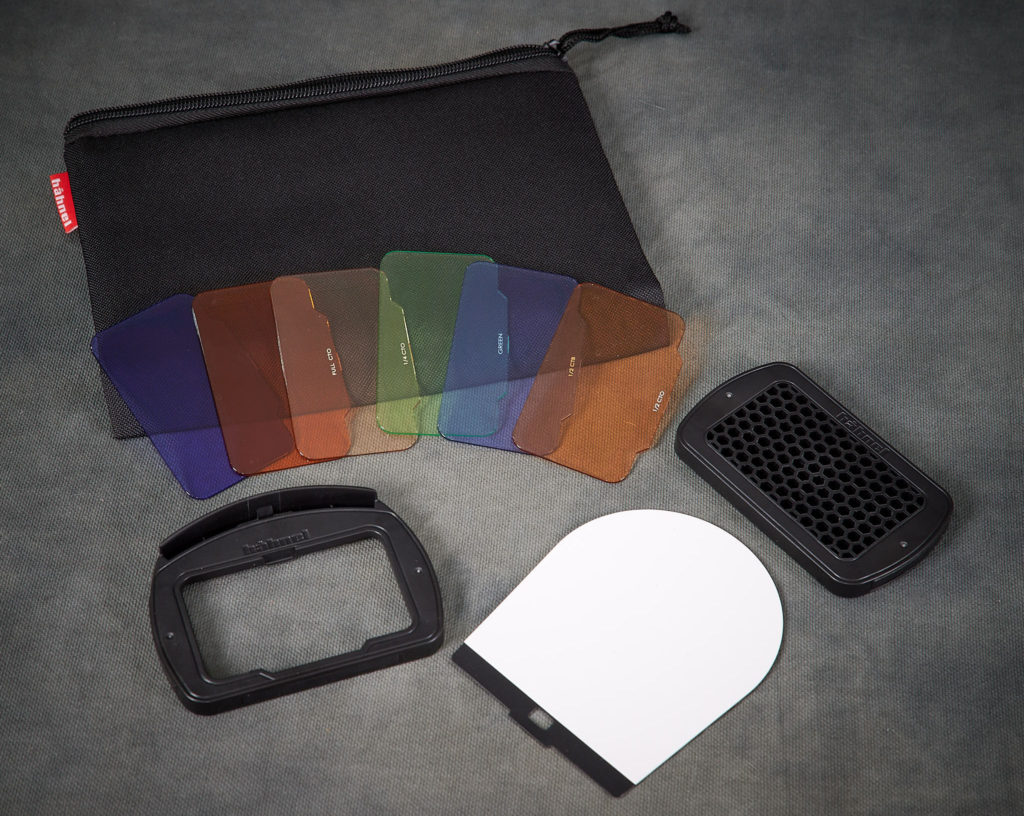
The Light Effects kit includes a Filter Adaptor, 6 colour correcting filters, a large bounce card and a grid. The Creative Lantern Kit steps things up with the same Filter Adaptor, 6 colour effects filters and the centre-piece – the Creative Lantern light diffuser.
Module Clamp
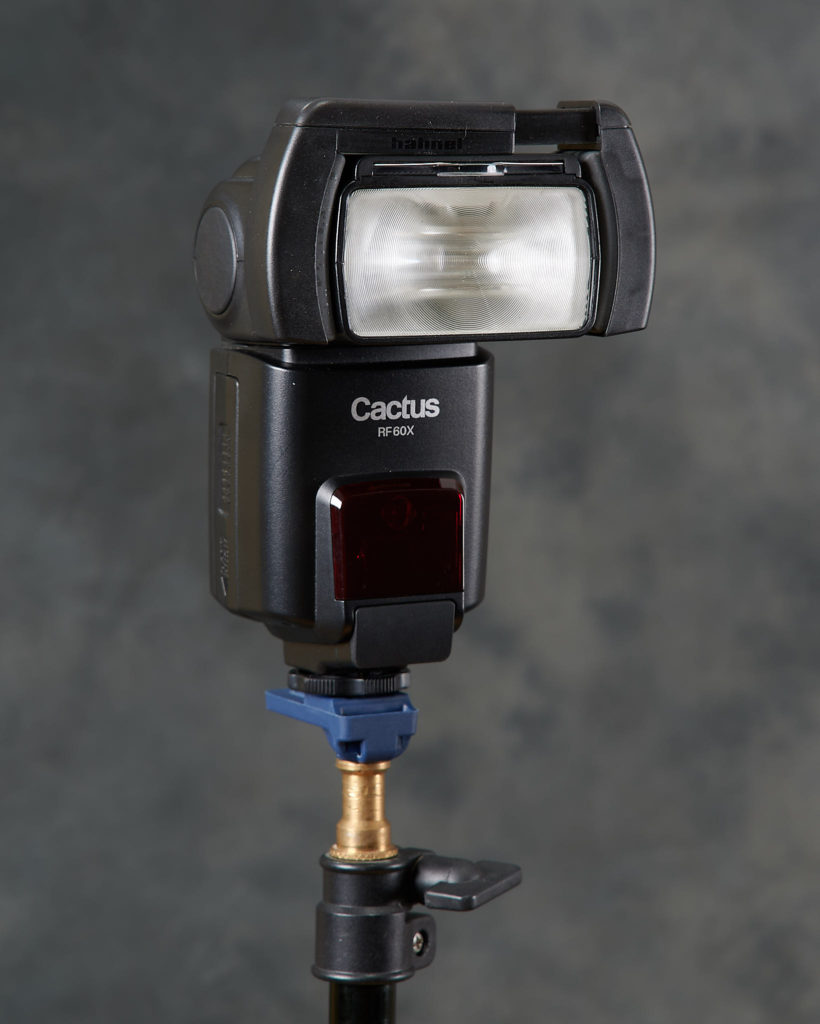
The only accessory you need to attach the kits to your speedlight is a Module Clamp – the Module 600 fits most speedlights while the Module 360 Clamp will fit smaller speedlights such as Metz M400 and 26 AF-2.
Unlike the other system that uses magnets for flash accessories, the Module Clamp is extremely light weight. I’ve seen many speedlights with their lock mechanisms and swivels damaged from the weight of some other flash accessories. Despite the lighter weights of the Hahnel accessories, they are solidly built.
Light Effects Kit
The name is a bit misleading, as the filters that come with this kit are colour correcting (1/4, 1/2 and Full CTO, 1/2 and Full CTB and Green) to match your flash to ambient light colours. There is a LOT to like about this kit. The Module Clamps have magnets and the Filter Adaptor is also magnetized. They lock together and create a very stable platform – nothing slides or droops.
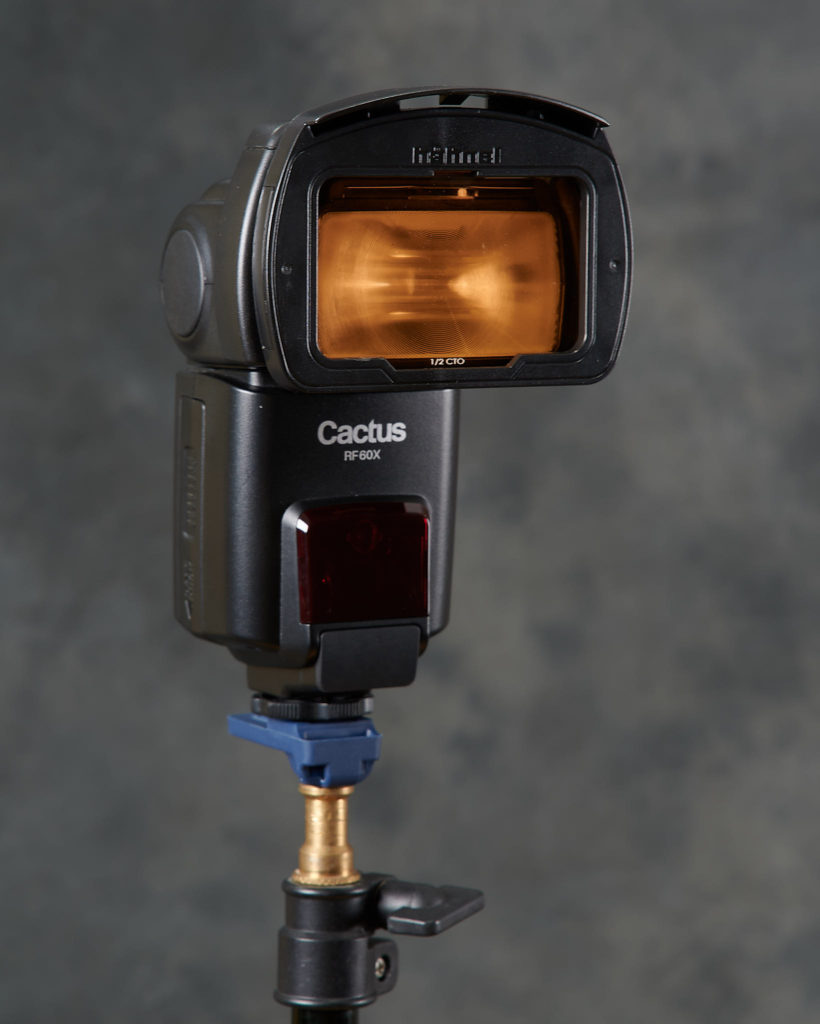
The filters are actually hard plastic, so they’re quite robust compared to gels that rip and warp. The colour from the filters is very consistent. Swapping them out is as simple as removing the Filter Adaptor and gently pushing one filter out and popping a different one in.
The grid is also magnetized – it literally JUMPS onto the Filter Adaptor or the Module Clamp. That’s one of the really nice things with the Hahnel kits – if you don’t want the Filter Adaptor, you don’t need it. Most of the attachments will fit onto the Module Clamp.
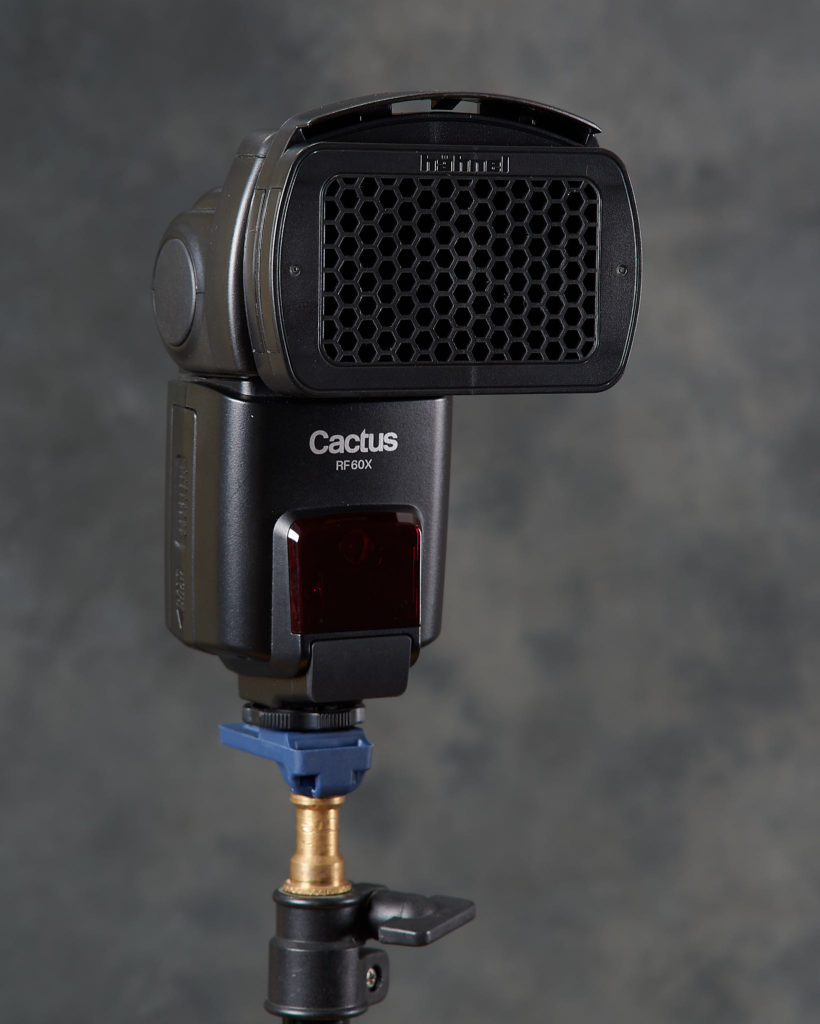
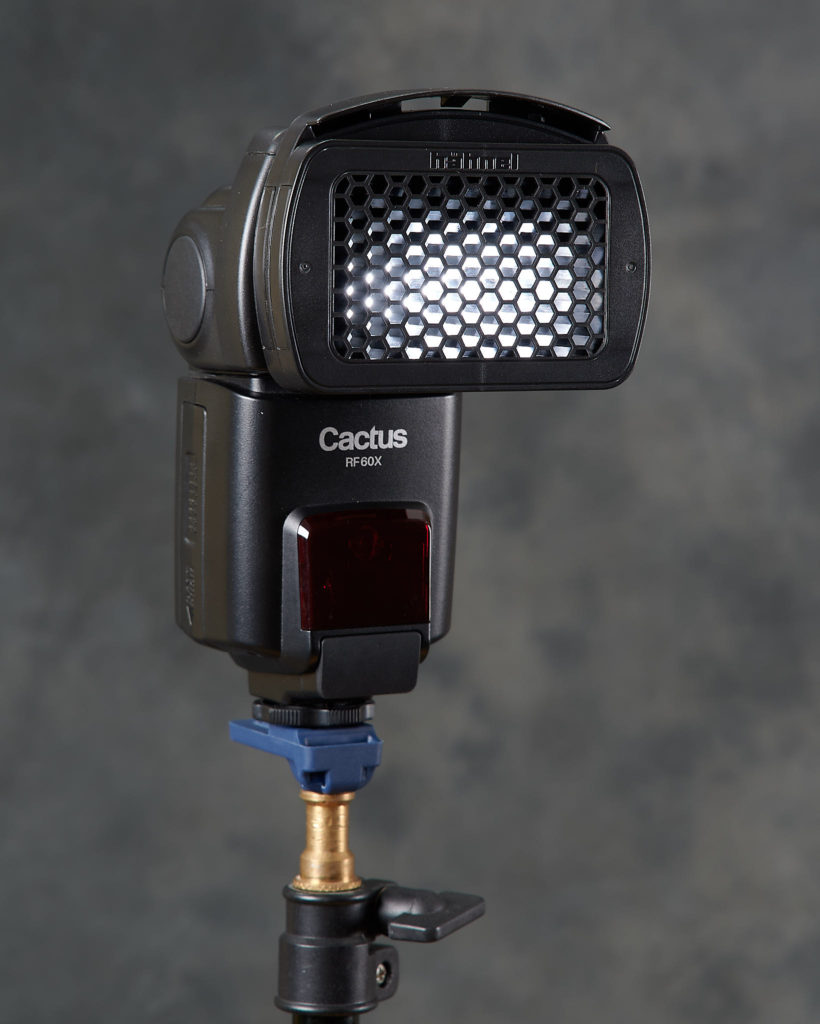
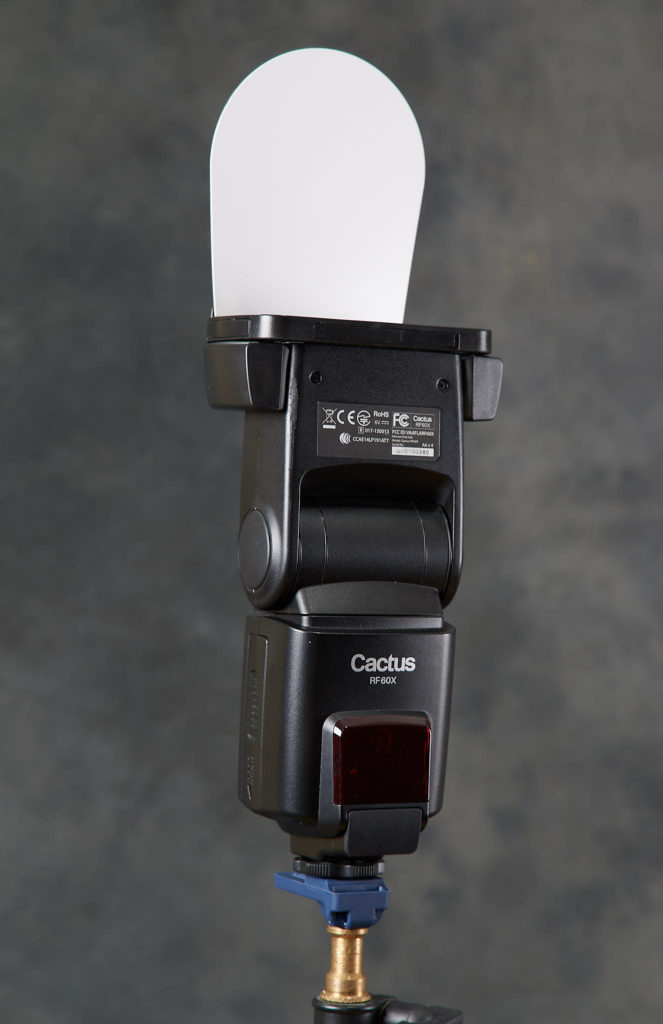
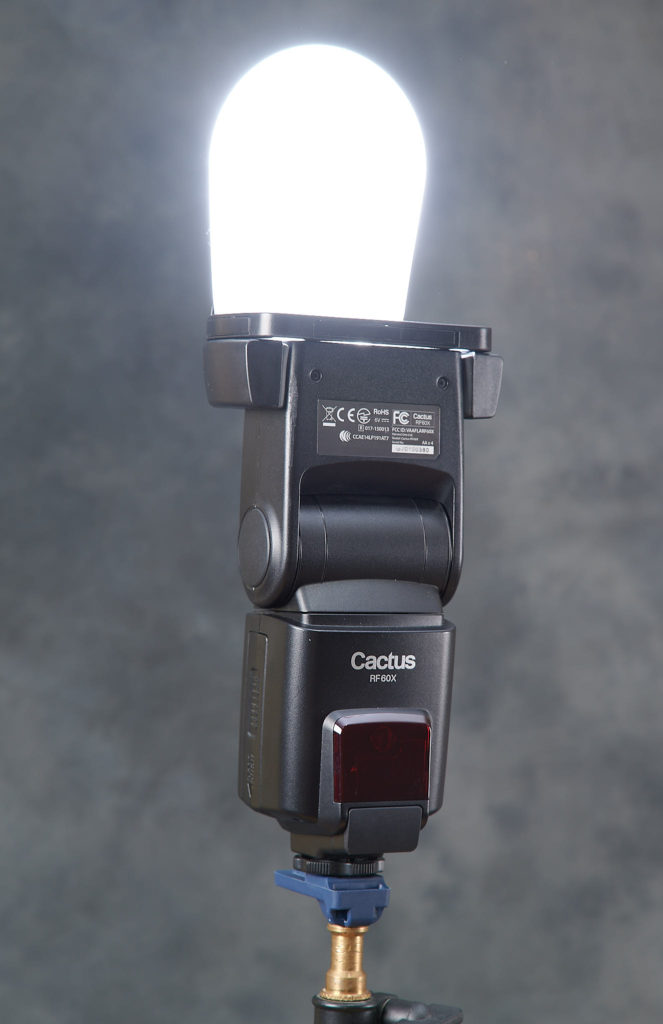
The only exception is the Bounce Card, which has its own slot in the Filter Adaptor. There is even a little tab that fits in a notch to secure the Bounce Card so it won’t slide out! This large white card gives a much softer light than the integrated bounce cards that many speedlights have.
The Light Effects Kit comes with a pouch that has pockets for each piece to protect them. If you have a smaller speedlight, it will fit in here, too, or you can store your Module clamp in the pouch.
Creative Lantern Kit
This kit is a game-changer. Every speedlight photographer loves new gadgets for their speedlight. We’ve used everything from the Tupperware containers to mini versions of the softboxes from our strobe kits. Never before have photographers had something as unique, simple and effective as the Creative Lantern Kit.
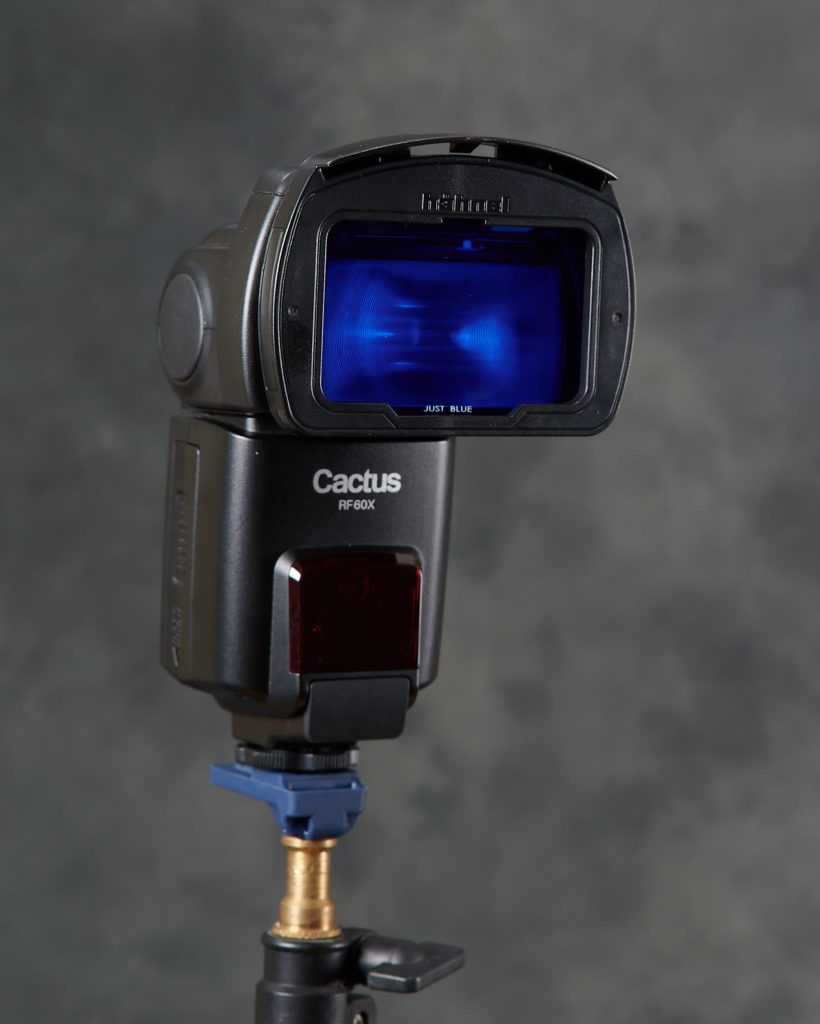
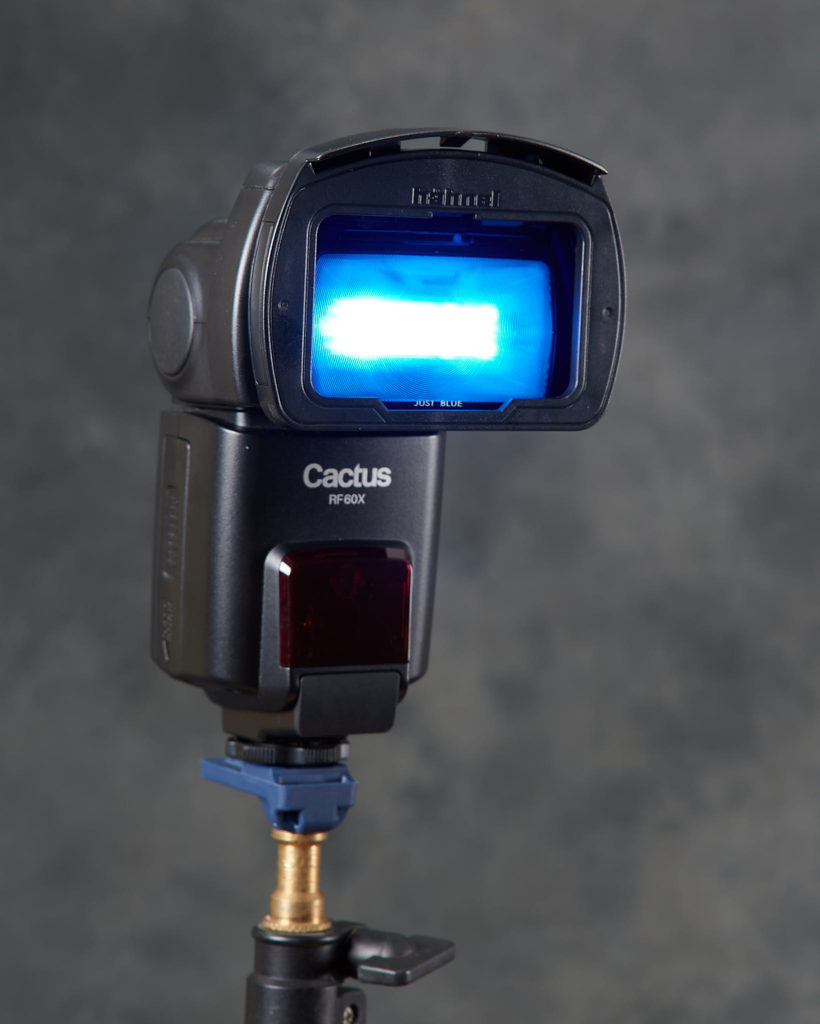
In the box is a nice nylon fold-up carry case. It has slot for everything – the Filter Adaptor (which is identical to the one in the Light Effects Kit – more on this later), six colour effects filters (Red, Orange, Yellow, Just Blue, Just Green and Purple) and the Creative Lantern Diffusor.
As with the Light Effects Kit, the colour filters are plastic and attach into the exact same Filter Adaptor. This means, that if you have both kits, you can mix and match your coloured gels to create some real effects! This is the fun part! If you have two speedlights, you can mount your Module Clamps and Filter Adaptors on your speedlights and swap around all the accessories to get the light you want. I wish all flash systems were this easy!
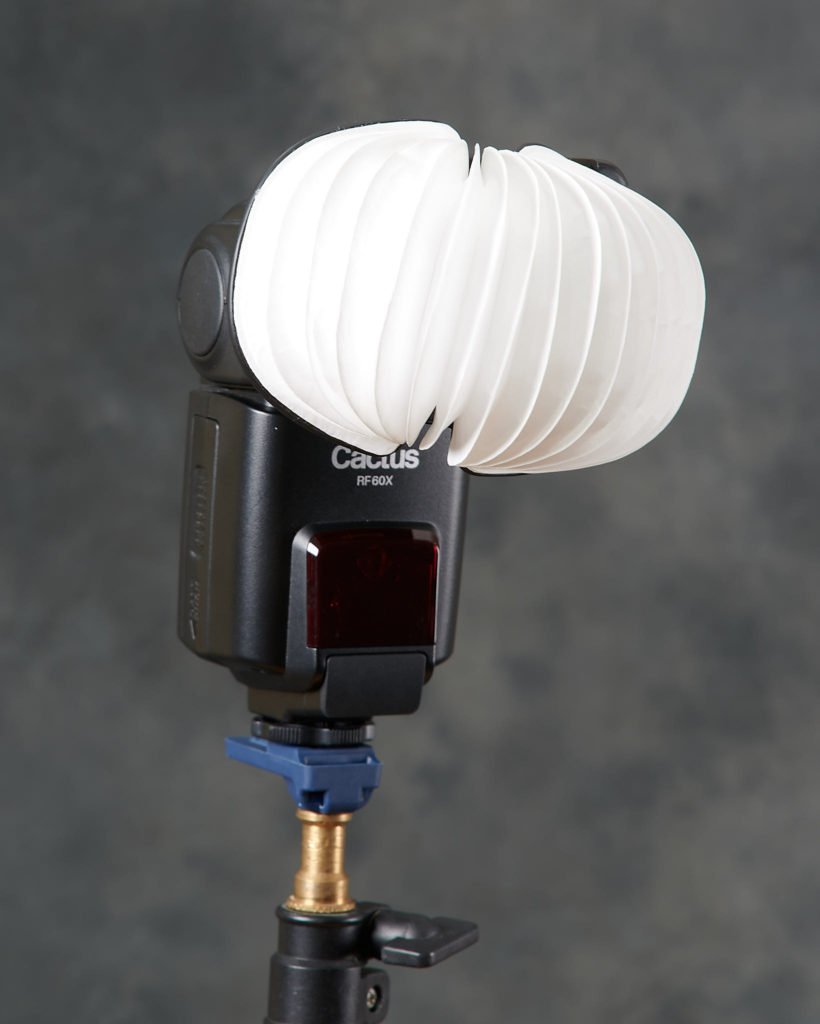
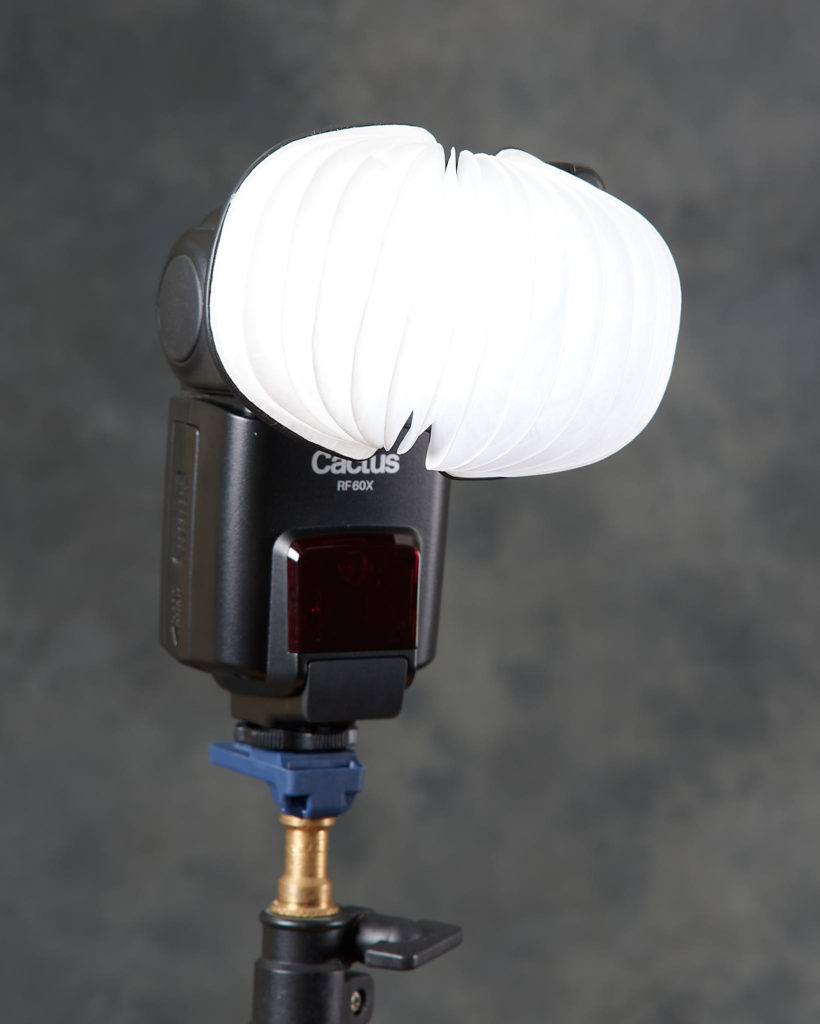
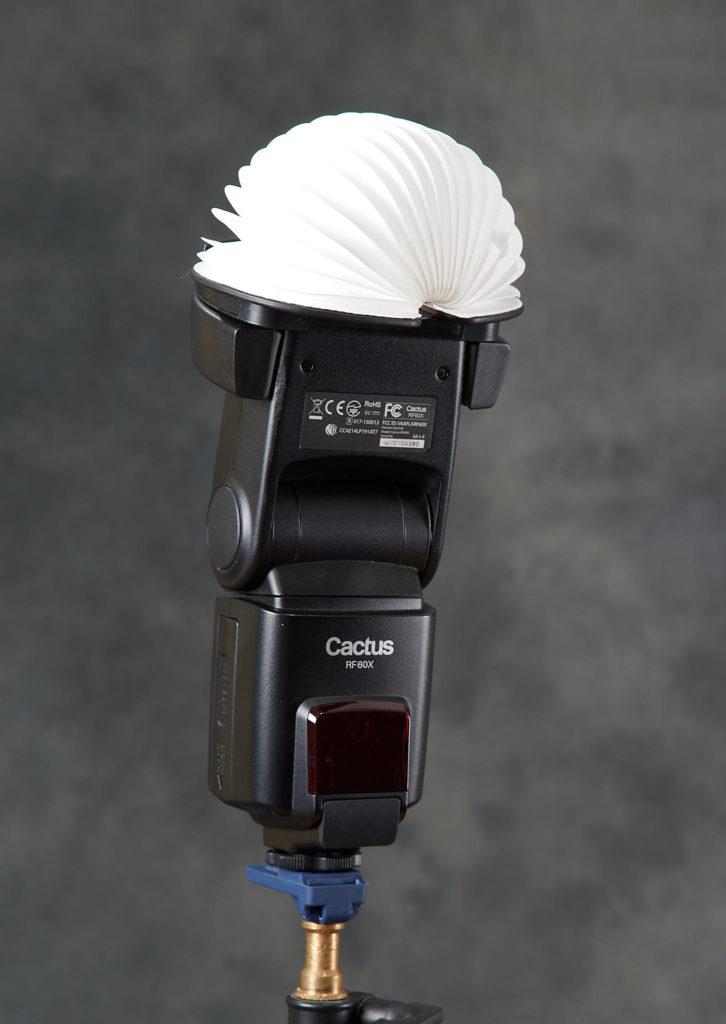
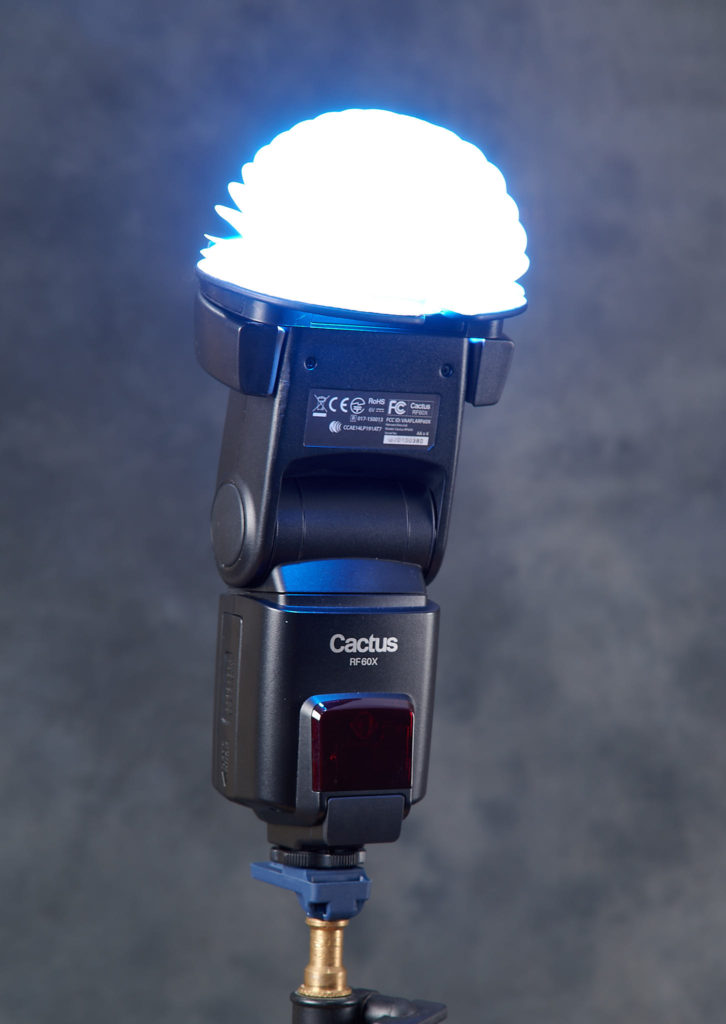
The Creative Lantern is clearly the piece that catches your attention. There is nothing on the market that looks remotely close to this. Attach it to one of the Module Clamp or Filter Adapter and unfold it like an accordion! It starts thinner than most camera batteries yet extends fully over the large speedlight. Brilliant! And so freakin’ cool.
You can also attach Creative Lantern to the Filter Holder and use any of the colour filters – whether colour correction or colour effects! This upped the cool factor!
Magnets hold Creative Lantern in place – there’s no risk of it falling off like some of those other heavy magnetic accessories. I would be careful using it for weddings or events if I had a two-camera setup – I wouldn’t want to knock it into anything. I was surprised that the folds are quite strong, but it’s still soft enough that I would be careful.
Thankfully, as soon as one magnet comes loose, the whole thing quickly folds up. If you do drop it, it can fold up before it hits the floor, so that should extend its lifespan considerably. The magnets are pretty powerful.
Aside from the cool factor, I was very impressed with the quality of light from the Creative Lantern. The diffusion material works very well. The shadows are so much softer and it bounces the light to add touch of fill.
I noted about 3 1/3 stop of light loss, which is about 1/2-2/3 better than my old Tupperware modifier. The light loss didn’t change at 45° or 90°, which is also unique. It was refreshing to have a little consistency in light output for a change.
How they light
The most important question I had about these accessories is how they would light. My Covid-friendly model, Queenie, was ready for some glamour shots. All the images were taken with a Nikon Z6, FTZ Adapter, Tamron SP 24-70 G2 and processed through Capture One.
Direct Flash
I started with one speedlight, camera left, positioned just about Queenie’s forehead.
Note the hard shadows from the direct flash – especially across her crown and around the nose.
Grid
Adding the grid cut the light spill onto the background and upped the contrast via the dark shadows. This is a really harsh and dramatic light!
Bounce Card
When using a Bounce Card, your speedlight is pointed either at 45° (image left) or straight up (image right). The Bounce Card produced some nice wrap around light – adding a touch of fill to the dark areas without spilling too much light on the background. The 45° angle gave me a little more fill around the face while the 90° Bounce really cut down on highlights.
Creative Lantern is a really nice balance between bare flash and bounce. I aimed the flash head directly at Queenie with the Creative Lantern and it created a really pleasing light pattern. It was as soft as the Bounce Card at 90° with a touch of the fill of the Bounce Card at 45°, with less spill on the background. When I bounced the Creative Lantern, first at 45° and then at 90°, I lost a fair amount of light. This is one of those speedlight modifiers that really shines when used more directly, instead of bouncing, although it’s REALLY soft when bounced.
Colour Filters
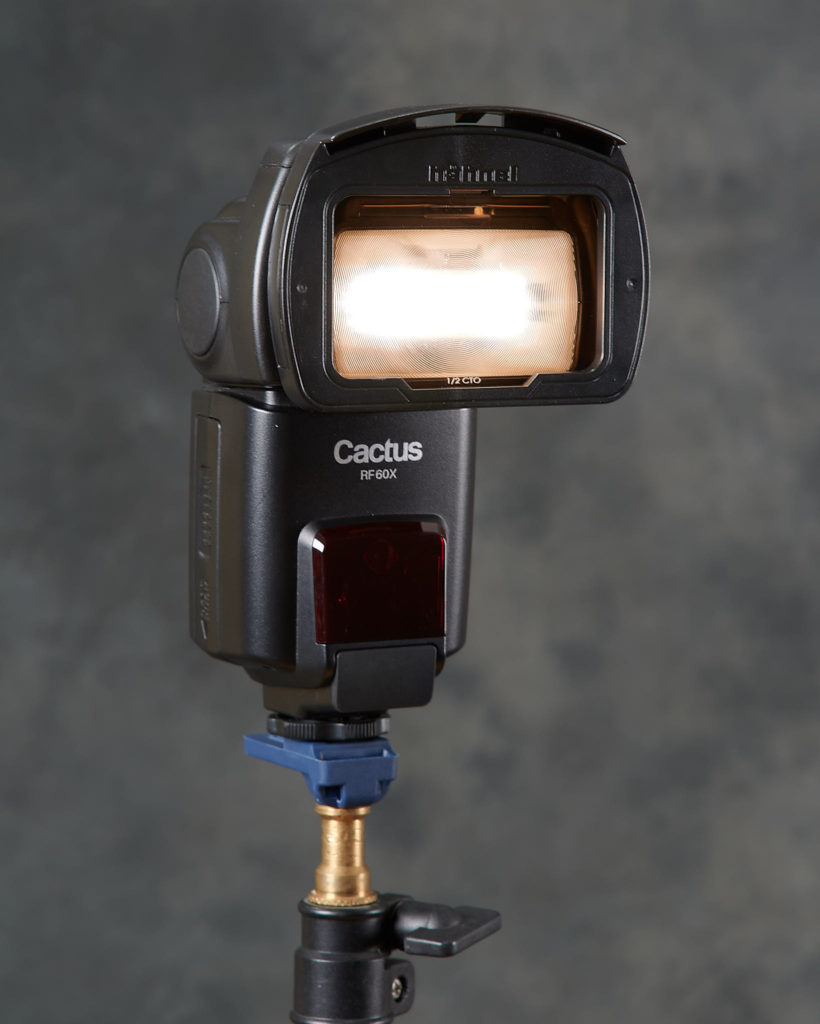
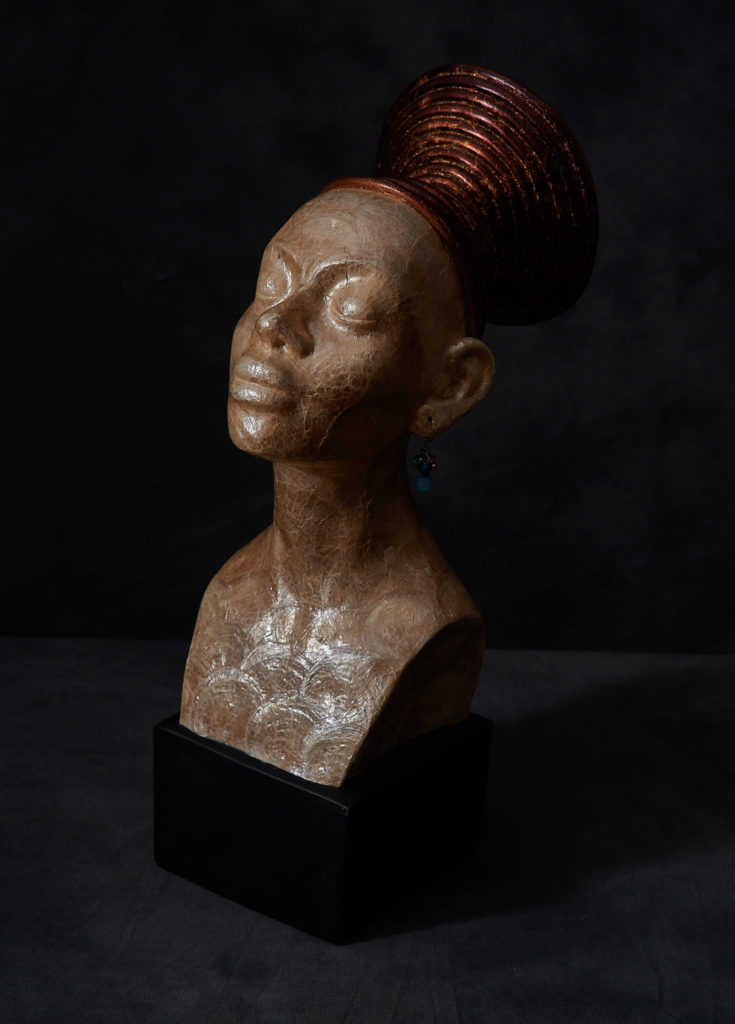
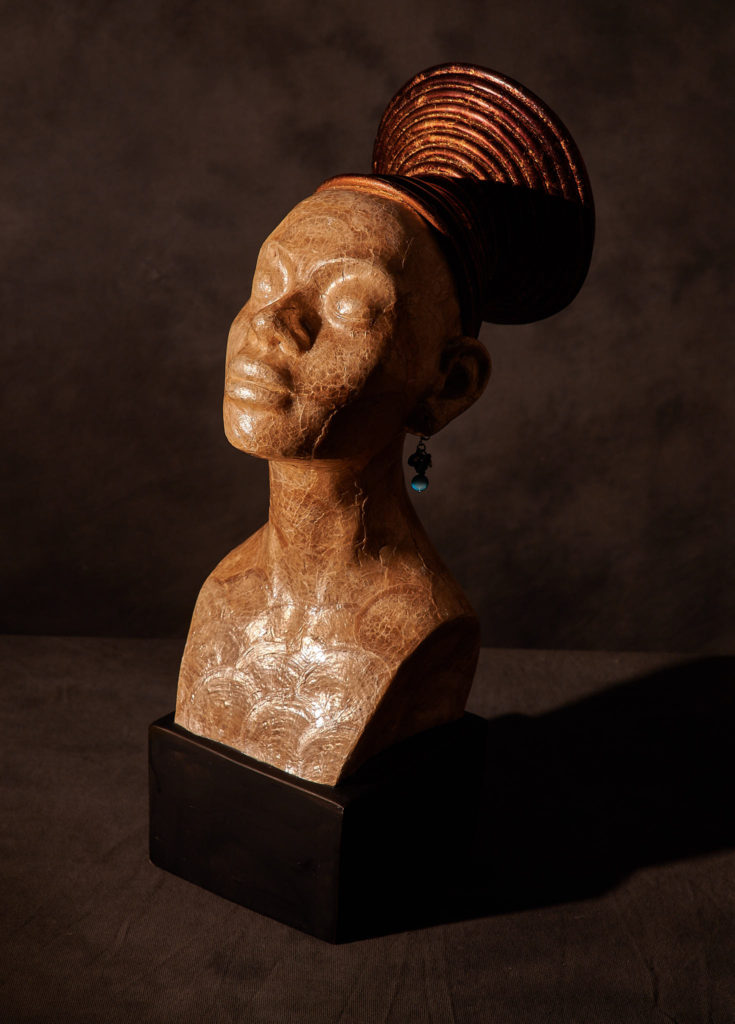
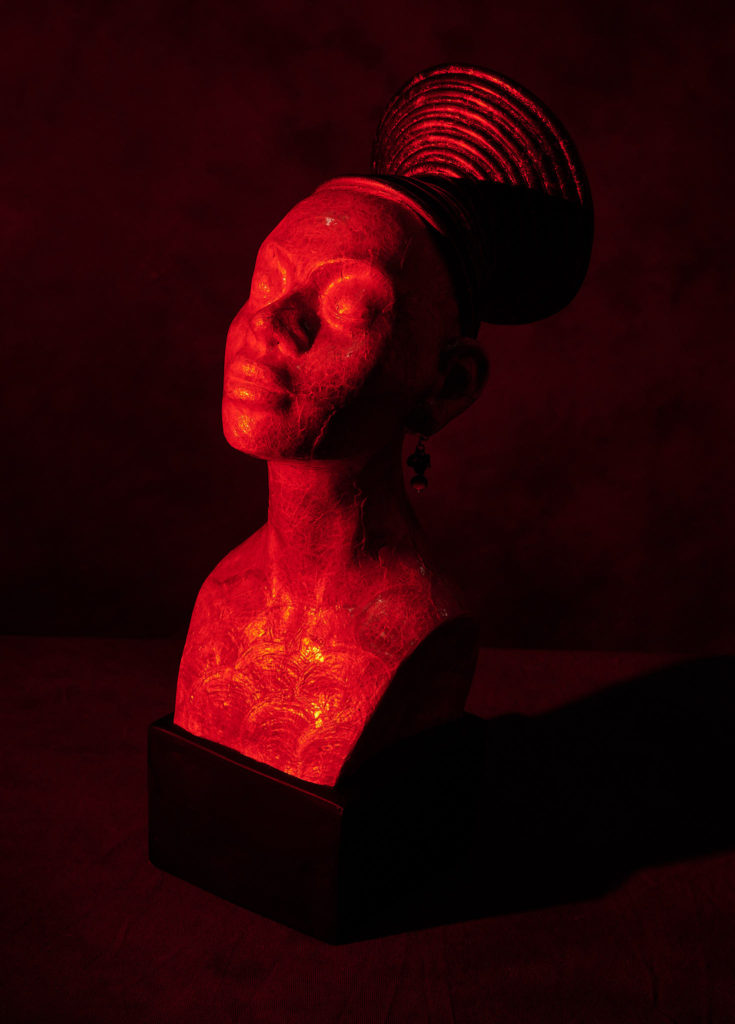
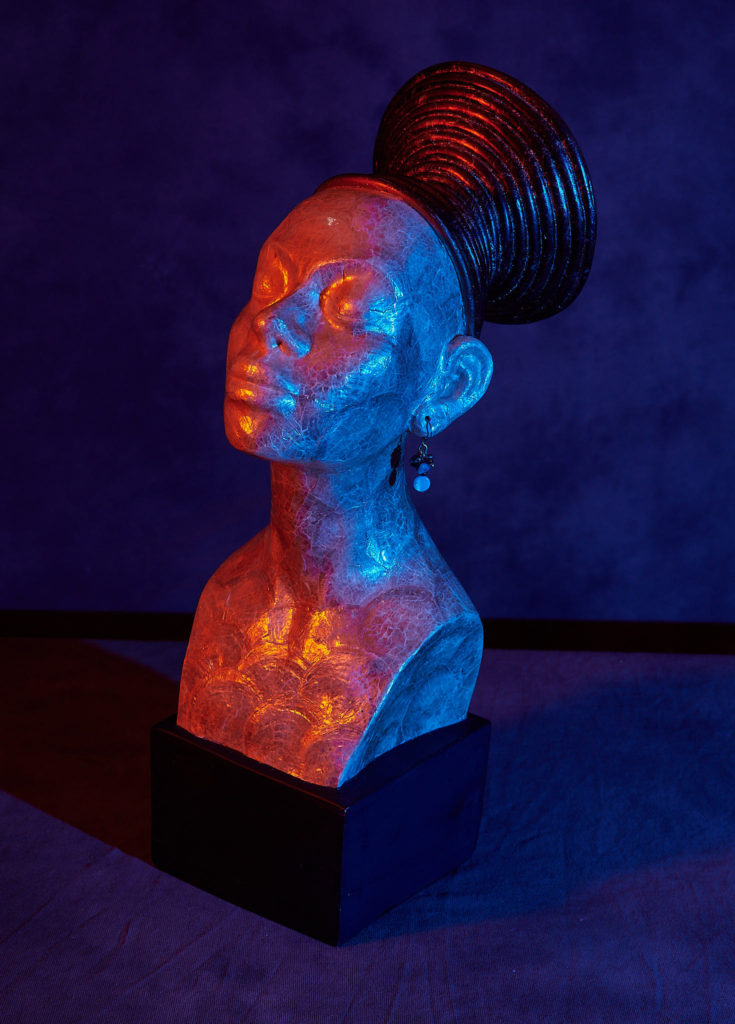
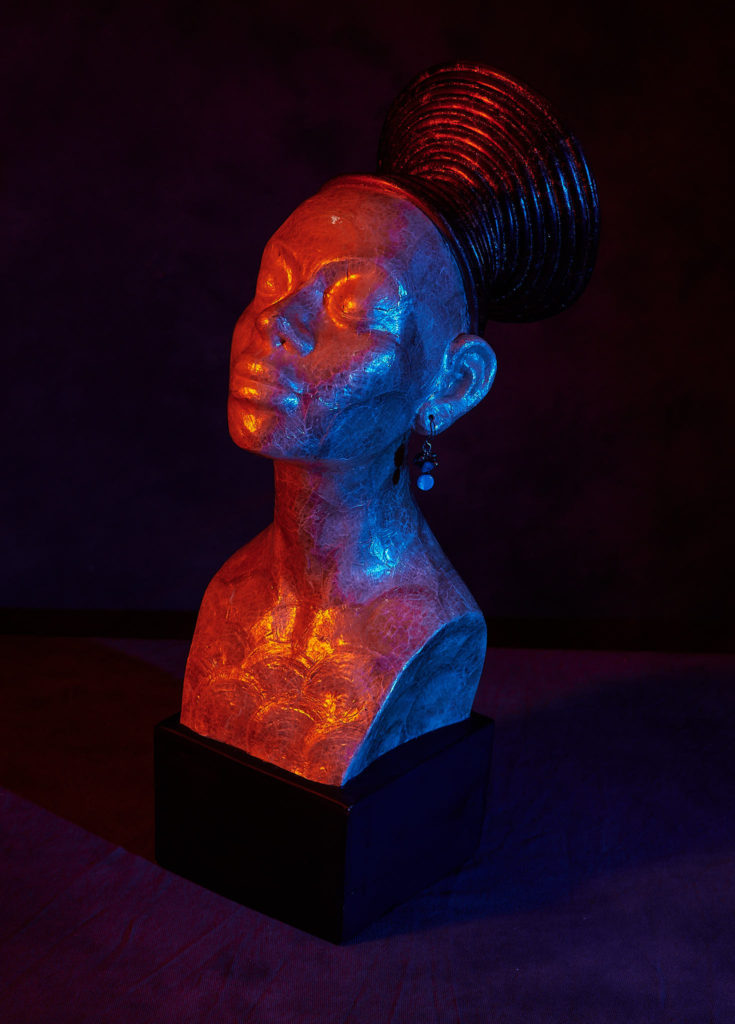
When kits hand you coloured filters, you have to play with them! The 1/2CTO worked exactly as advertised (image 1) – a nice overall warm light. For the first image with the red filter, I also used the grid to focus the light. For the next two images, I used the red filter camera left with the Creative Lantern aimed direct. The light from the right was first taken with just the blue filter, but the excess spill bothered me. I added the grid to the blue filter and it put the light right where I wanted it.
Creative Lantern and Grid
To create an image closer to what I might produce for a client, I used the Creative Lantern camera left and the Grid camera right but positioned behind Queenie for a single highlight down the back to create background separation.
Conclusion
If you have a speedlight, you should have a Creative Lantern Kit. If you have more than one speedlight, you’re going to want the Light Effects Kit, too. If you shoot portraits, you’re going to want a Creative Lantern.
I was really impressed with the build quality and the size, or lack of size, of both kits. They’re small but mighty and very versatile! Hahnel took the simplicity of the magnet mount and shrunk it, so it wouldn’t damage your speedlights. Then, they took your art class origami project and made into a cool-looking light modifier. I would take care using it at events, but it’s so functional and securely mounted that I would still bring it. And each kit fits into it’s own protective carry case, so it’s even easier to take with you on location.
About the Author – Will Prentice (www.capturaphoto.ca) is a professional photographer based out of Whitby, Ontario and Brand Specialist – Lighting for Amplis.






What’s the price and where can I buy it Thanks
Hi Sami, Price is $129.99
You can purchase it at Hahnel Canada: https://www.hahnel.ca/product/module-creative-lantern-kit/
Where’s the link to this specific kit? The magic lantern link is not the same kit
Hi Alan, You can purchase it at Hahnel Canada: https://www.hahnel.ca/product/module-creative-lantern-kit/