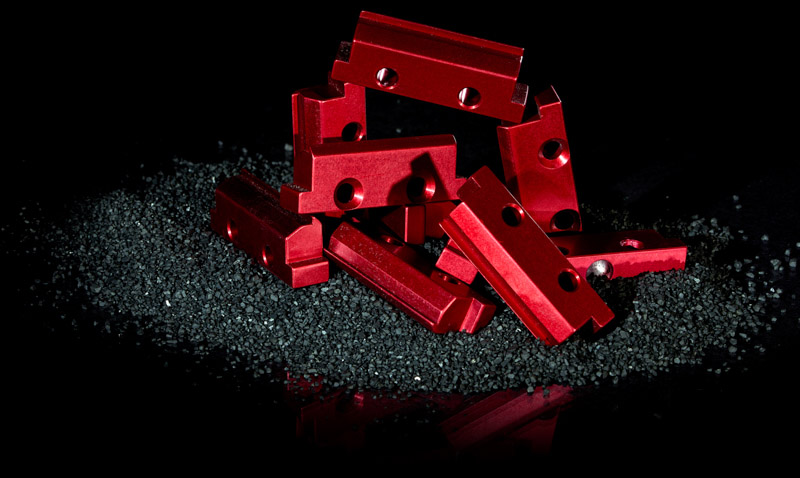
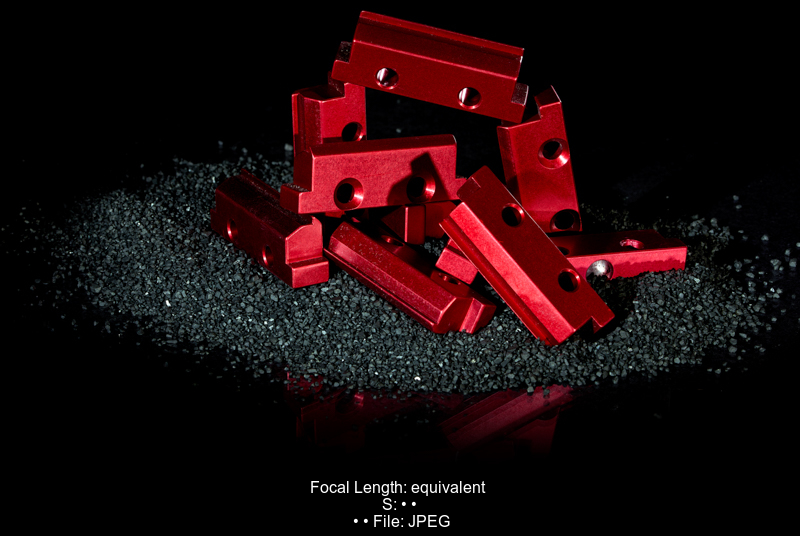
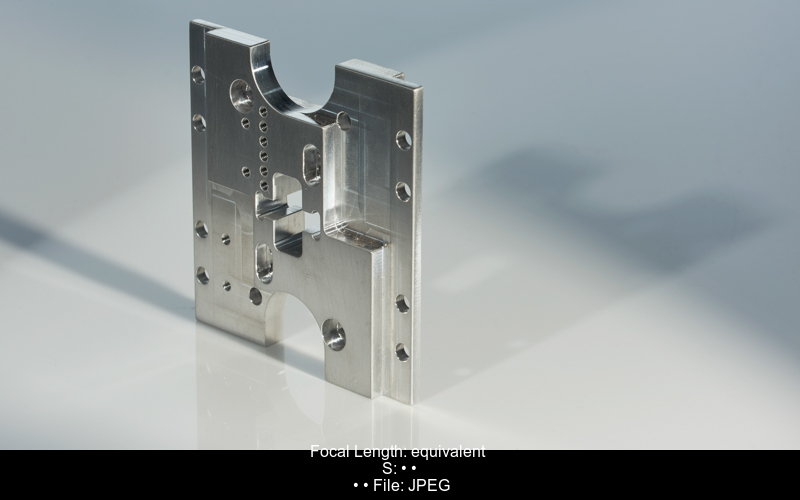
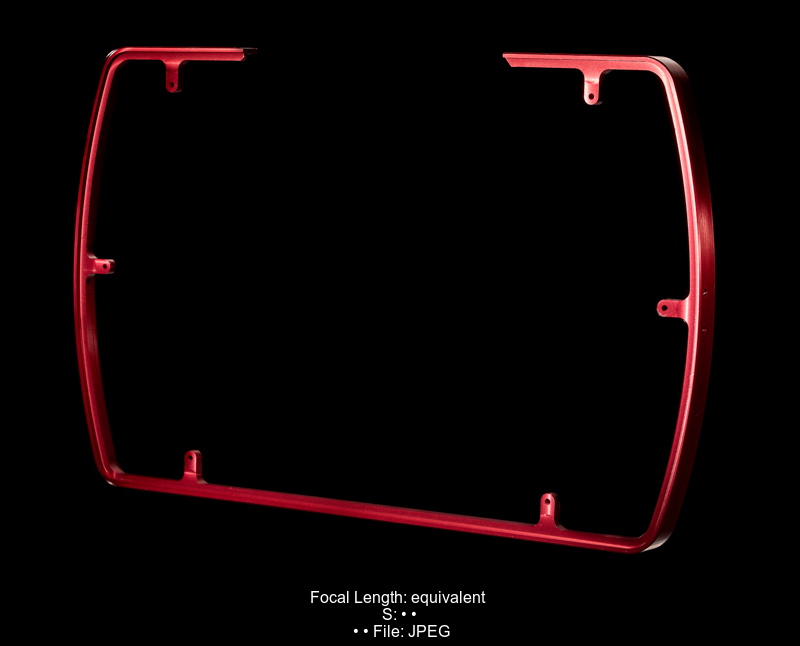
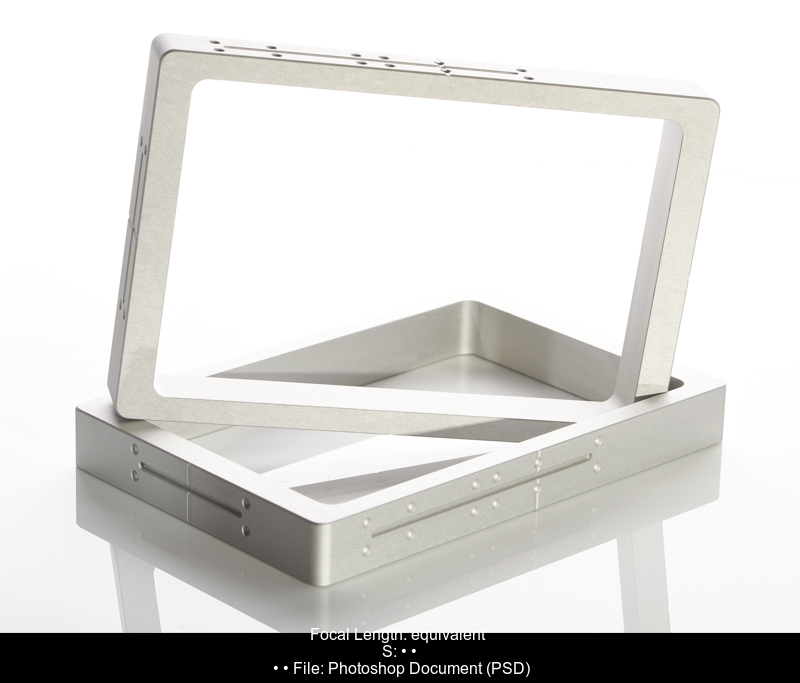
I was recently contracted by a machine shop to make their products look compelling. They wanted images that would draw attention to the finer details and quality of their work, plus a couple of “showcase” images that would be different from their other images.
Their website, which was a mix of stock and cellphone photography – nothing that really showed what they could offer. Oddly enough, every other machine shop website I looked at was pretty much the same mix of grainy cellphone product shots and cookie cutter template-based websites.
The product range they provided was impressive – anodized, polished, CNC, cast, various metals, nylon, rubber – and all sizes. The craftsmanship was apparent – there were no rough edges and each piece on its own looked like a work of art. I was stoked to get going.
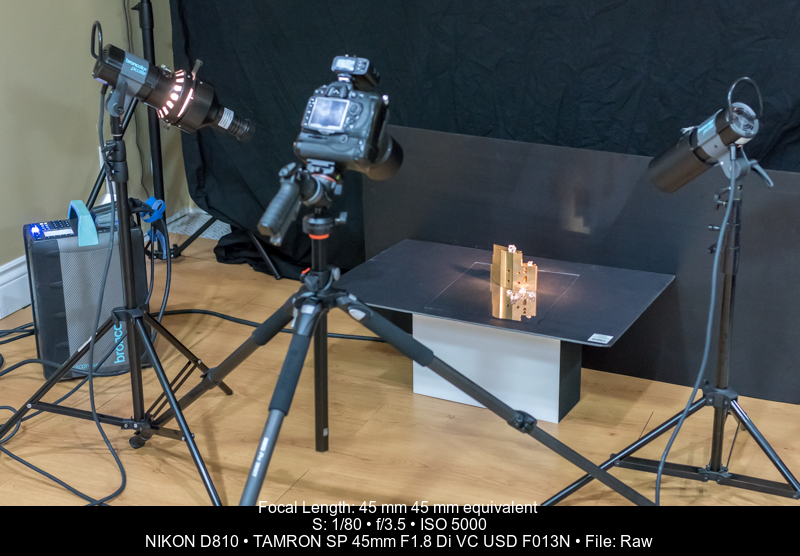
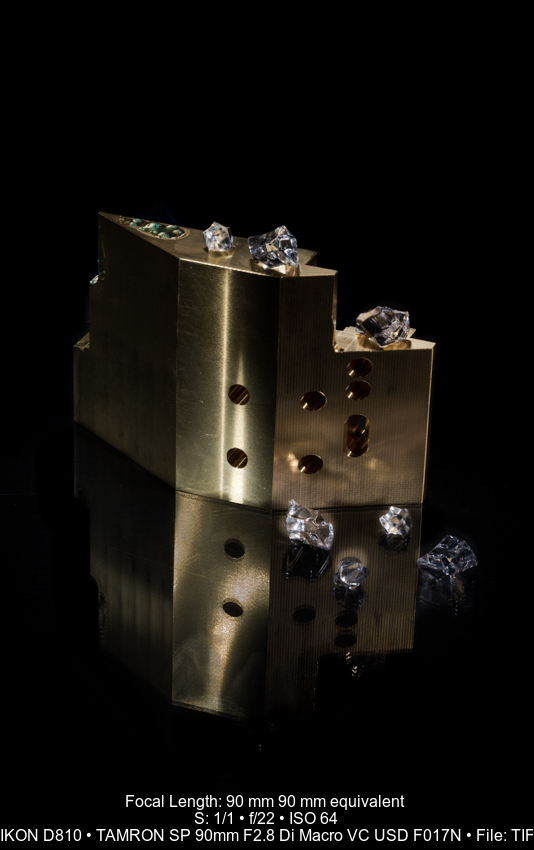
I knew I wanted a mix of high key and low key detail shots. I started with my Nikon D810 and the latest Tamron SP 90mm Di Macro 1:1 VC USD, mounted on a Vanguard ABEO Pro with GH300T head.
Product was setup on a piece of black foam core with clear lexan on top and a piece of black plasticore for the background.
My lighting setup started with a broncolor Scoro 3200 S and three picolites. The picolite is designed for working on small objects.
Two of the picolites used the projection attachment, which has four adjustable aperture blades and a focusing lens that allow precise aim of your light. I could align the light directly with the edges of the metal piece so there was no spill behind the object.
There was one pico camera left, set for soft focus, creating a gradient from bottom to top and primarily on the middle section of the piece. Any light spilling on the lexan would create an odd highlight.
A second pico, not seen in the BTS images, was mounted on a boom over top and behind. The projection attachment was focused and aimed on the top of the piece.
Camera right, a gridded snoot on the third provided a nice directional keylight that wouldn’t spill too much. I wanted to show the texture and machining on the side.
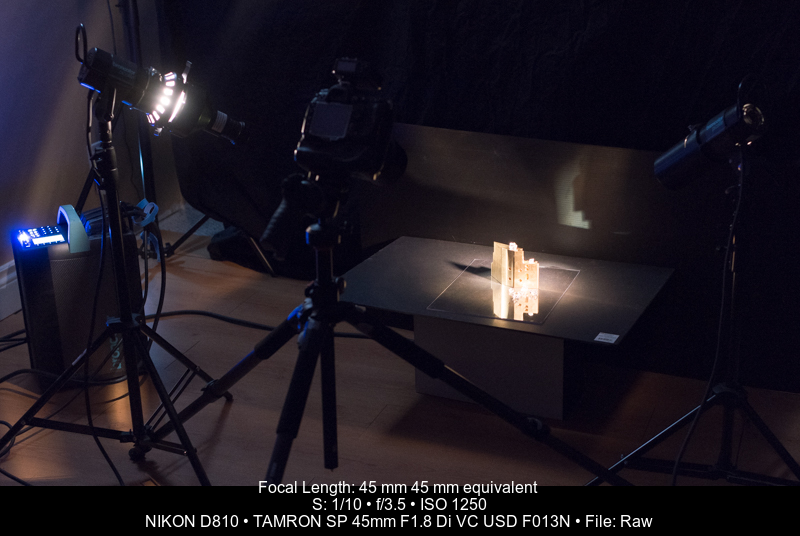
Modelling lights helped me eliminate a lot of guess work – in a dark studio, the model lights showed exactly how the strobe light would fall on my subjects.
Once I had my lights aimed where I wanted, I had a nice enough product image. 1/250 second at f/22 and ISO 64 worked perfectly.
Now it was time to tell a story.
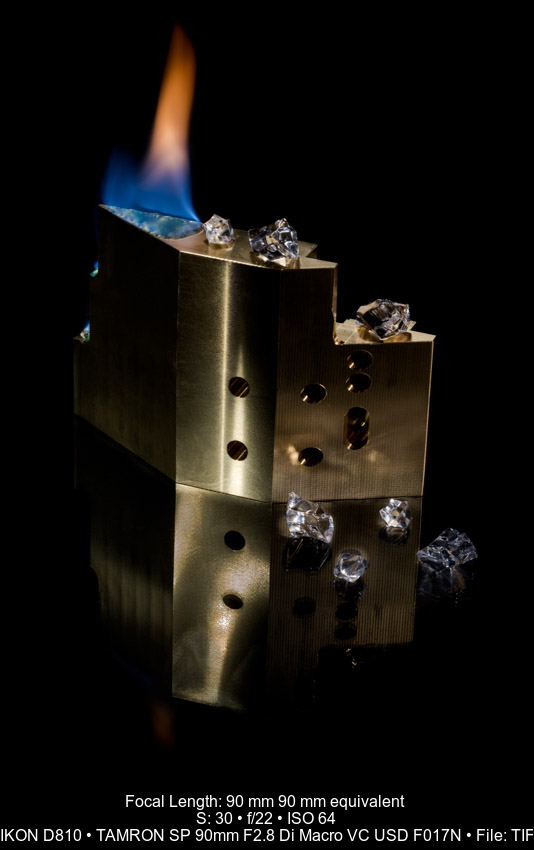
The machine shop made parts for extreme use – everything from fueling nozzles to fire suppression systems to oil pipelines in the Territories. What better way to highlight the durability than fire and ice?
Ice was the easy part. Real ice can be unpredictable in how it melts and it gets slippery as it melts and may slide out of place. Plastic ice chips are a realistic and effective solution.
The flame was a different challenge. Fake flame or flame added in post just doesn’t work as well as the real thing. Fortunately, I’ve been playing around with something in studio that is about as safe as you can get with flame: gelled fuel.
This is the same fuel used by caterers in those little pucks under chafing dishes. You can buy it at your local hardware store.
What I like about this gelled fuel – it doesn’t burn very long, the flame is visible (blue to orange) and it sticks to wherever you have poured it. It’s perfect for photography.
I normally use metal tape to put the gel on, but this product was metal and I was told by the machine shop that flame wouldn’t hurt it. I placed my ice chips on the side I was projecting most of light onto and then poured some gel fuel on the top and “ledges” on the opposite side.
Exposure time was tricky due to the flame. The studio was dark – no lights and the window blocked off to prevent ambient light from fouling the shot. I started with 1 second and wound up all the way to 30 seconds to get the final image.
Shutter sync was on front curtain – I wanted to expose the part and then have the flame expose on top of it. If I used rear curtain sync, the metal would have appeared over the flame, which would look really silly.
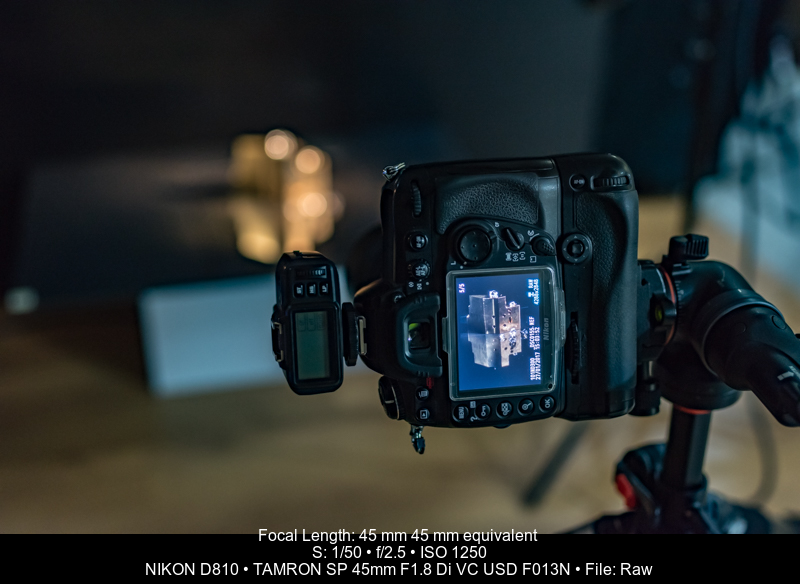
I was shooting tethered into Capture One Pro 9, so I could see the results on my monitor. This image only took 3 takes to get the exposure for the flame correctly.
For the final image, I cleaned up some spots and blemishes on the part and used a Levels Brush Adjustment to make sure the background was completely black.
The client was thrilled and are re-working their website and brochures now.
One very important message for working with flame – indoors or outdoors. Always be prepared for disaster. Flame is dangerous, even when you take all the necessary precautions.
- Keep a fire extinguisher handy, specifically a dry chemical extinguisher, and/or baking soda;
- Do not use water or compressed air as that will only spread the gel fuel;
- Make sure your setup is very sturdy and will not tip over;
- Keep flammable materials (paper, softboxes, cords, etc) away from the flame;
- Keep children and pets out of your studio while using flame;
- Wait 5-10 minutes before refuelling if you didn’t get the shot the first time. You may not see or feel a small flame that might still be there;
- Only use small amounts of gel fuel indoors.
The fuel I use has very low viscosity and therefore doesn’t flow very well. It won’t run down the piece and create a larger problem, but some gels are very viscous and dangerous. Using the right fuel is very important.
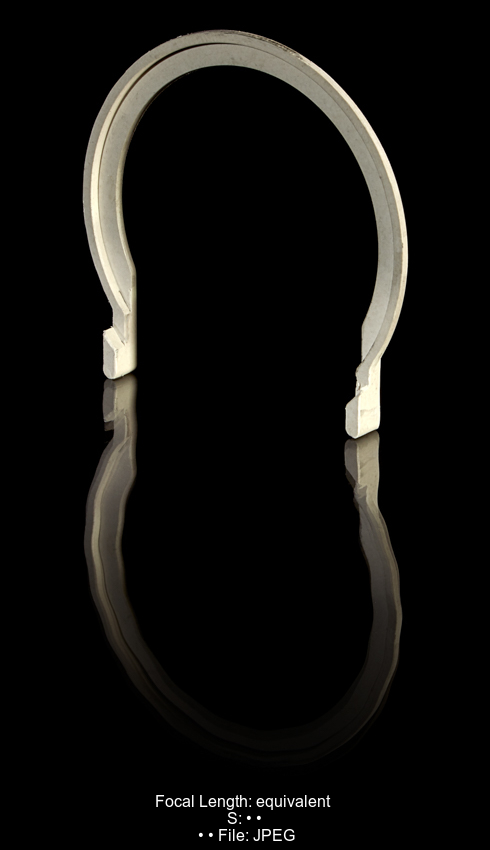
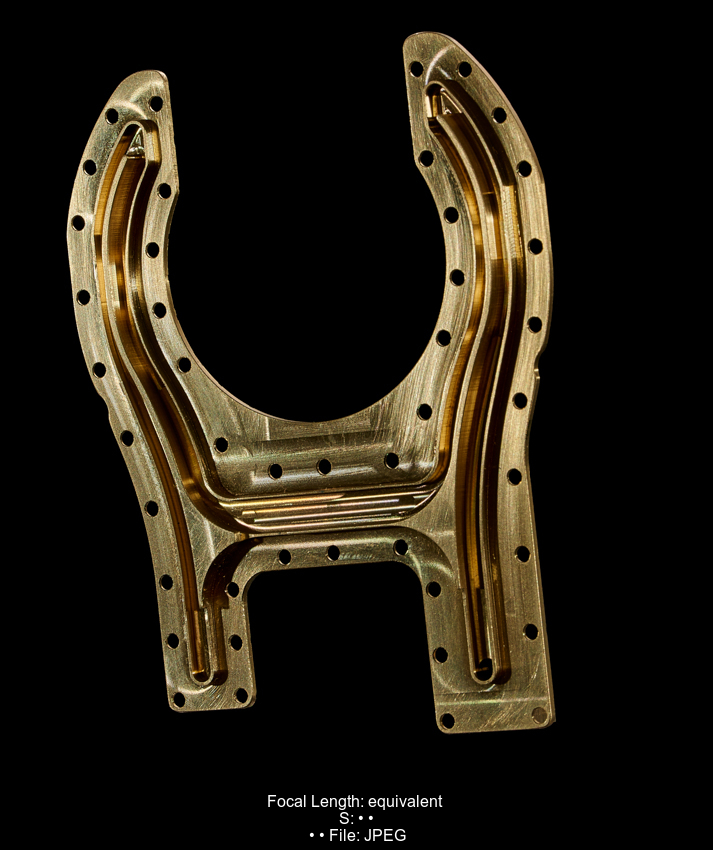
Below are some more images – high key and low key – showing how controllable light is with the picolite and projection attachments.
Equipment:
- Nikon D810
- Tamron 90mm F/2.8 Di VC USD R2 Macro 1:1
- Vanguard ABEO Pro 283 AGH300T
- broncolor Scoro 3200 S
- broncolor Projection Attachment for Picolites
- broncolor Grid set of 3 Mobil/Picolite
- Capture One Pro
Do you have a unique way of shooting products? Are you looking for help in how to capture an object? Post your question on the PHOTONews Canada Facebook page.

About the Author – Will Prentice (www.capturaphoto.ca) is a professional photographer based out of Whitby, Ontario and Brand Specialist – Lighting for Amplis.


