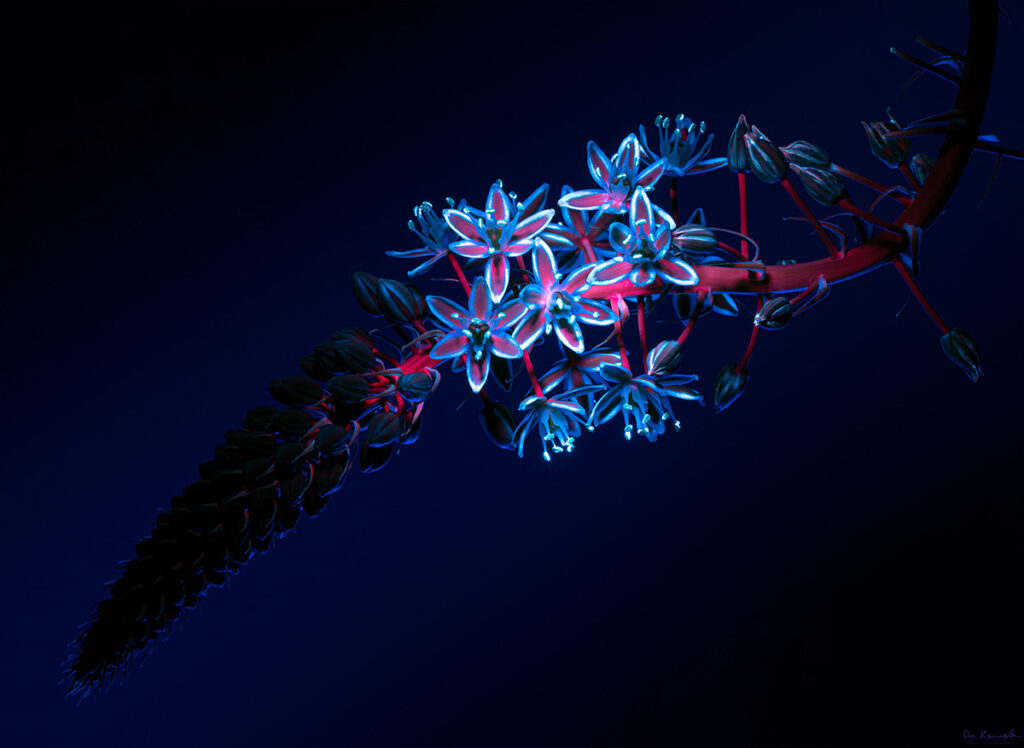
It can seem as if there is a parallel universe in the world of flowers and insects, one that can not be seen by natural means. This realm, revealed only by the use of ultraviolet light, can transform the your tired and ordinary backyard subjects into something otherworldly. All you need is a macro lens, some basic accessories, and a source for ultraviolet light.
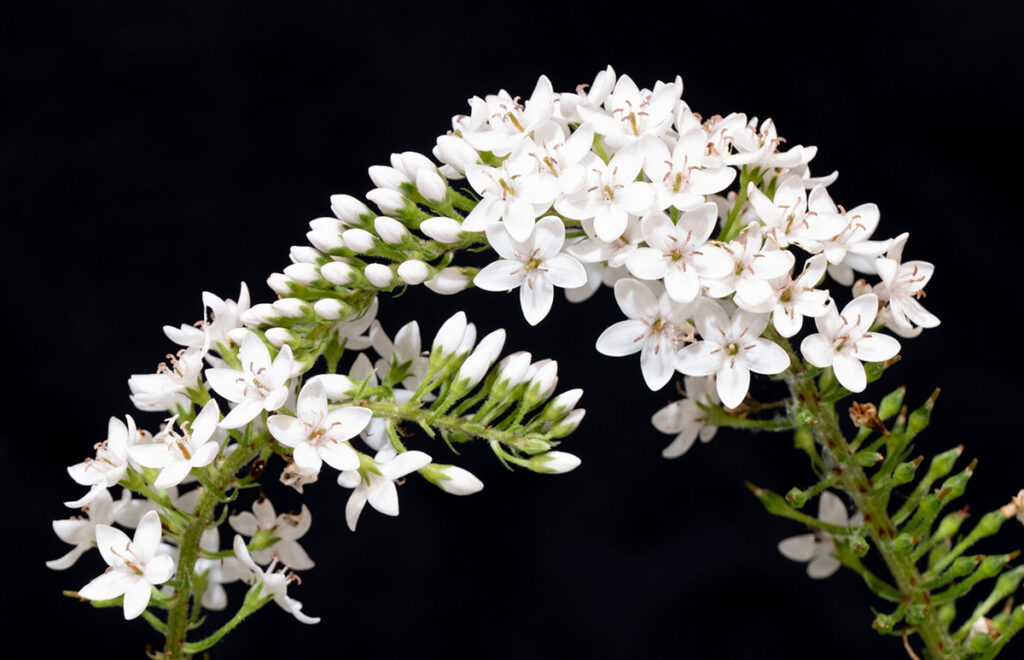
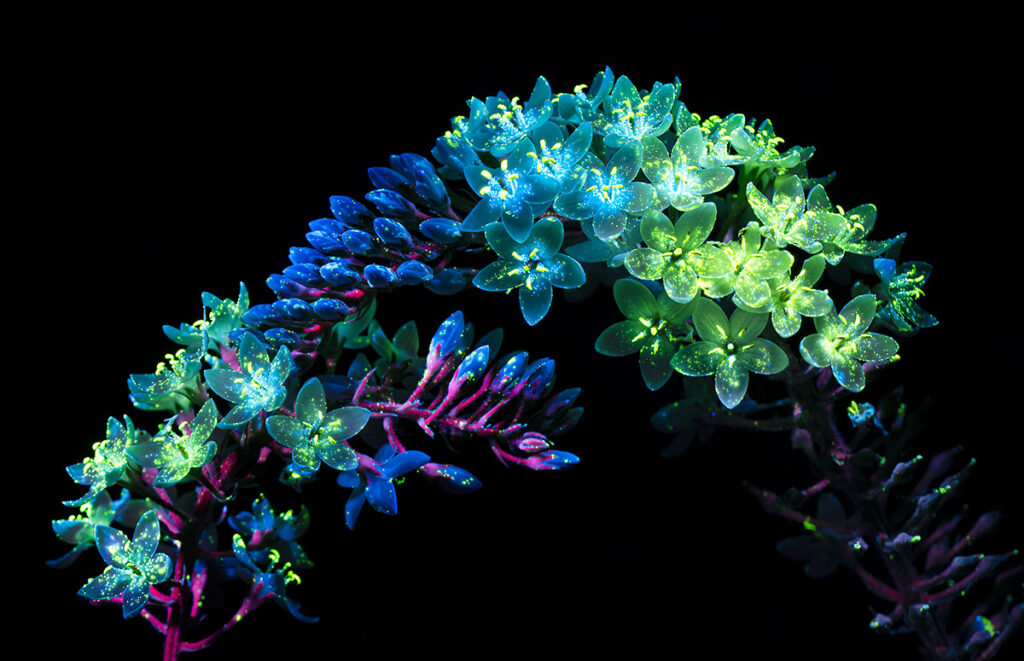
Take, for example, this Gooseneck Loosestrife. Not a terribly ugly flower, but problematically invasive. It earns redemption visually when illuminated with exclusively UV light:
You do not require any special camera equipment to create this transition. The ultraviolet light hits the subject, and the electrons in the subject get excited. They rise to a higher orbit, but instantaneously decay back to their original position. I promise the science will be brief: energy is lost in this act, and the subject emits light at a lower energy than it had originally received. We’re talking specifically about Ultraviolet-induced visible fluorescence (UVIVF). In the end, this means our cameras are capturing simple visible light, albeit from a unique origin.
Above: a simple yellow dandelion generates a colour palette normally associated with a coral reef.
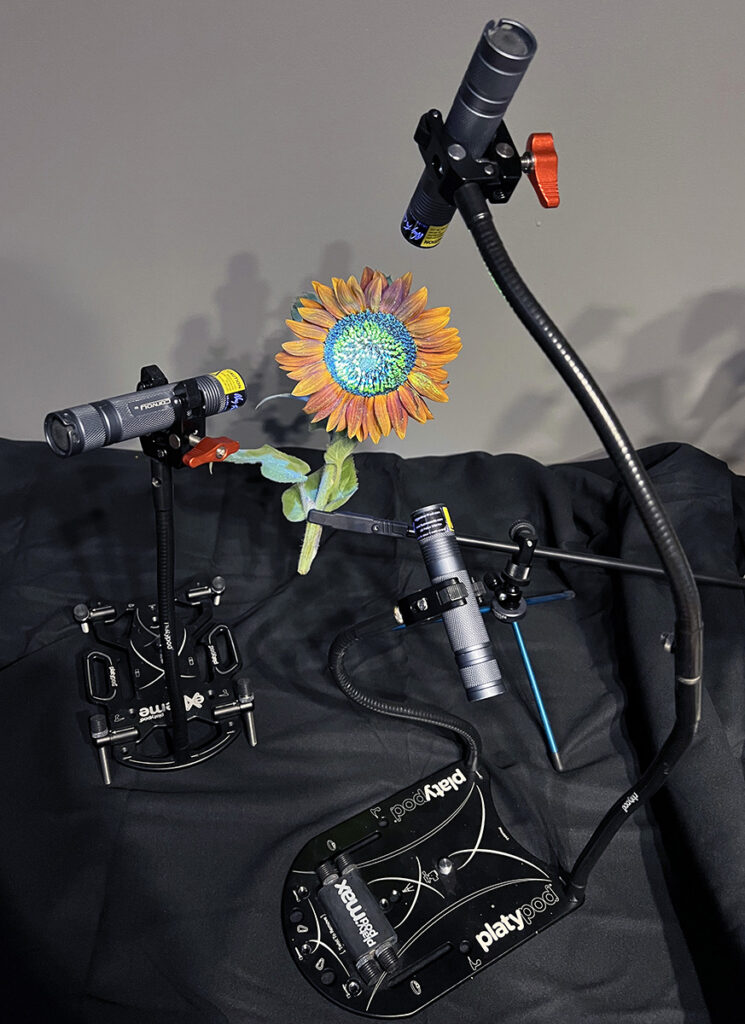
There are a number of specialized (and expensive) flash heads that can emit UV light exclusively, often used in special effects. We need something smaller – a simple UV flashlight. A brand commonly available from major online retailers is called the “Convoy S2”. Camera stores don’t stock these, as they are often used by people hunting for fluorescent minerals outside. One is sufficient and you can easily “light paint” with it during a longer exposure. More can be handy, and I’ve attached to various goosenecks and clamps that I have around my studio:
Lumix S1R, ISO 100, F/8, 1sec, Laowa 90mm F/2.8 Macro lens
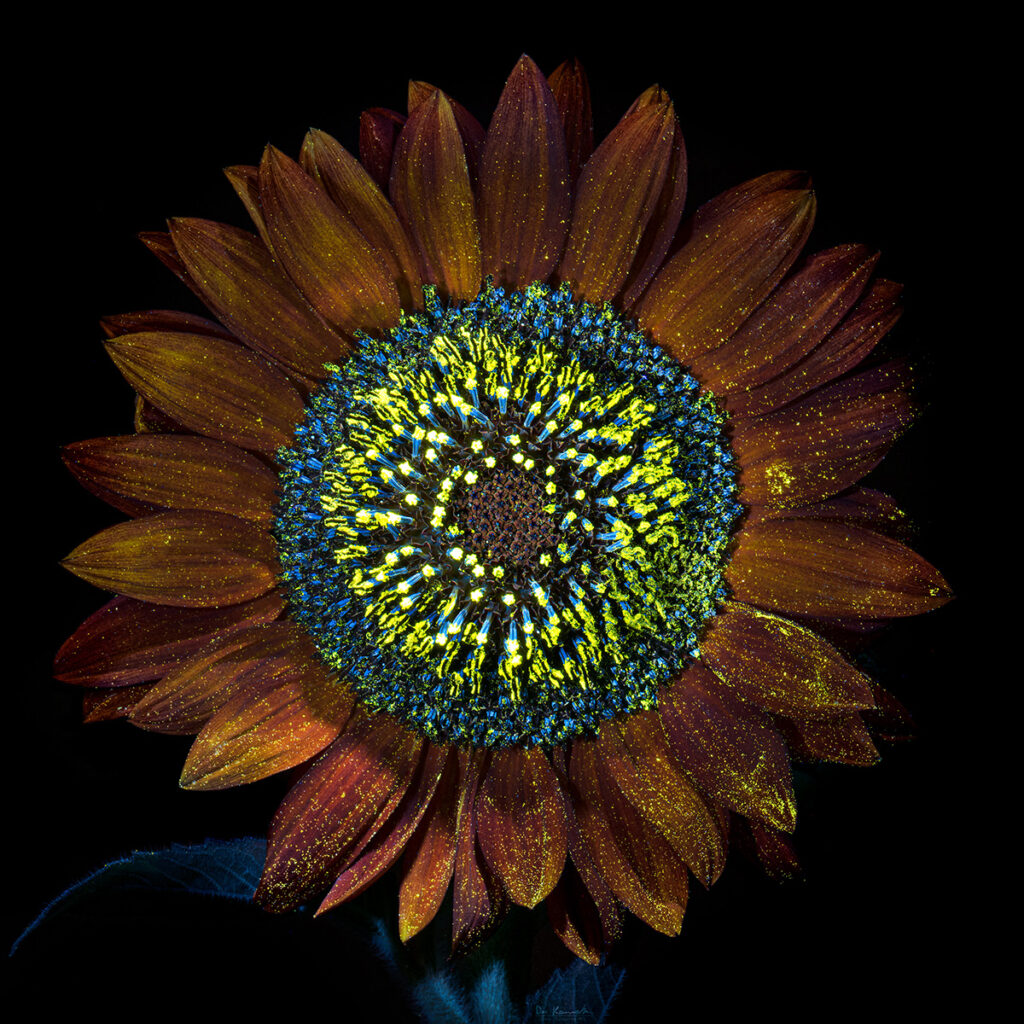
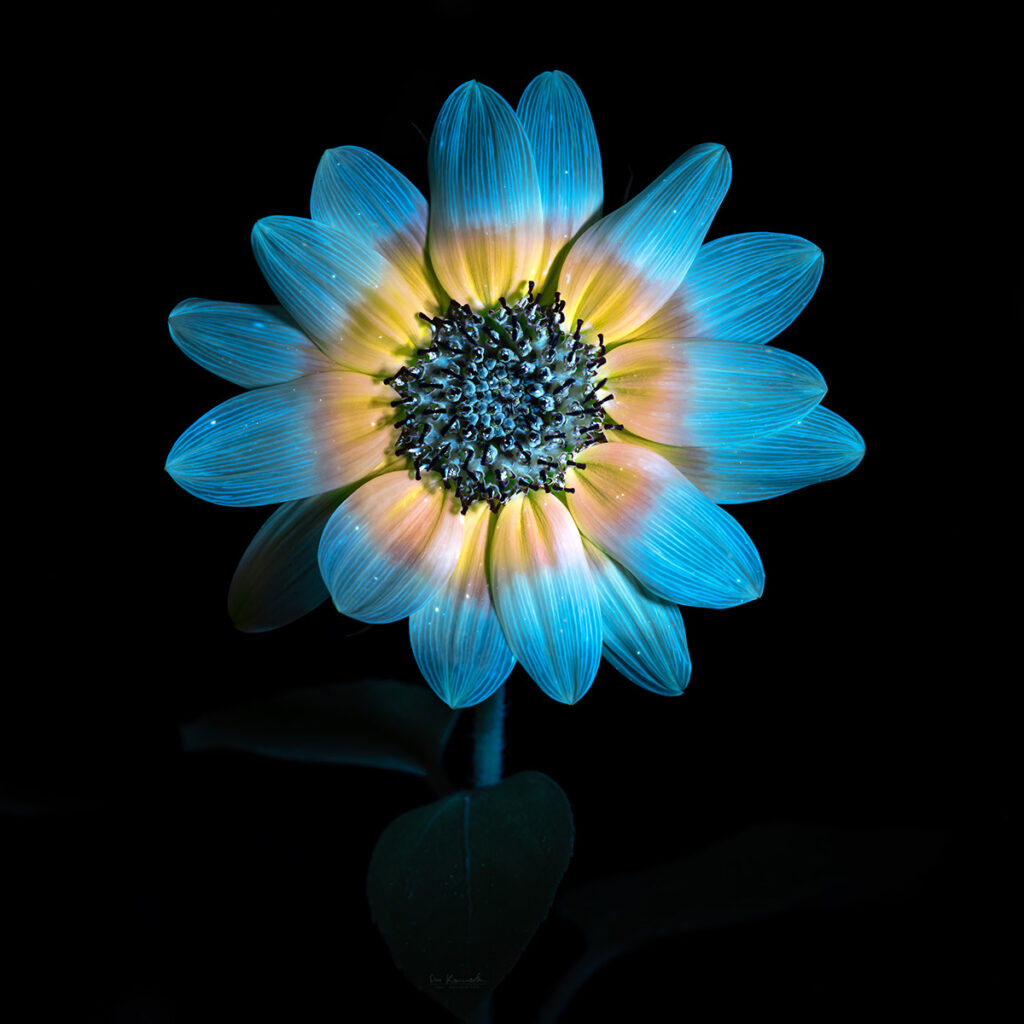
Sunflowers don’t normally take on this appearance, and different sunflowers, succulents, herbs, etc. all take on a second identity under ultraviolet light:
Lumix S1R, ISO 400, F/8, 1/4sec, Laowa 90mm F/2.8 Macro lens
Remember that these fluorescing objects are going to be dim, often requiring the use of a tripod to compensate for the longer exposure times, sometimes multiple seconds long. It’s also advisable to have your framing and focus established before you turn off the room lights, as you’ll want to be working in as little ambient light as possible.
My favourite focal length for this sort of work is around the 35mm equivalent of 90-100mm. Manual control is best, which is why I recommend the tack sharp Laowa lenses below, starting with my all-time favourite:
- Laowa 90mm f/2.8 2x Ultra Macro APO (Full Frame)
- Laowa 100mm f/2.8 2X Ultra Macro APO (Full Frame)
- Laowa 65mm f/2.8 2x Ultra Macro APO (APS-C)
- Laowa 50mm f/2.8 2X Ultra Macro APO (MFT)
Consistently for my professional work, the 90mm F/2.8 lens remains on my camera nearly all the time these days. Prior to it’s release and my switch to mirrorless, I also made great use out of the 100mm lens:
Canon EOS-1D X Mark II, ISO 3200, f/8, 1/200sec
Generally speaking, you’ll be shooting around F/8 through F/11 to maximize the depth of field while minimizing the effects of diffraction that limit the total resolution of the image.
However, sometimes you get a spark in your mind – an idea to use more specialized equipment. As I was photographing the Gooseneck Loosestrife at the top of this article, one such idea came to mind. What if I placed the flowers in a crystal tunnel, and shoot into the tunnel with the Laowa 24mm F/14 Probe lens?
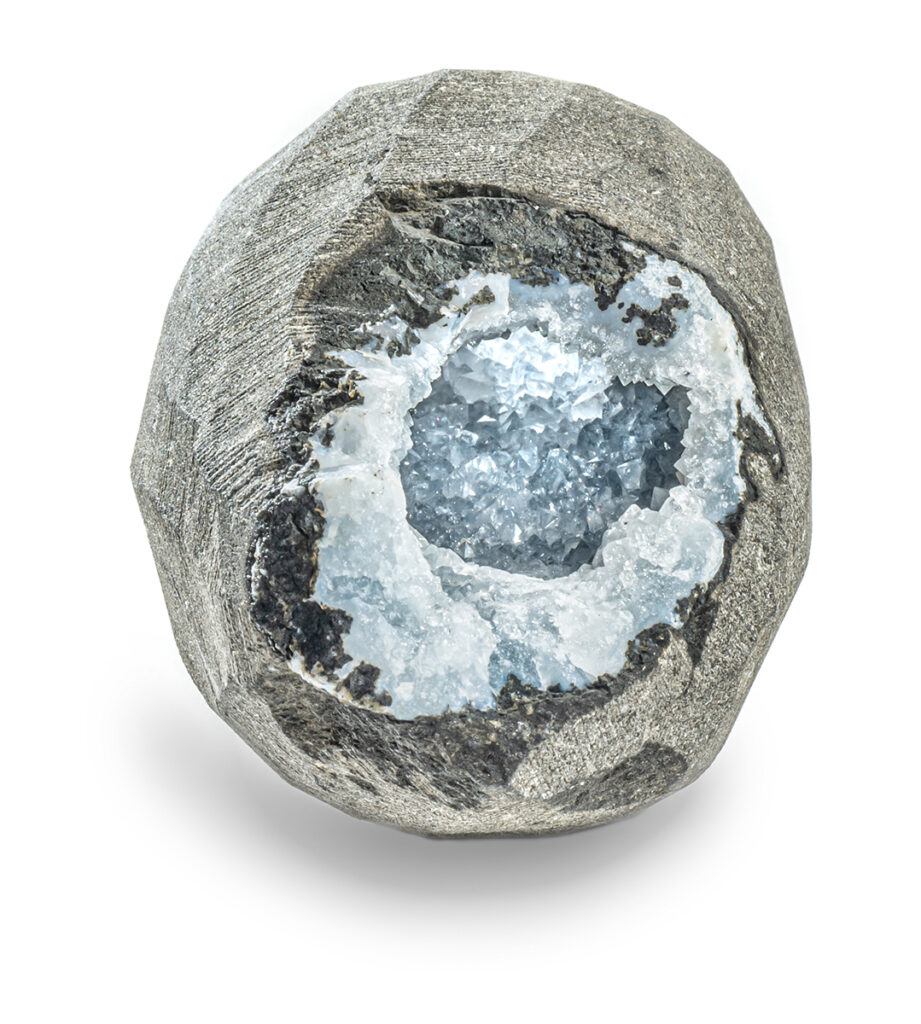
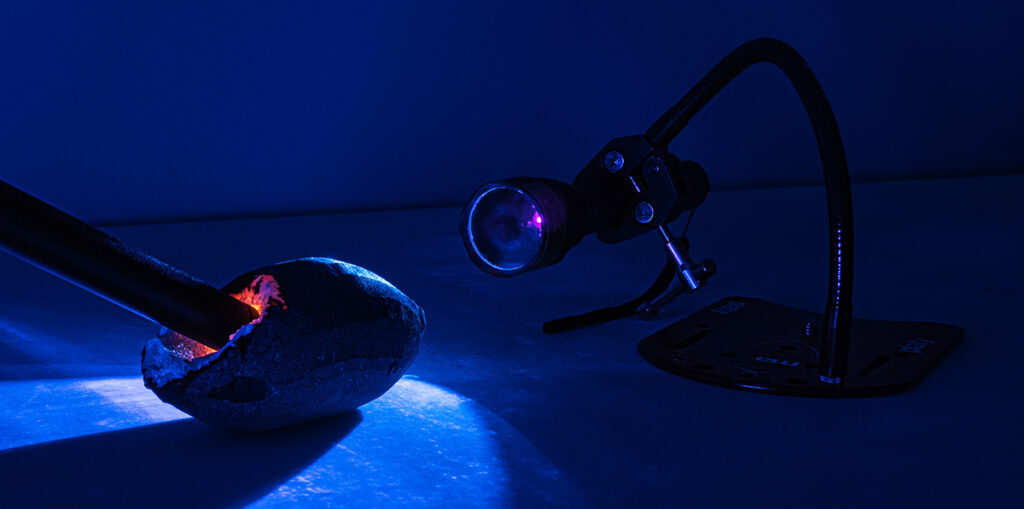
That crystal tunnel came in the form of a long geode that is open on both ends, allowing the probe lens barrel to enter from one side, while the UV light can enter into the lens from the other side:
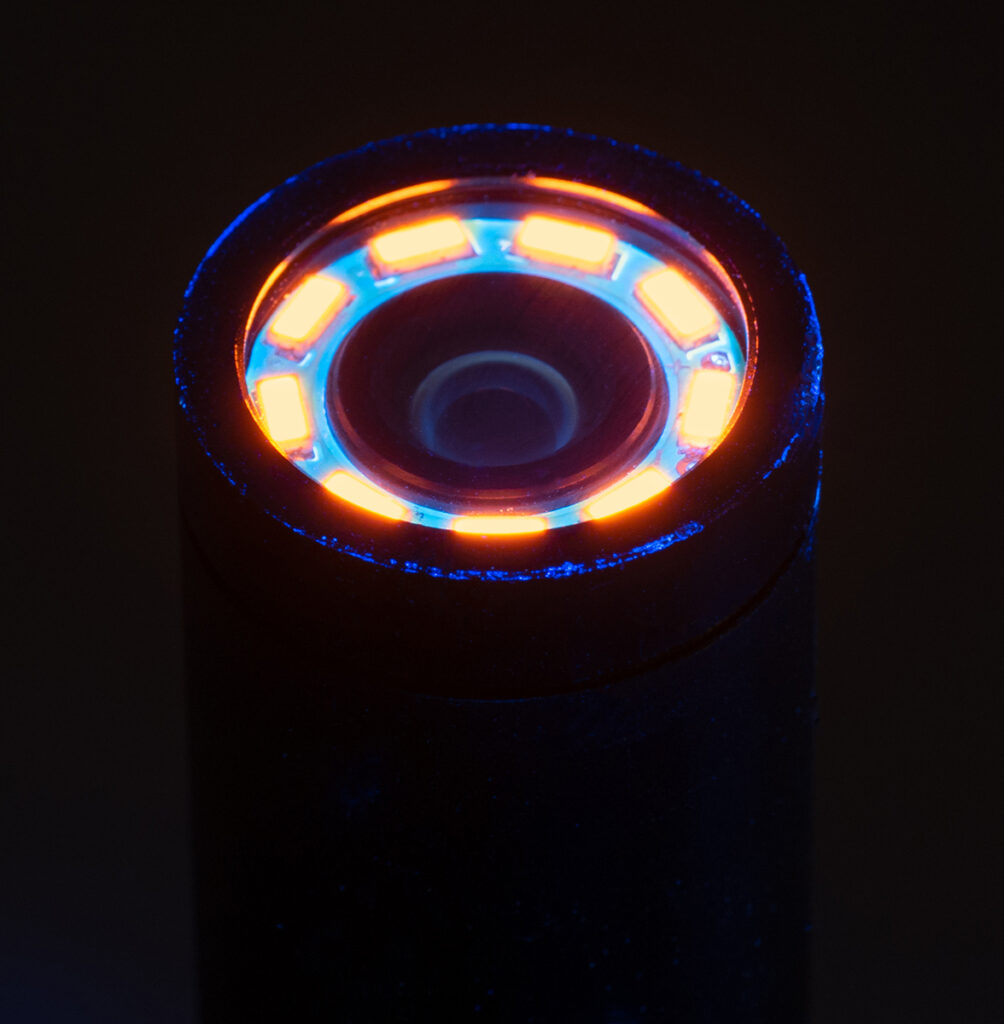
There was a strange occurrence here, a happy accident that made the image even more magical. The outer right of the probe lens is fitted with LED lights. It’s helpful to know how LED lights work: on the principals of UV fluorescence, a UV LED is coated with various phosphors to fluoresce into the visible spectrum, creating “white” light. However, even when off, hitting these diodes with a UV light source will cause the outer layer of phosphors to fluoresce (in this and many cases) orange:
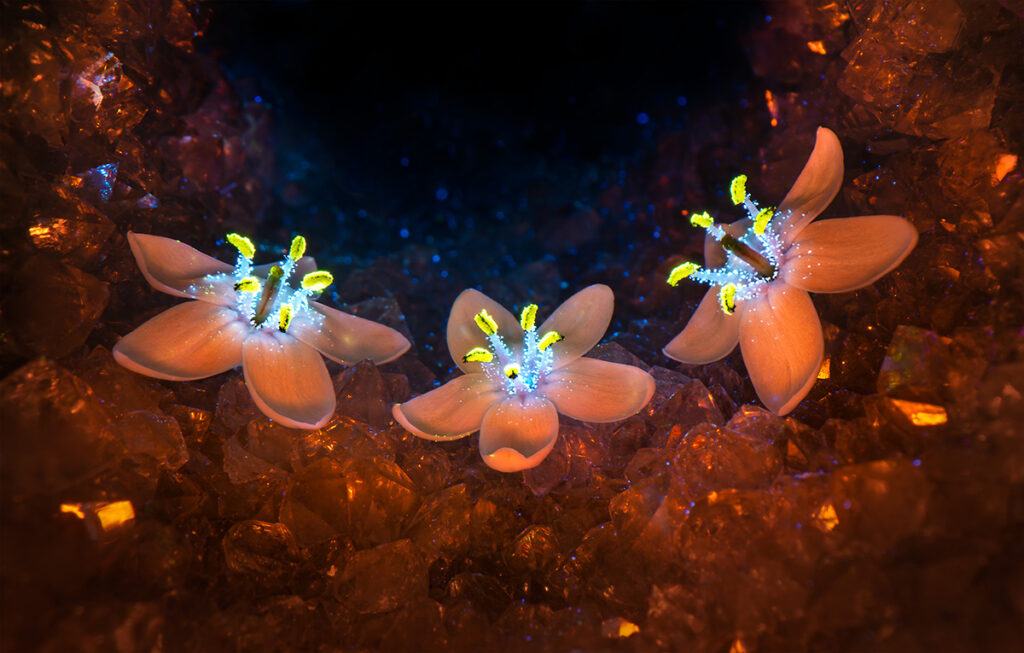
And that yields a wonderful orange glow in the final composition:
Lumix S1R, ISO 100, F/14, 20sec, Laowa 24mm F/14 Probe lens
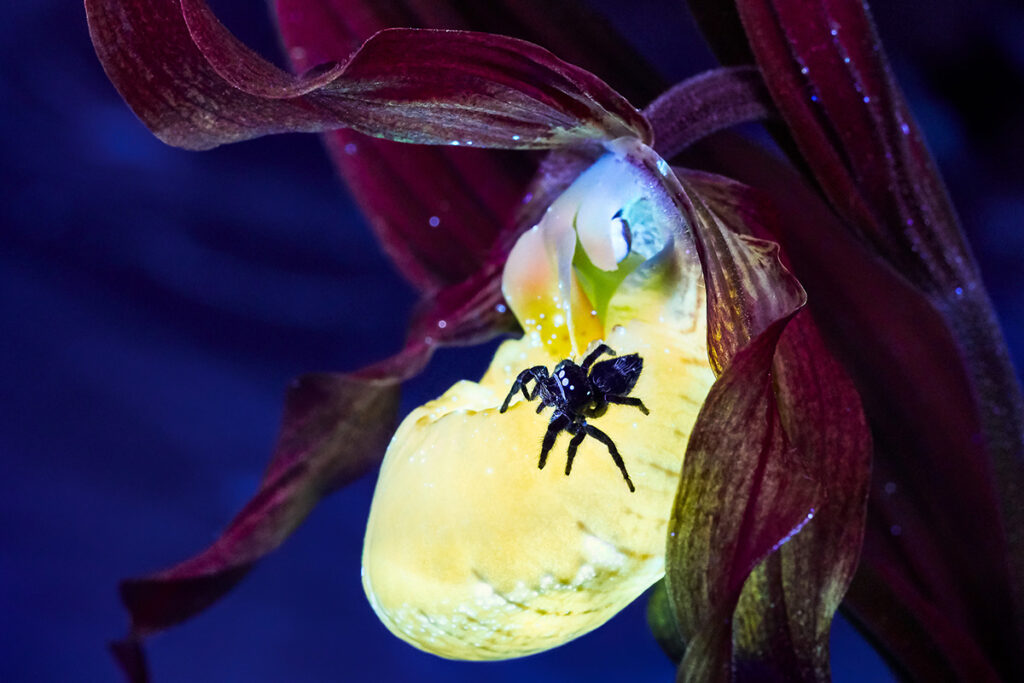
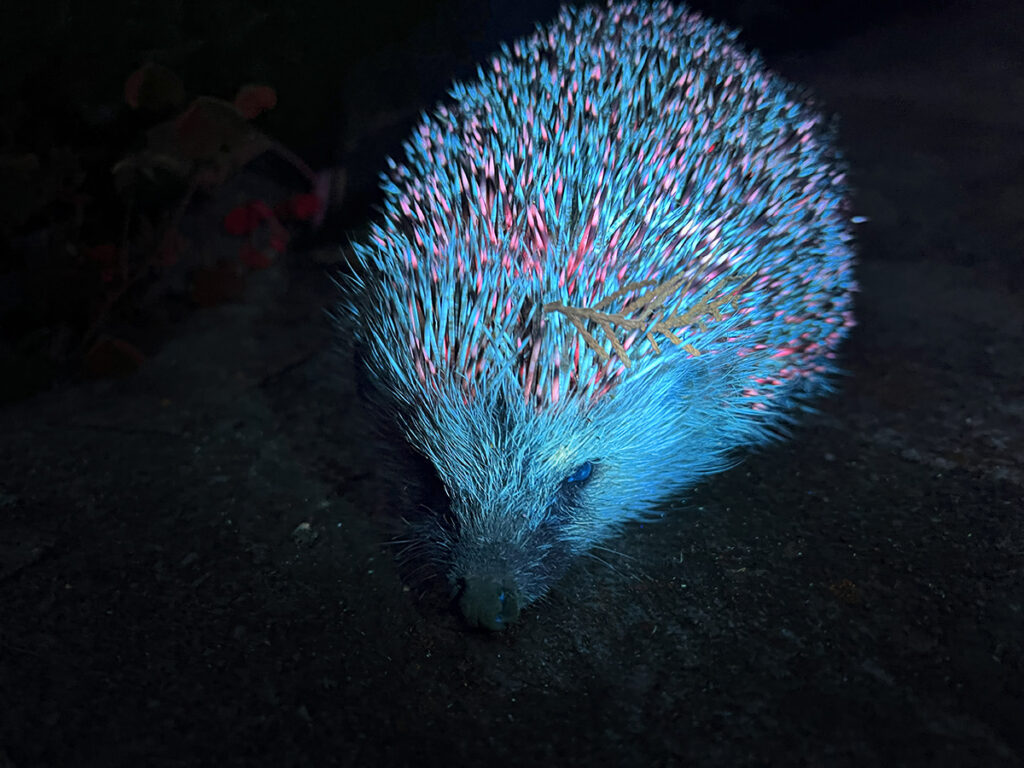
Many of these subjects can be found in your own backyard or public nature spaces. Once every week or two, as new flowers bloom, I welcome a nighttime adventure among the flowers to see what might be fluorescing, and what creatures might be revealed in the dark. Fun fact: Hedgehogs fluoresce. As do more flowers that you would otherwise image!
iPhone 13 Pro Max
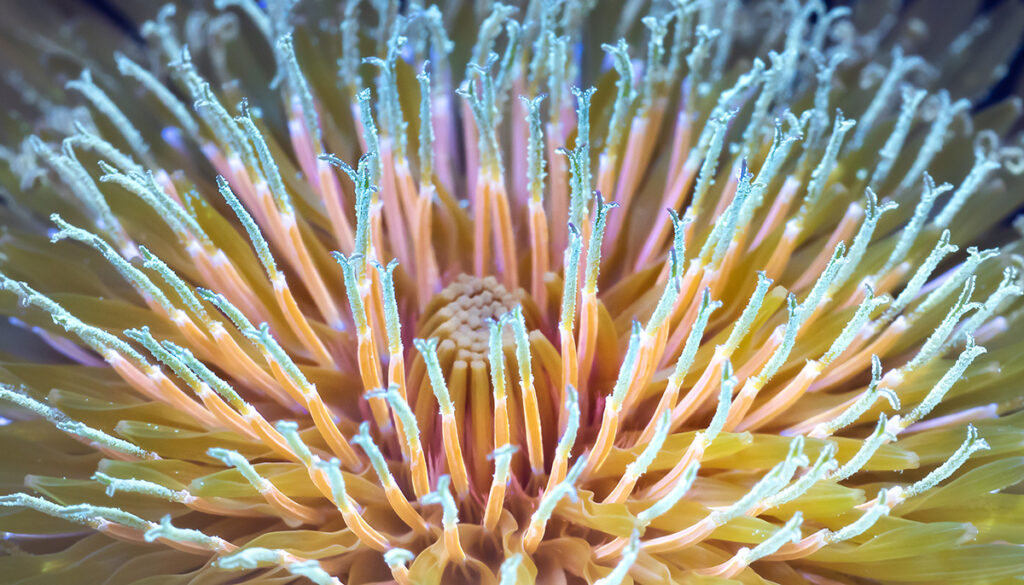
Lumix S1R, ISO 200, F/11, 1/2sec, Laowa 90mm F/2.8 Macro lens


