Welcome to the seventh installment of our new monthly that highlights a different Elinchrom Light Shaper or Lighting Technique, with sample images (full length and cropped headshots) and lighting diagrams. All the images were photographed with the same model and outfit (standing in the same spot on the background – about 3 feet away), the same day in the same blacked out studio, with the same strobes at the same height (forehead height) & distance (about 5 feet) from the model and the same camera setup. I tried to remove as many obstacles as possible so we can compare light shaper effects.
I used an Elinchrom FIVE battery monolight triggered by the Elinchrom Transmitter Pro. My trusty Gossen Digisky light meter ensured consistent exposure values – it has an integrated Skyport transceiver to remotely trigger the FIVE. My Nikon D810 had a Tamron 85mm f/1.8 lens and all was mounted on a Vanguard VEO 3+ 263CB tripod. Camera settings are ISO64, f/8, 1/125s We used an Easiframe backdrop system with the Grey Texture backdrop. I tethered my camera into Capture One on my laptop with a Tether Pro USB-C to C cable and connected my laptop to a large screen TV with a TetherPro HDMI cable so we could review images on the big screen.
Special thanks to Phil and RevPrint Studio (https://www.revprint.com) for the use of their space. Phil hosts workshops featuring Elinchrom gear via West Toronto Photography Group (https://www.wtpg.ngo/)
To conclude this series, we created “moving portraits” utilizing the LED model lamps of the Elinchrom lights and my large high volume fan – and lots of movement by Maya.
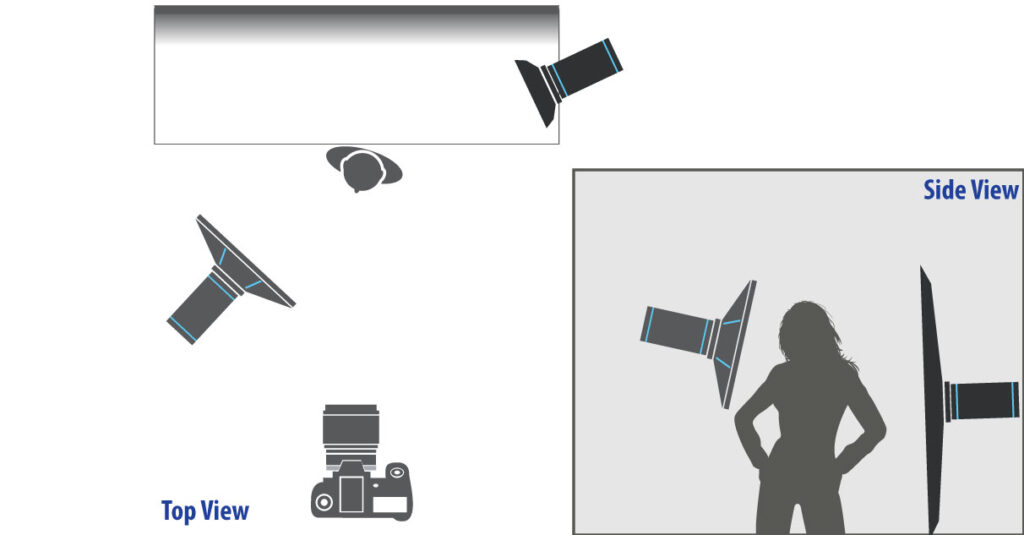
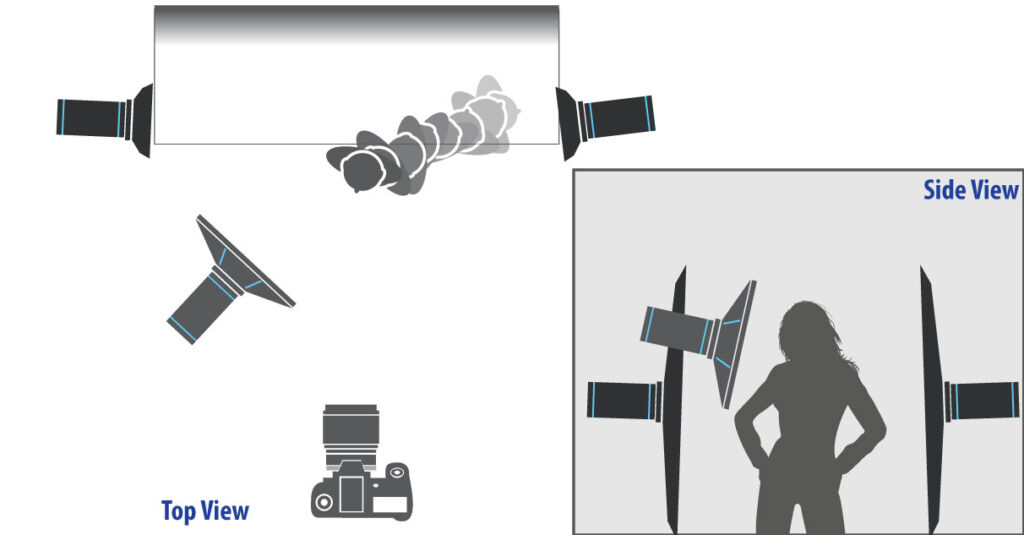
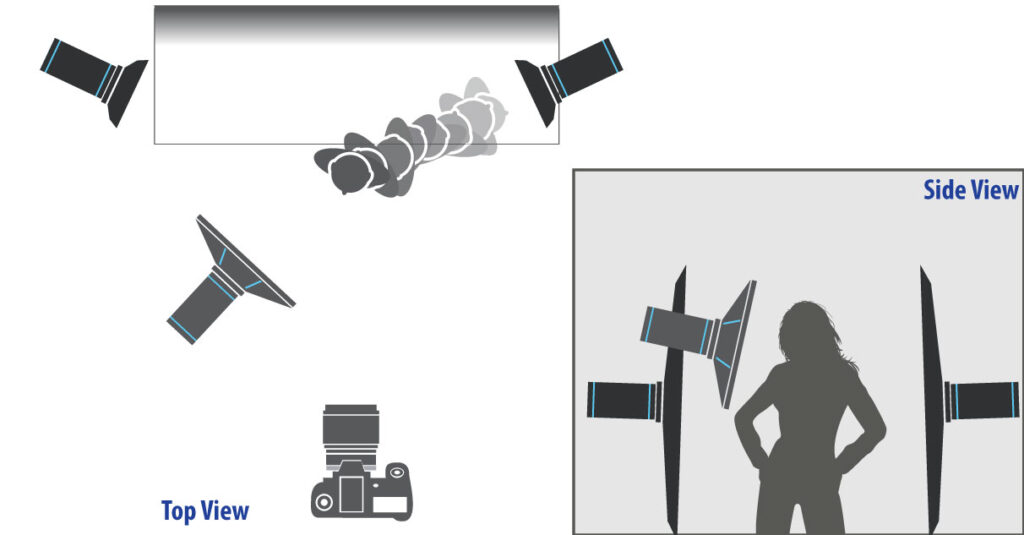
I chose the Deep Octa 70cm on a FIVE as my key light. If you recall from the very first installment, the Deep Octa is one of my favourite light shapers for portraiture due to the fairly round catchlights and the way it wraps light around your subject, giving your portrait dimensionality. I setup a 50x130cm stripbox camera right.
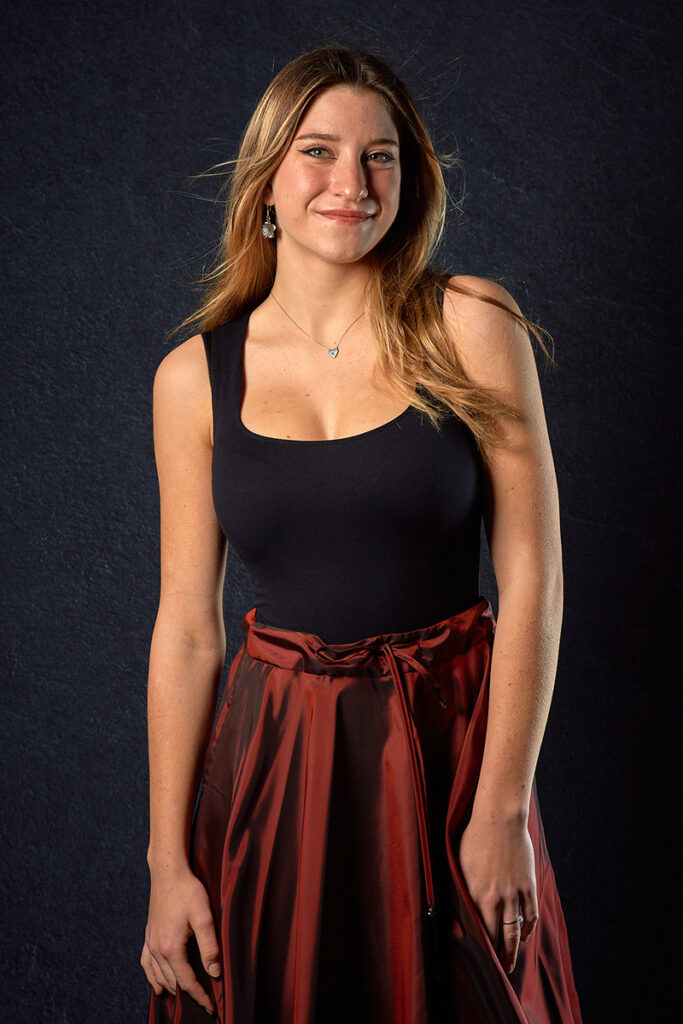
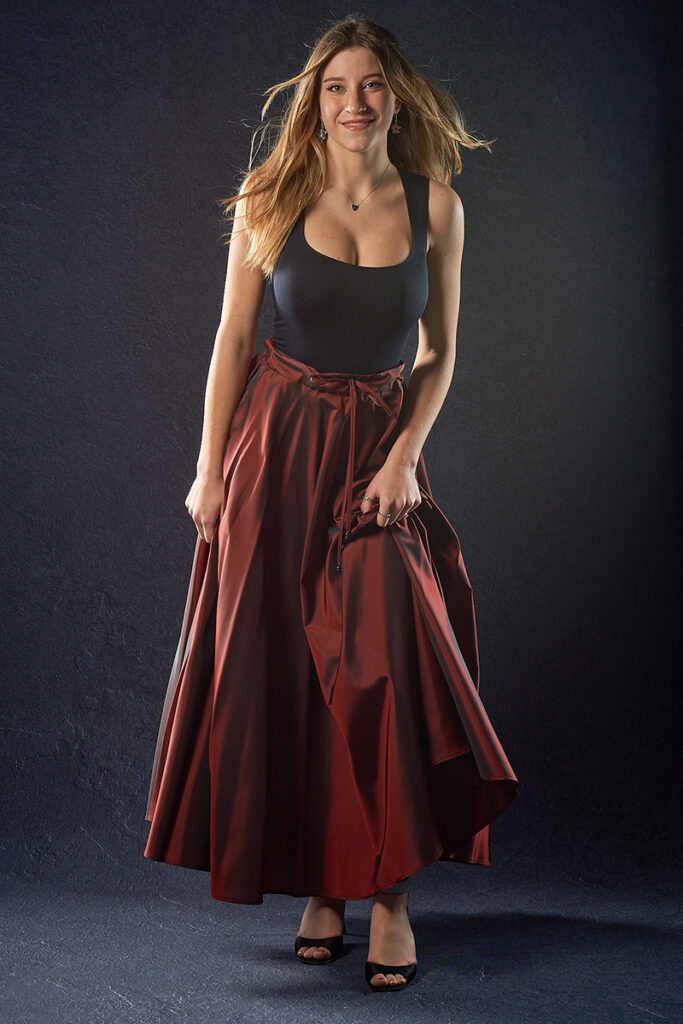
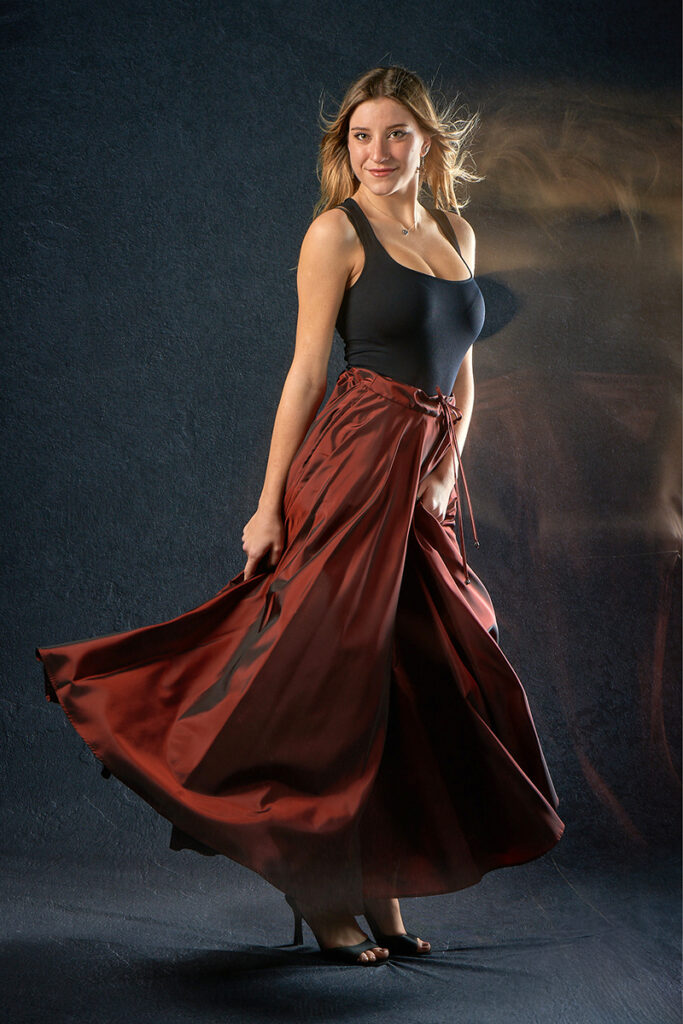
First, we positioned the fan where we wanted it – slightly camera right from centre. Our first image captured some dynamics in Maya’s hair as the fan blew it around. This type of portrait has a little more life than your usual image.
ISO64, 1/125s, f/8
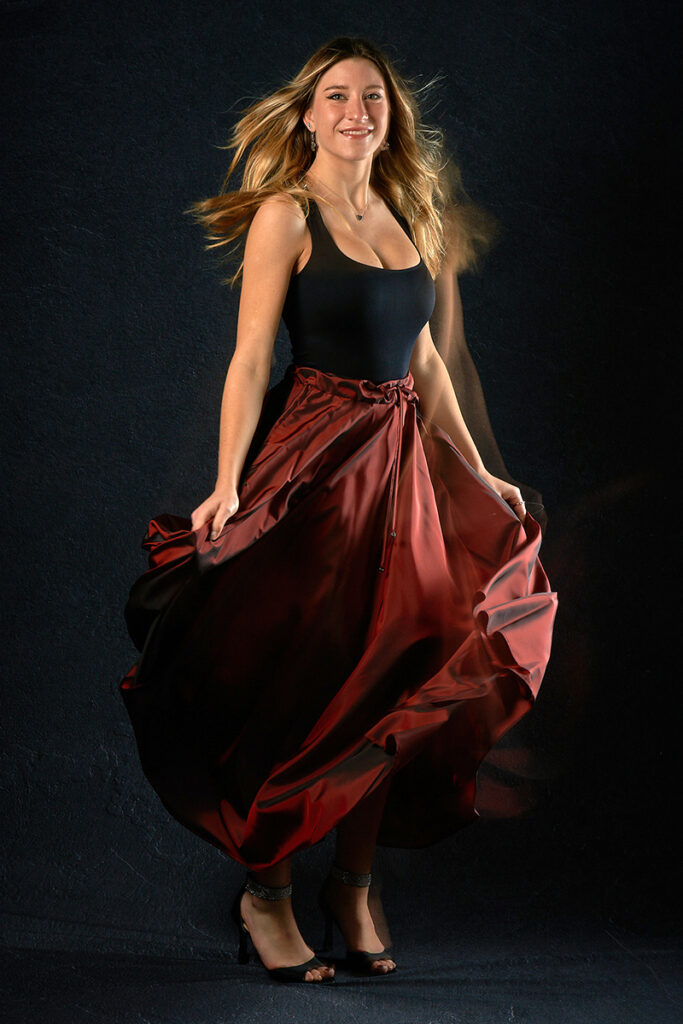
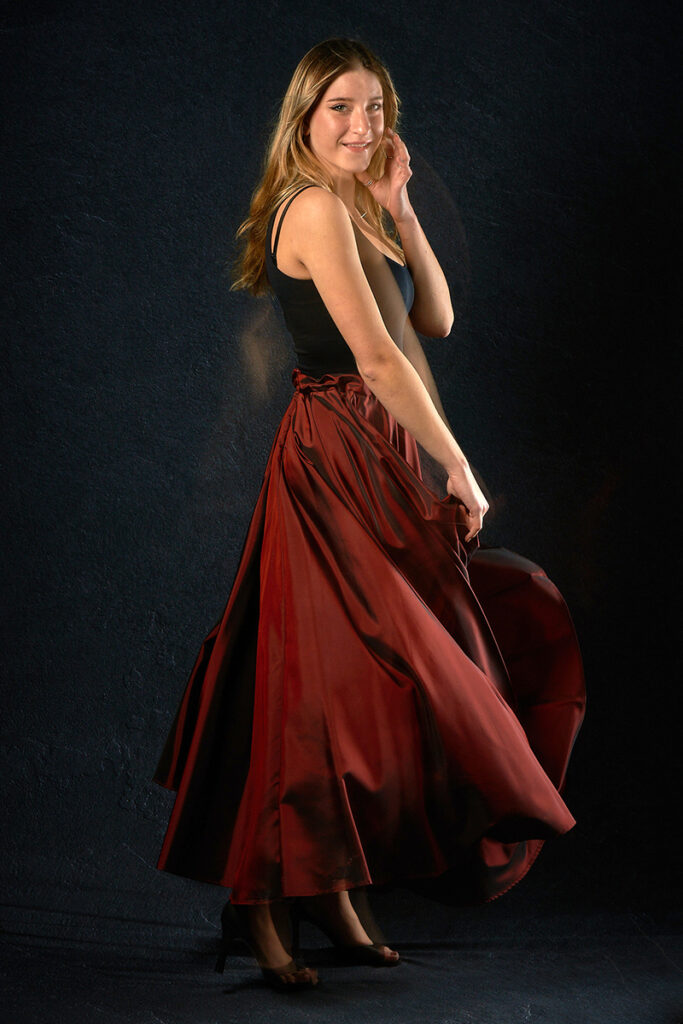
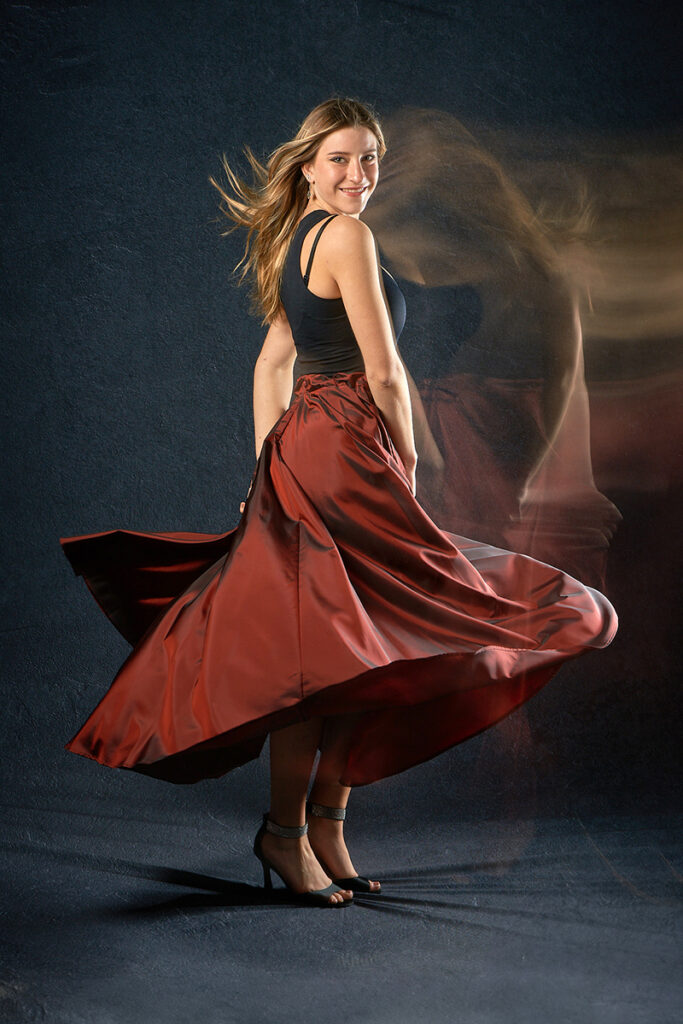
Now that I had my lighting and fan in place, it was time to add more motion. I’m really happy with how these images have come to life, just by having Maya stay in place and swirl around. The combination of her long hair and flowy skirt were perfect for this. Shutter speed was just long enough to capture some dynamics and I stopped the lens down to darken the background.
ISO64, 1/1.6s, f/16
ISO64, 1/1.3s, f/16
ISO64, 1/1.3s, f/16
Next, I wanted to create more dynamics and capture more movement in the portraits. Since I wanted more from the continuous light of the model lamp to contribute to the exposure, I removed the diffusion from two 50×130 stripboxes and set them on either side of Maya aimed slightly forward.
Removing the diffusion did cause a fair bit of light spill on the background as well as some flare into the camera, so I adjusted the position a little further back and changed the angle.
ISO64, 1/125s, f/8
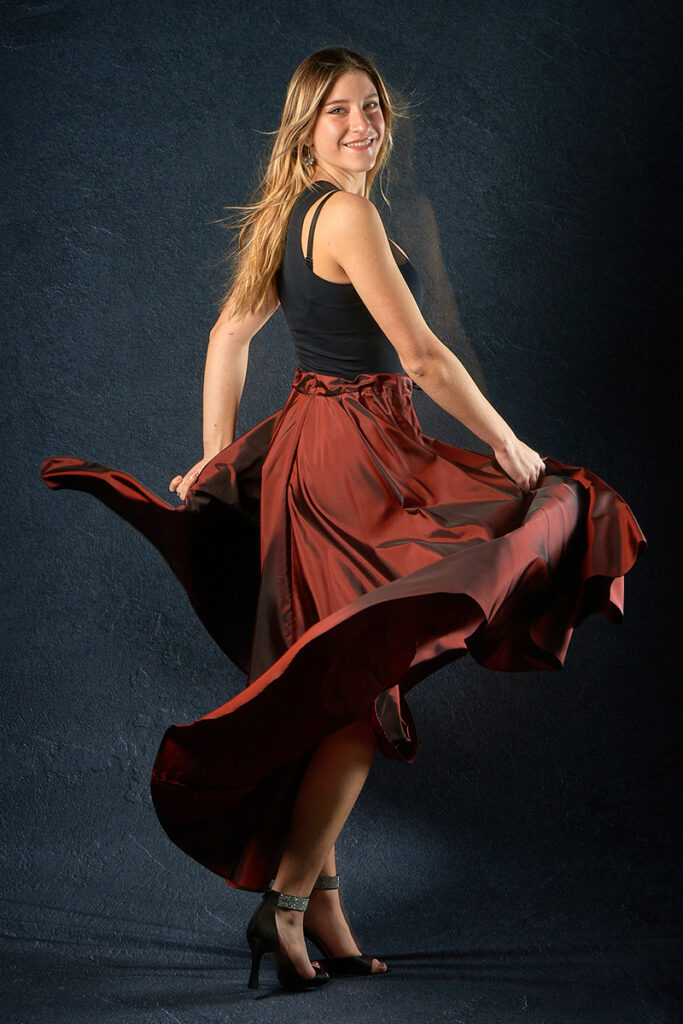
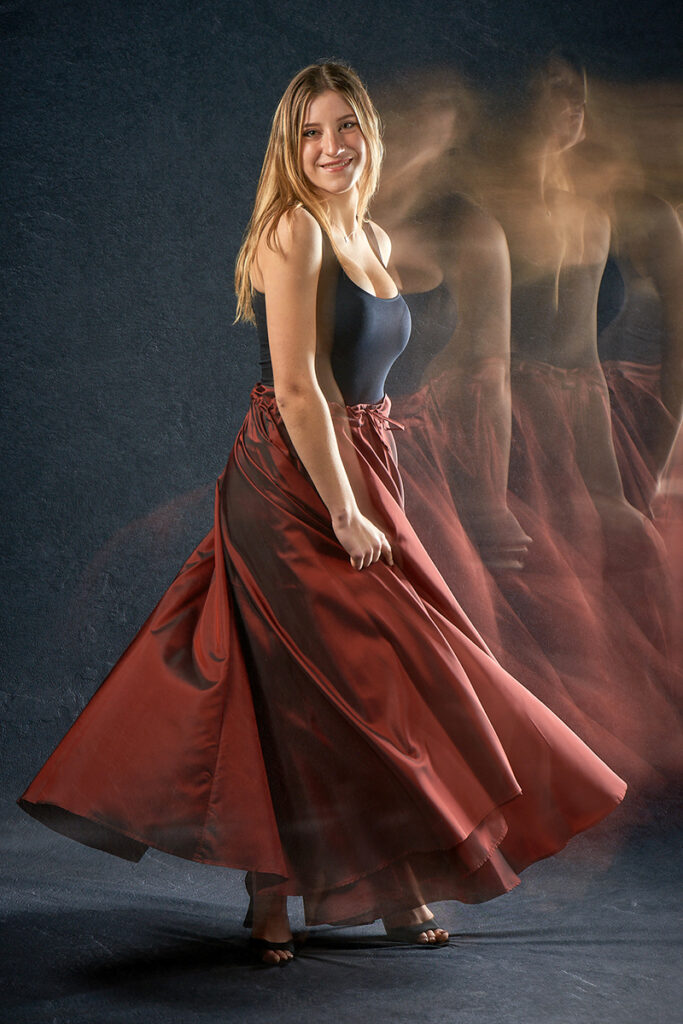
For these images, I had Maya move towards a mark. I wanted to have her “flow” into her pose. These turned out exactly as I wanted them to.
ISO64, 1.8s, f/11
ISO64, 1.7s, f/11
ISO64, 2.7s, f/8
A few tips for creating images like these. The more you stop down your lens, the darker the “flow”, which is why I opened up a lens to f/11 and then f/8. Set your flash sync to “Rear Curtain” – you want your flash to fire at the end of the exposure time. If the flash fires at the start, you’ll miss the final capture. Your model would also have to move in reverse, which could be really weird.
I don’t set a shutter speed, as this adds some challenges to getting the flash exposure right where you want it. Instead, I use a Hahnel HRC 280 Pro Wired Remote so I don’t shake the camera. I set my camera to Bulb mode. Get your model on the final mark, set your composition, grab focus and then switch to Manual focus (in camera or on lens). Stand behind your camera – don’t look through the viewfinder now. Your model then moves to the starting point – parallel to the mark or slightly behind and a few feet away. Count the model in to start the exposure and press & hold your shutter button down. As you watch your model dance and twirl into position, release your shutter button and the flash will fire to freeze the final action. The model lamps illuminate the motion and the flash, which is always more powerful, captures the end portrait.
Share some of your favourite images where you used mixed continuous and flash lights to your advantage on our Facebook page or tag us on Instagram #photonewscanada #elinchromlightshaper.
For future episodes, what Light Shapers would you like to see us use and explain? Let us know in the comments or email info@photonews.ca If you’re a dancer or model interested in moving portraits, reach out to me. I have a few more techniques I want to explore and try.
Read the previous articles:
Elinchrom Light Shapers and Lighting Techniques – #Episode 1
Elinchrom Light Shapers and Lighting Techniques – #Episode 2
Elinchrom Light Shapers and Lighting Techniques – #Episode 3
Elinchrom Light Shapers and Lighting Techniques – #Episode 4
Elinchrom Light Shapers and Lighting Techniques – #Episode 5
Elinchrom Light Shapers and Lighting Techniques – #Episode 6
Elinchrom Light Shapers and Lighting Techniques – #Episode 7
Elinchrom Light Shapers and Lighting Techniques – #Episode 8
Elinchrom Light Shapers and Lighting Techniques – #Episode 9
Elinchrom Light Shapers and Lighting Techniques – #Episode 10
Elinchrom Light Shapers and Lighting Techniques – #Episode 11
Items Discussed
Author: Will Prentice
A portrait, fine art and commercial photographer for 30 plus years, Will Prentice is not just a contributor to PHOTONews magazine, but also host of PHOTONewsTV, owner of Captura Photography+Imaging and Technical Support/Brand Manager for Amplis Foto, Canada’s largest distributor of photographic equipment.
Will teaches photographers of all skill levels how to improve their craft – from creative photo projects to picking the right gear for their needs to flattering lighting to getting the best expressions to creating final images for screen and print. His unique style of highly detailed images with perfect tonality, wide dynamic range and stunning colour is instantly recognizable. Commercial clients rely on Will’s creative eye and mastery of lighting.
When he’s not behind the camera or in front of a class, you’ll find Will outdoors in any weather – usually on one of his bikes or enjoying time with his grandchildren.


